The shape of the board is inspired by the designs of Ken Adgate. My thanks to him for his endless tinkering to get the perfect board shape and his generosity in sharing his ideas. Dimensions:
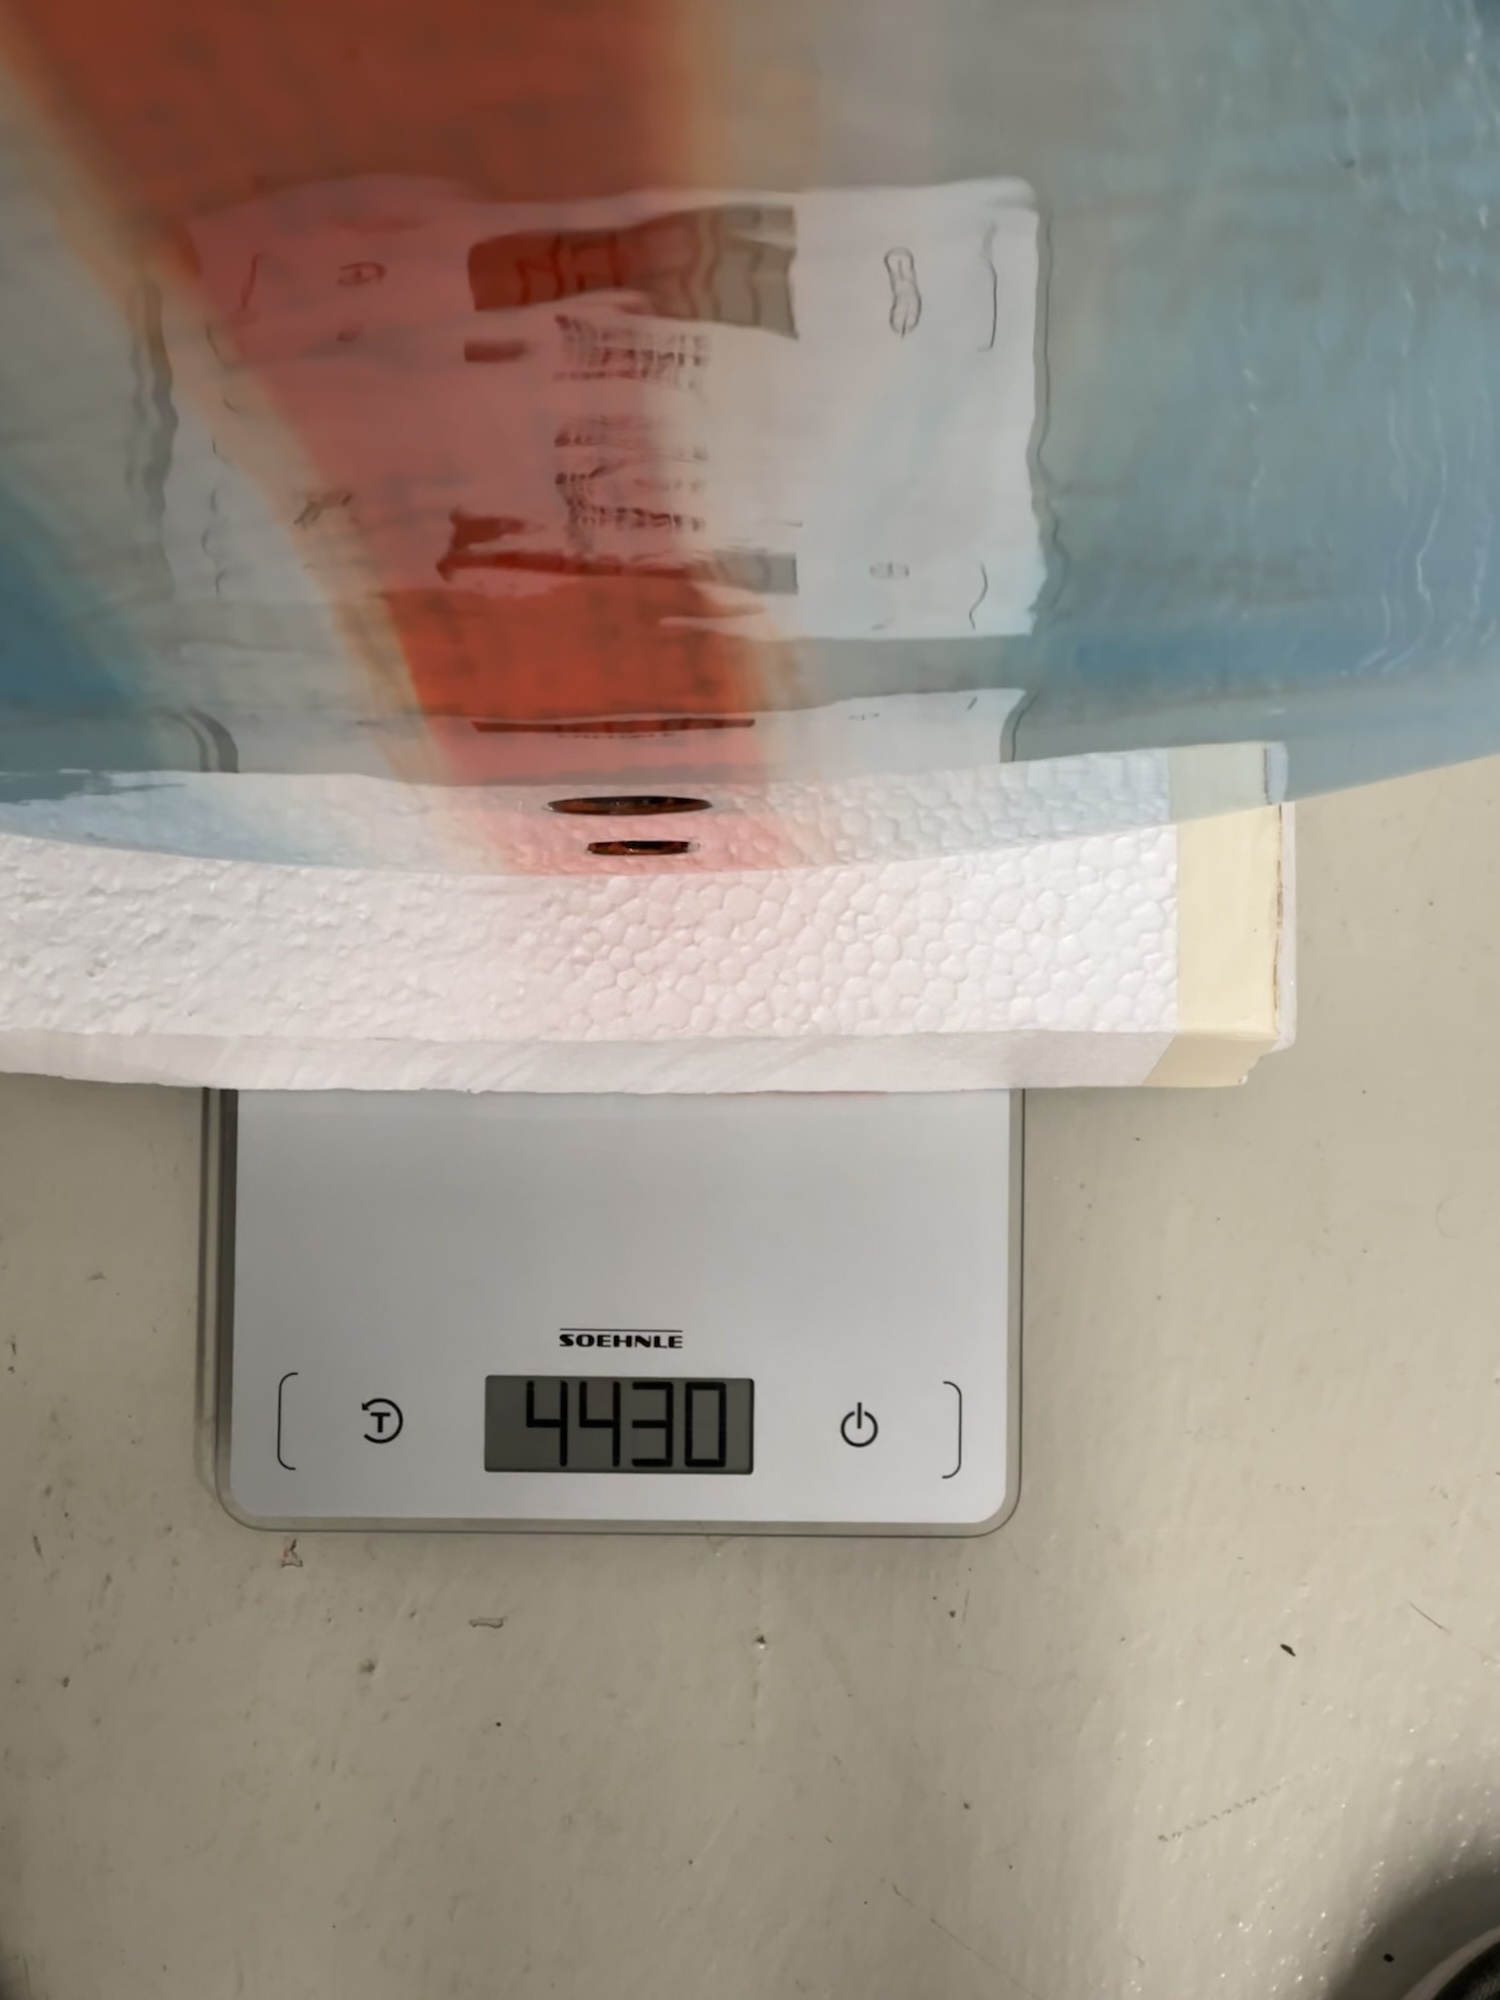
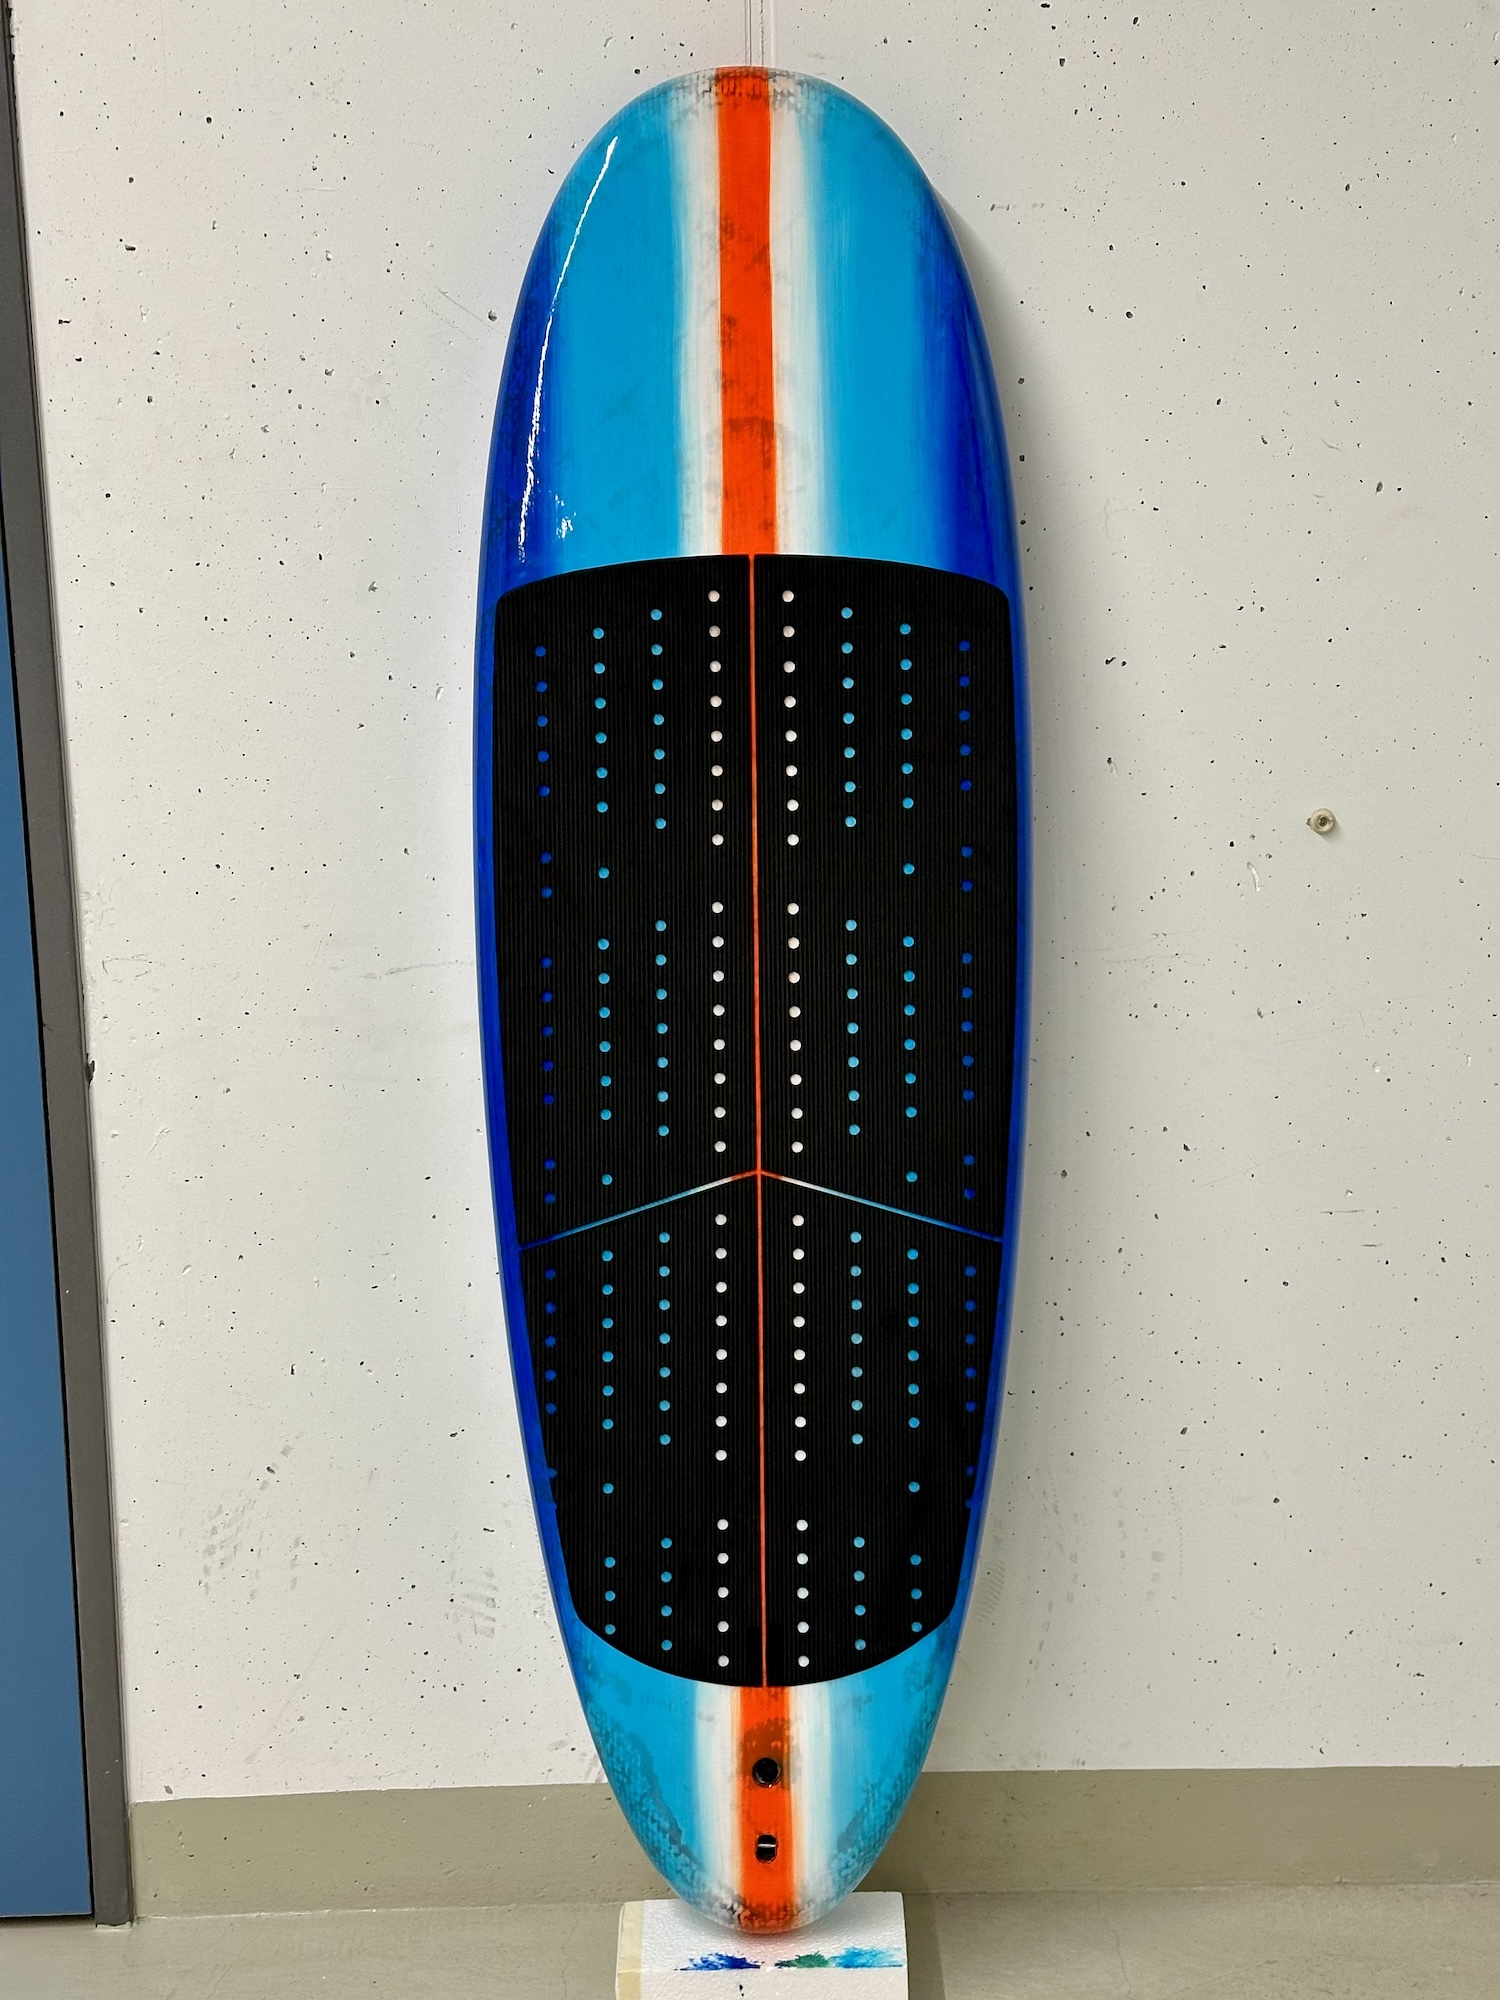
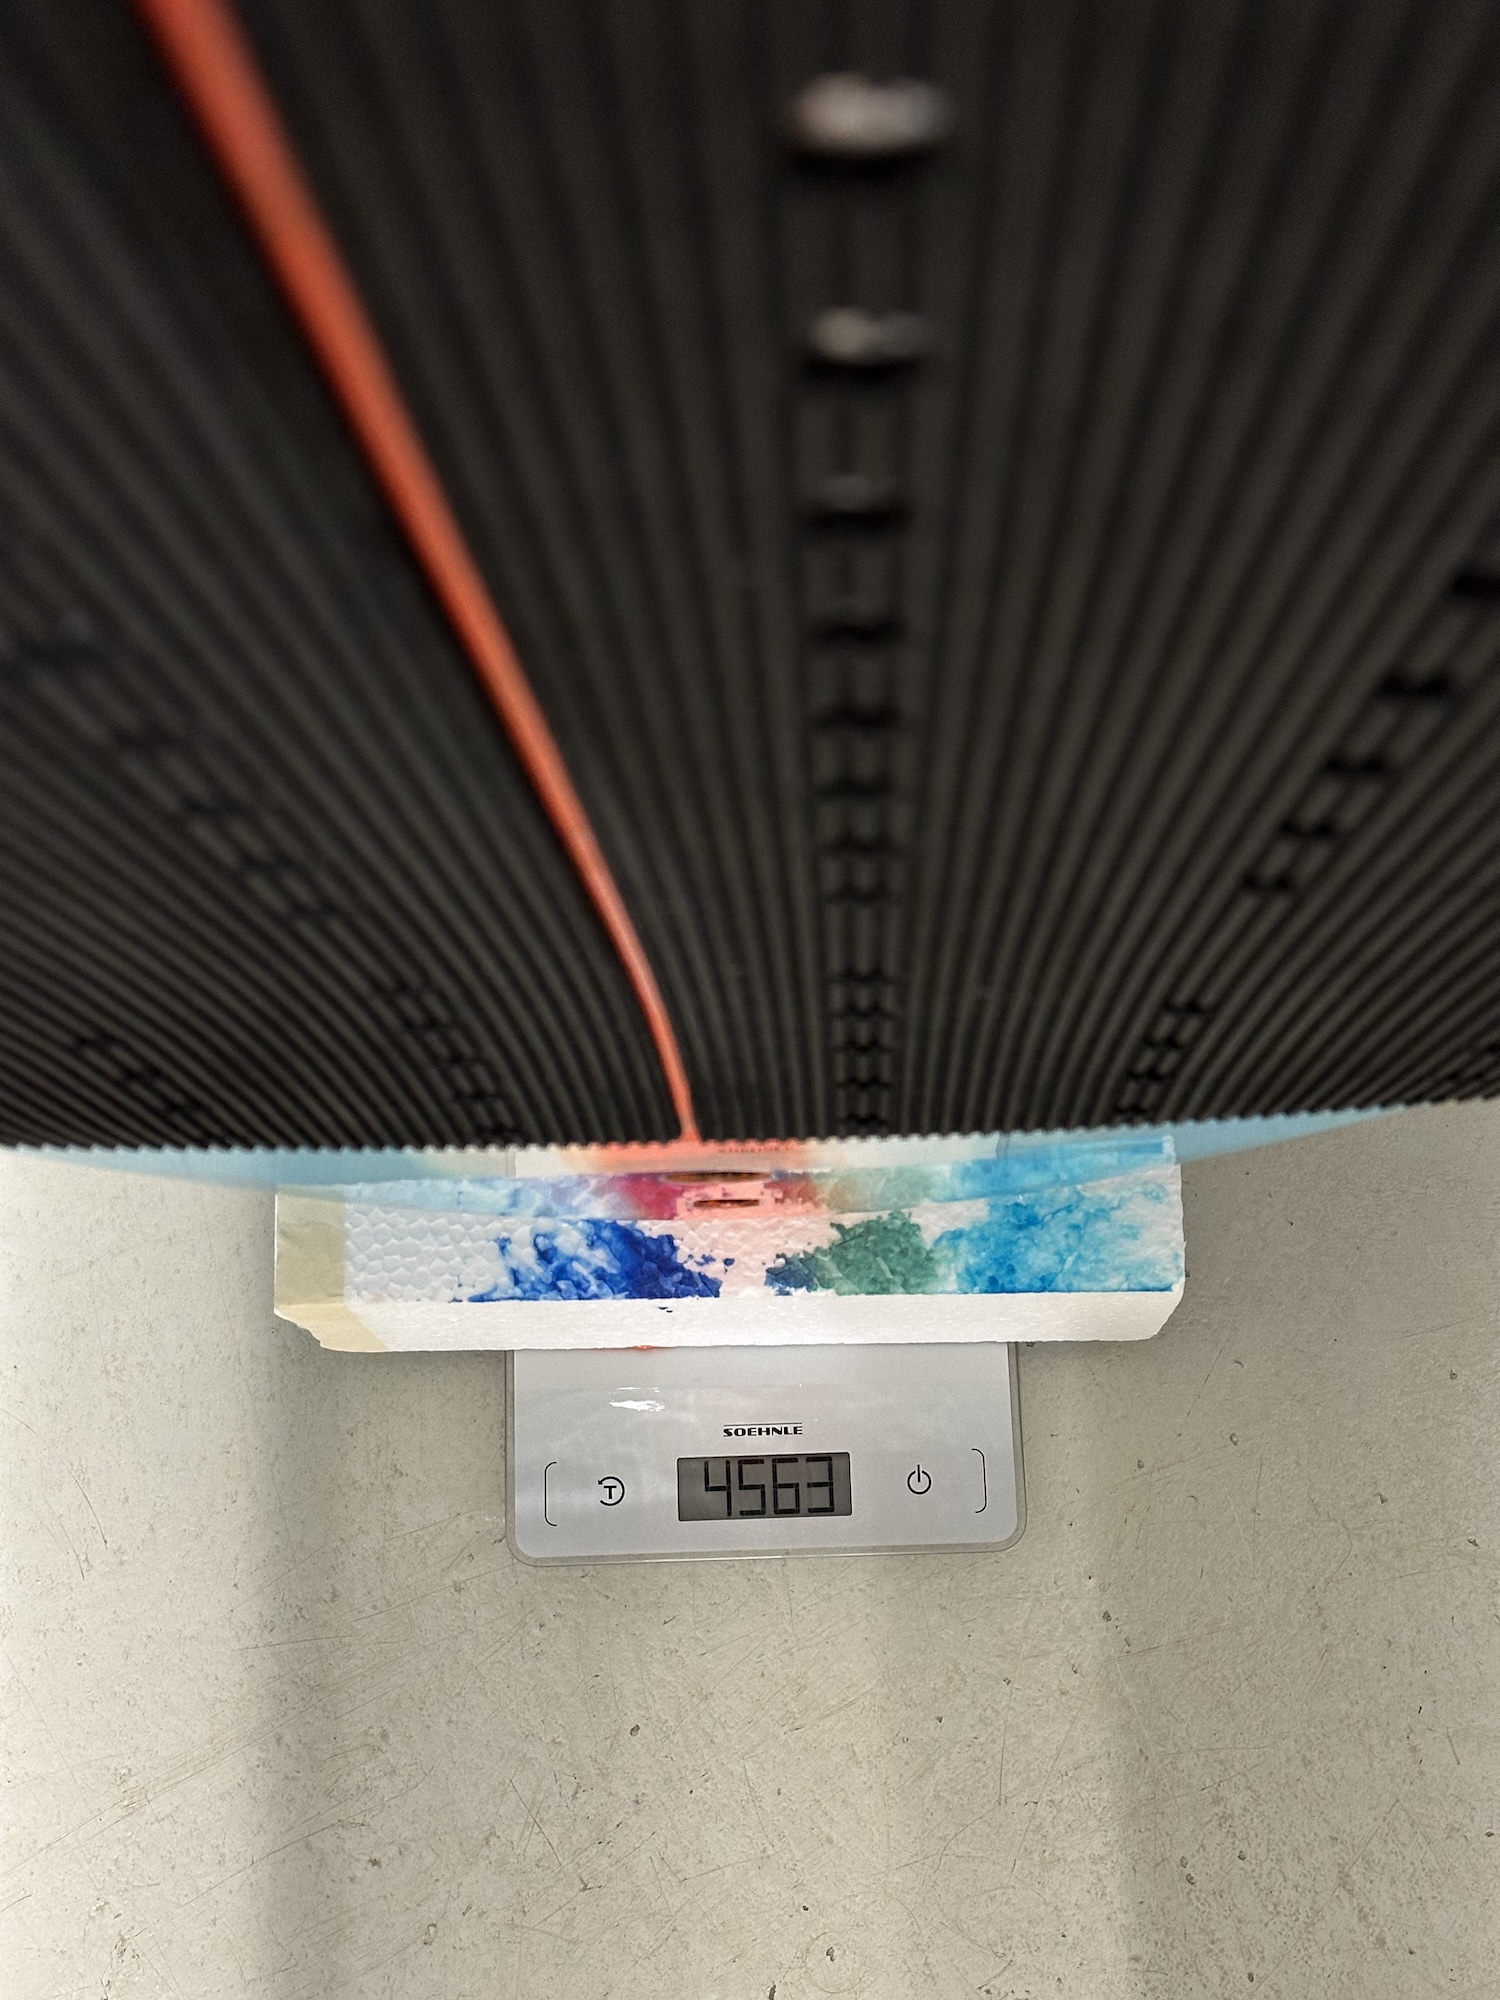
163 cm x 49 cm x 14 cm, 78 litres, 4.56 kg with pad
Materials:
- Foil tracks: LIO-TEC US FOIL Box 32 cm
- Foil box: Airex T92.80 80 kg/m3
- EPS: Insulation EPS 20 kg/m3
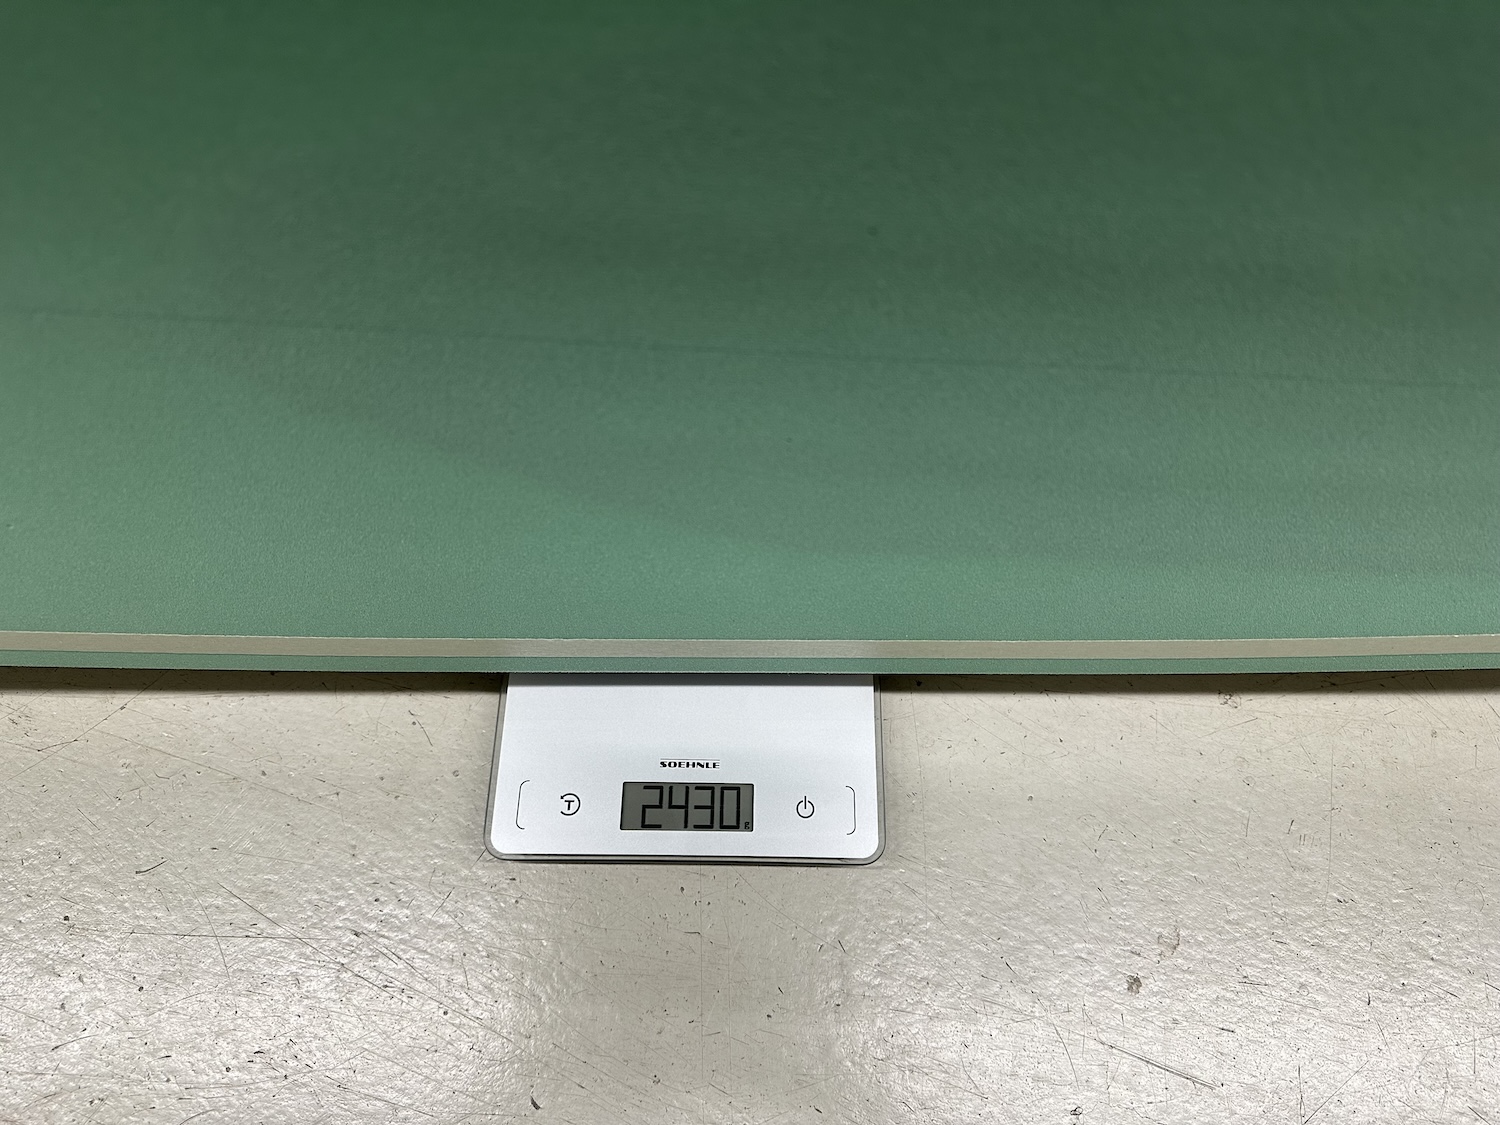
- Sandwich in standing area: Glass fibre 80 g/m2 and Airex C70.75 2 mm
- Carbon: Biaxial 45°, 220 g/m2, unidirectional 125 g/m2
- Impact protection on all edges: Hexcel S-glass 125 g/m2
Vision and motivation for this build
This build is in many ways similar to the way I built my DW board. So I will just give the general outline of the project and go into more detail about what I did differently on this build.
Above 15 knots I mostly used an Apple Tree Jazz, an amazing board with very good build quality. Below 15 knots I have mostly been using my DW board. This has really opened my eyes to how I get on foil. With the DW board I can "glide" on the foil with barely a noticeable transition into flight. When the wind is lighter, I can go up even earlier with less speed by pumping.
What I have noticed in my technique is that with the right pumping technique, I do not actually need that much board speed to get going. It is all in the pumping. Compared to my downwind board, the Apple Tree Jazz was much harder to pump in the lower wind range. I did not want to go for a midlenght, but was looking for a concept that would allow for a relatively narrow, light board that would emphasize the 'pump start' of the foil. Ken Adgate's designs were very appealing. With a lot of rocker and a shape that should help a lot to "swing" onto the foil.
I made some changes to the design to suit my needs. I moved the tracks further forward. I put in less rake and made the chines more rounded towards the nose to make it a bit more forgiving on touchdowns. For the volume distribution I went with a mixture of my Apple Tree Jazz and the Armstrong FG wingboards. I wanted a board that would help me get on the foil in a wide range of winds and still feel small. With that in mind I started to put the shape together.
1. CAD and template construction:
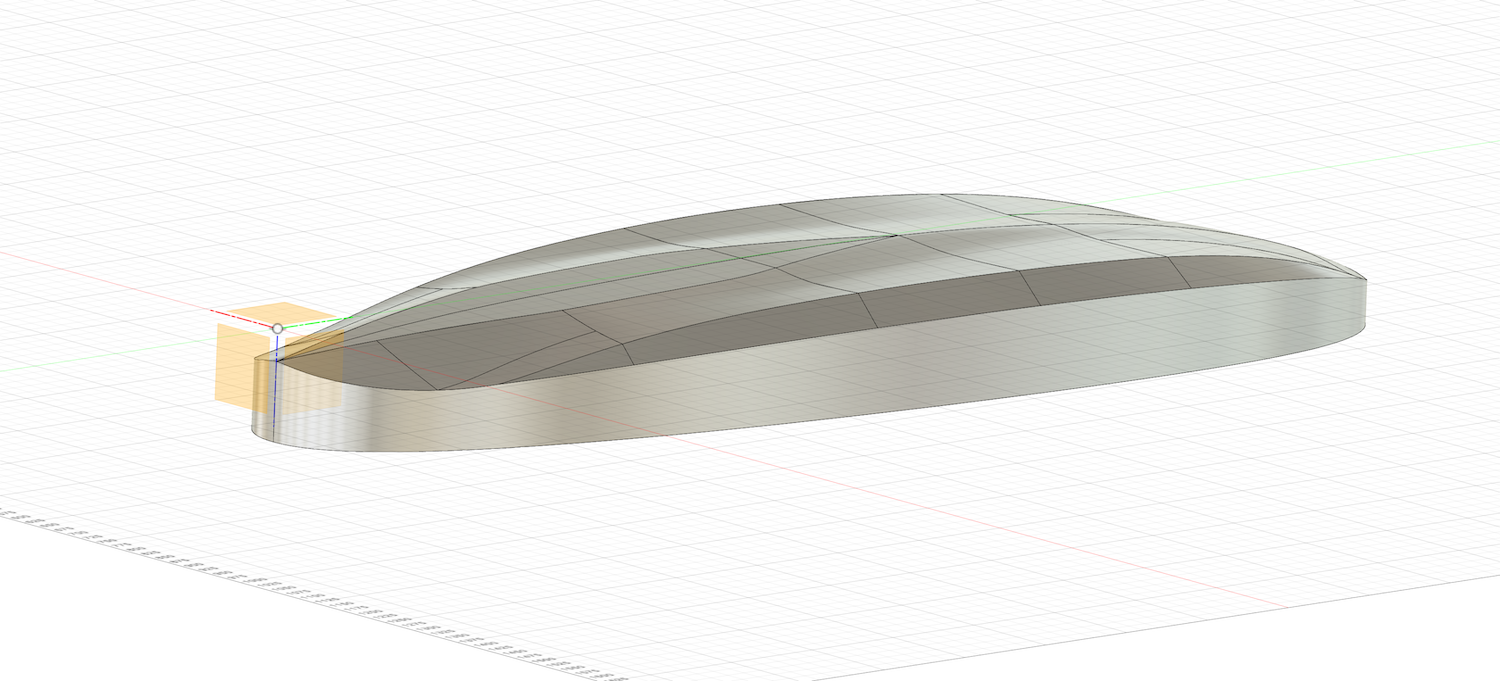
Construction of the shape in Fusion 360. Positioning the tracks in relation to the centre of the buoancy is quite easy digitally. I used Meshmixer for the first time to export the templates for hot wire cutting and it worked like a charm. As long as you only make the templates of sections that bend on one axis only.

2. Blank:
The intended shape was more complicated than what I had done before, so I decided to use 20kg/m3 EPS insulation instead of 15kg/m3. As it is a bit stiffer, I hoped it would be a bit more forgiving to shape. In contrast to my last build, I found a company that supplies quite cheap insulation pieces cut to size. So I did not have to glue pieces together.
3. Shaping the core:
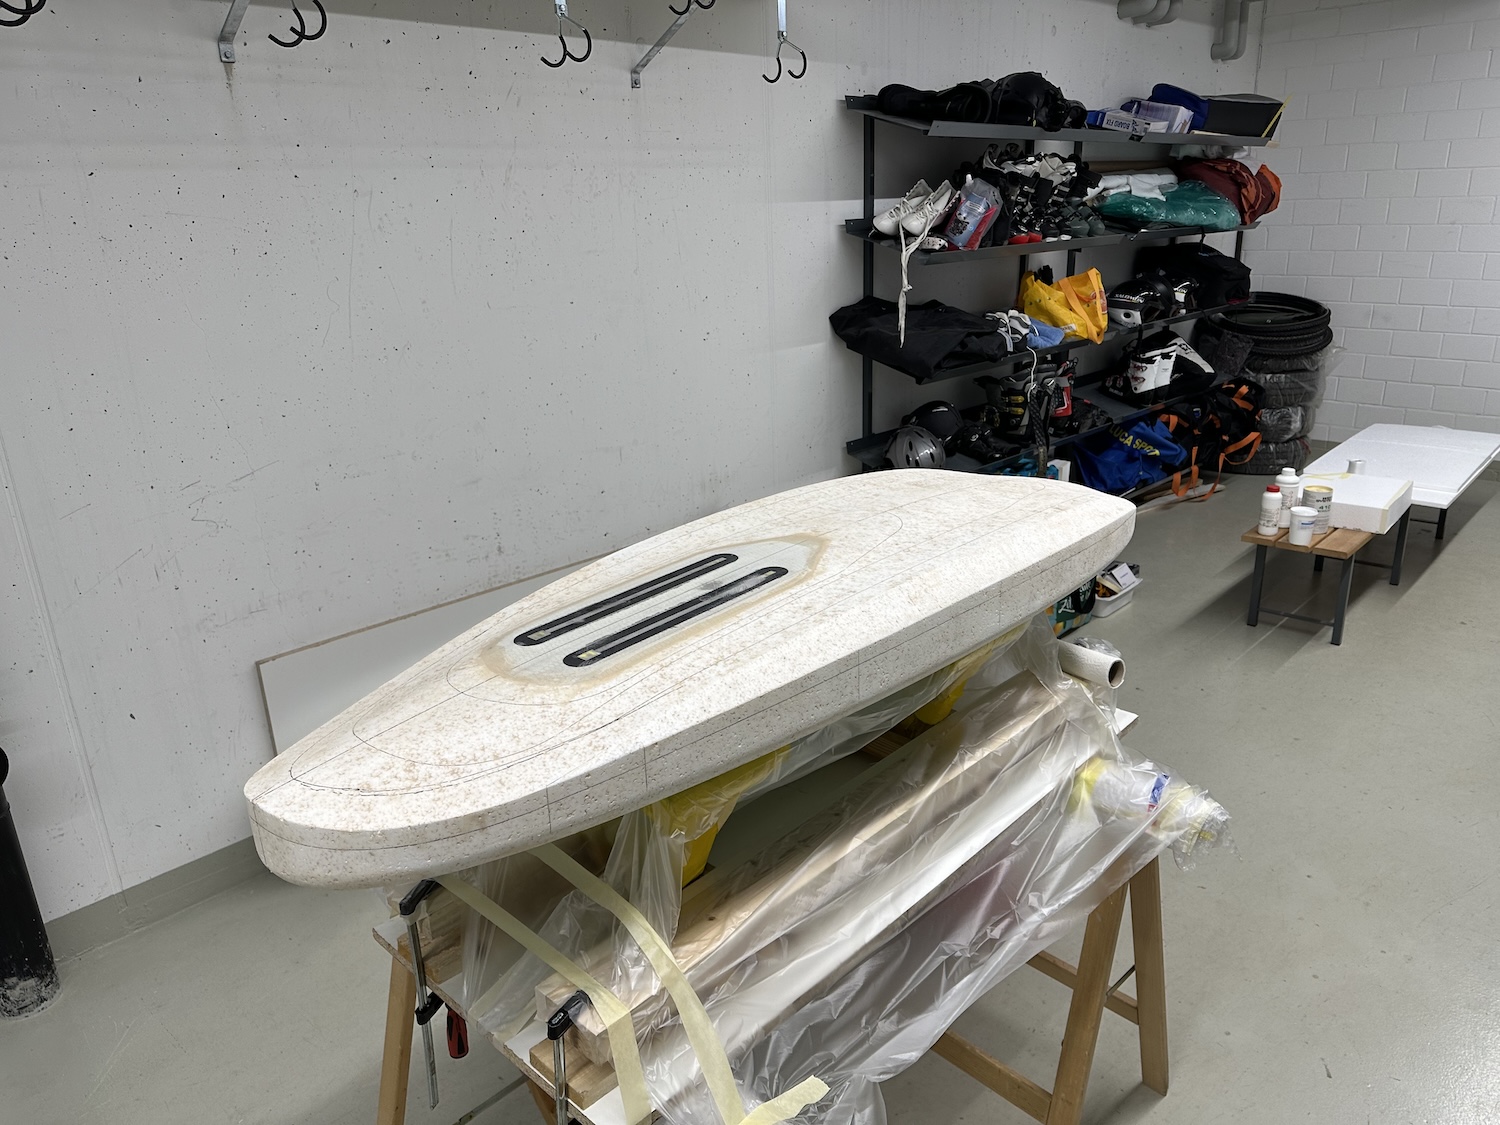
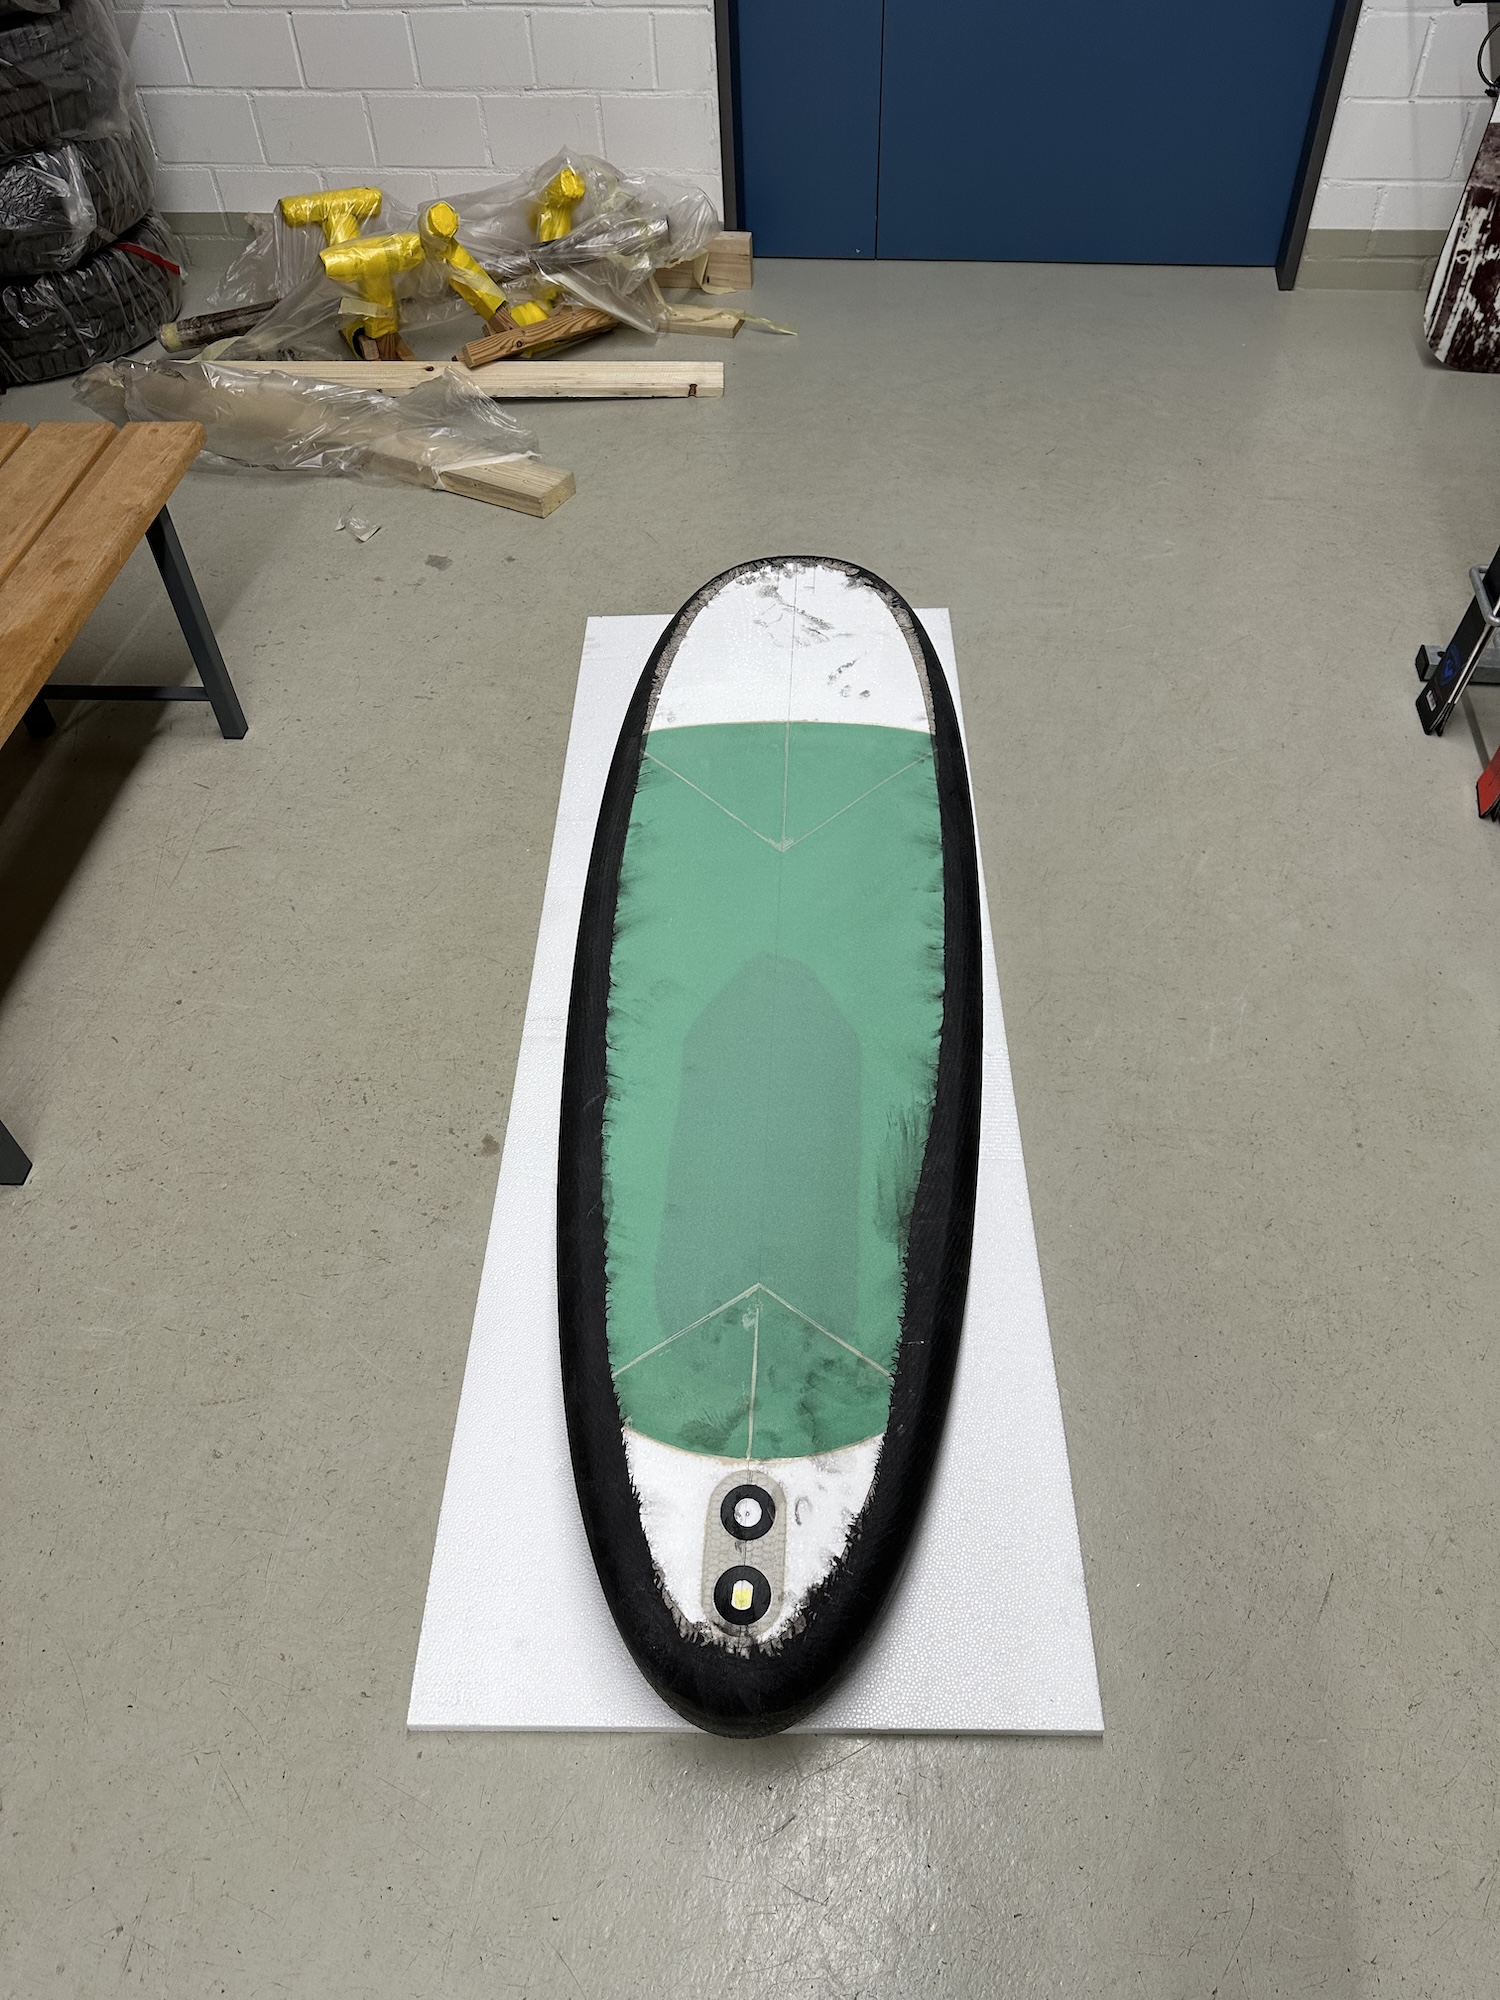
Except for the final shaping of the double concave, the deck concave and the rail, I did everything by hot-wire.
4. Trackbox and inserts
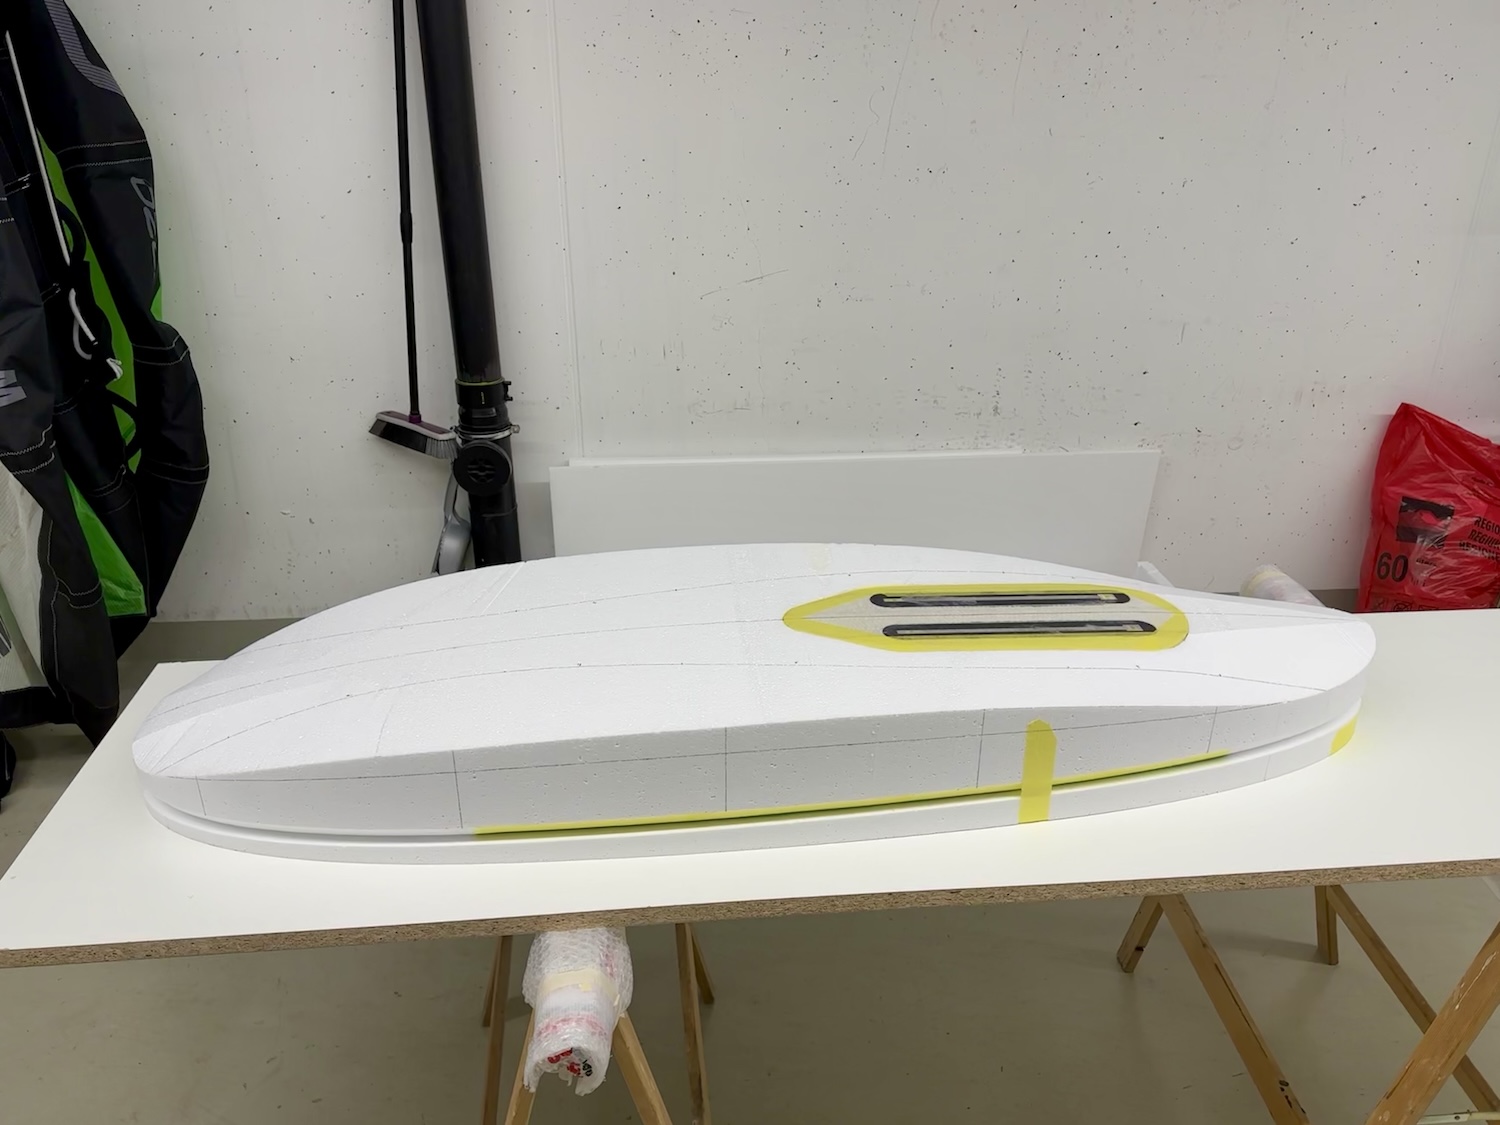
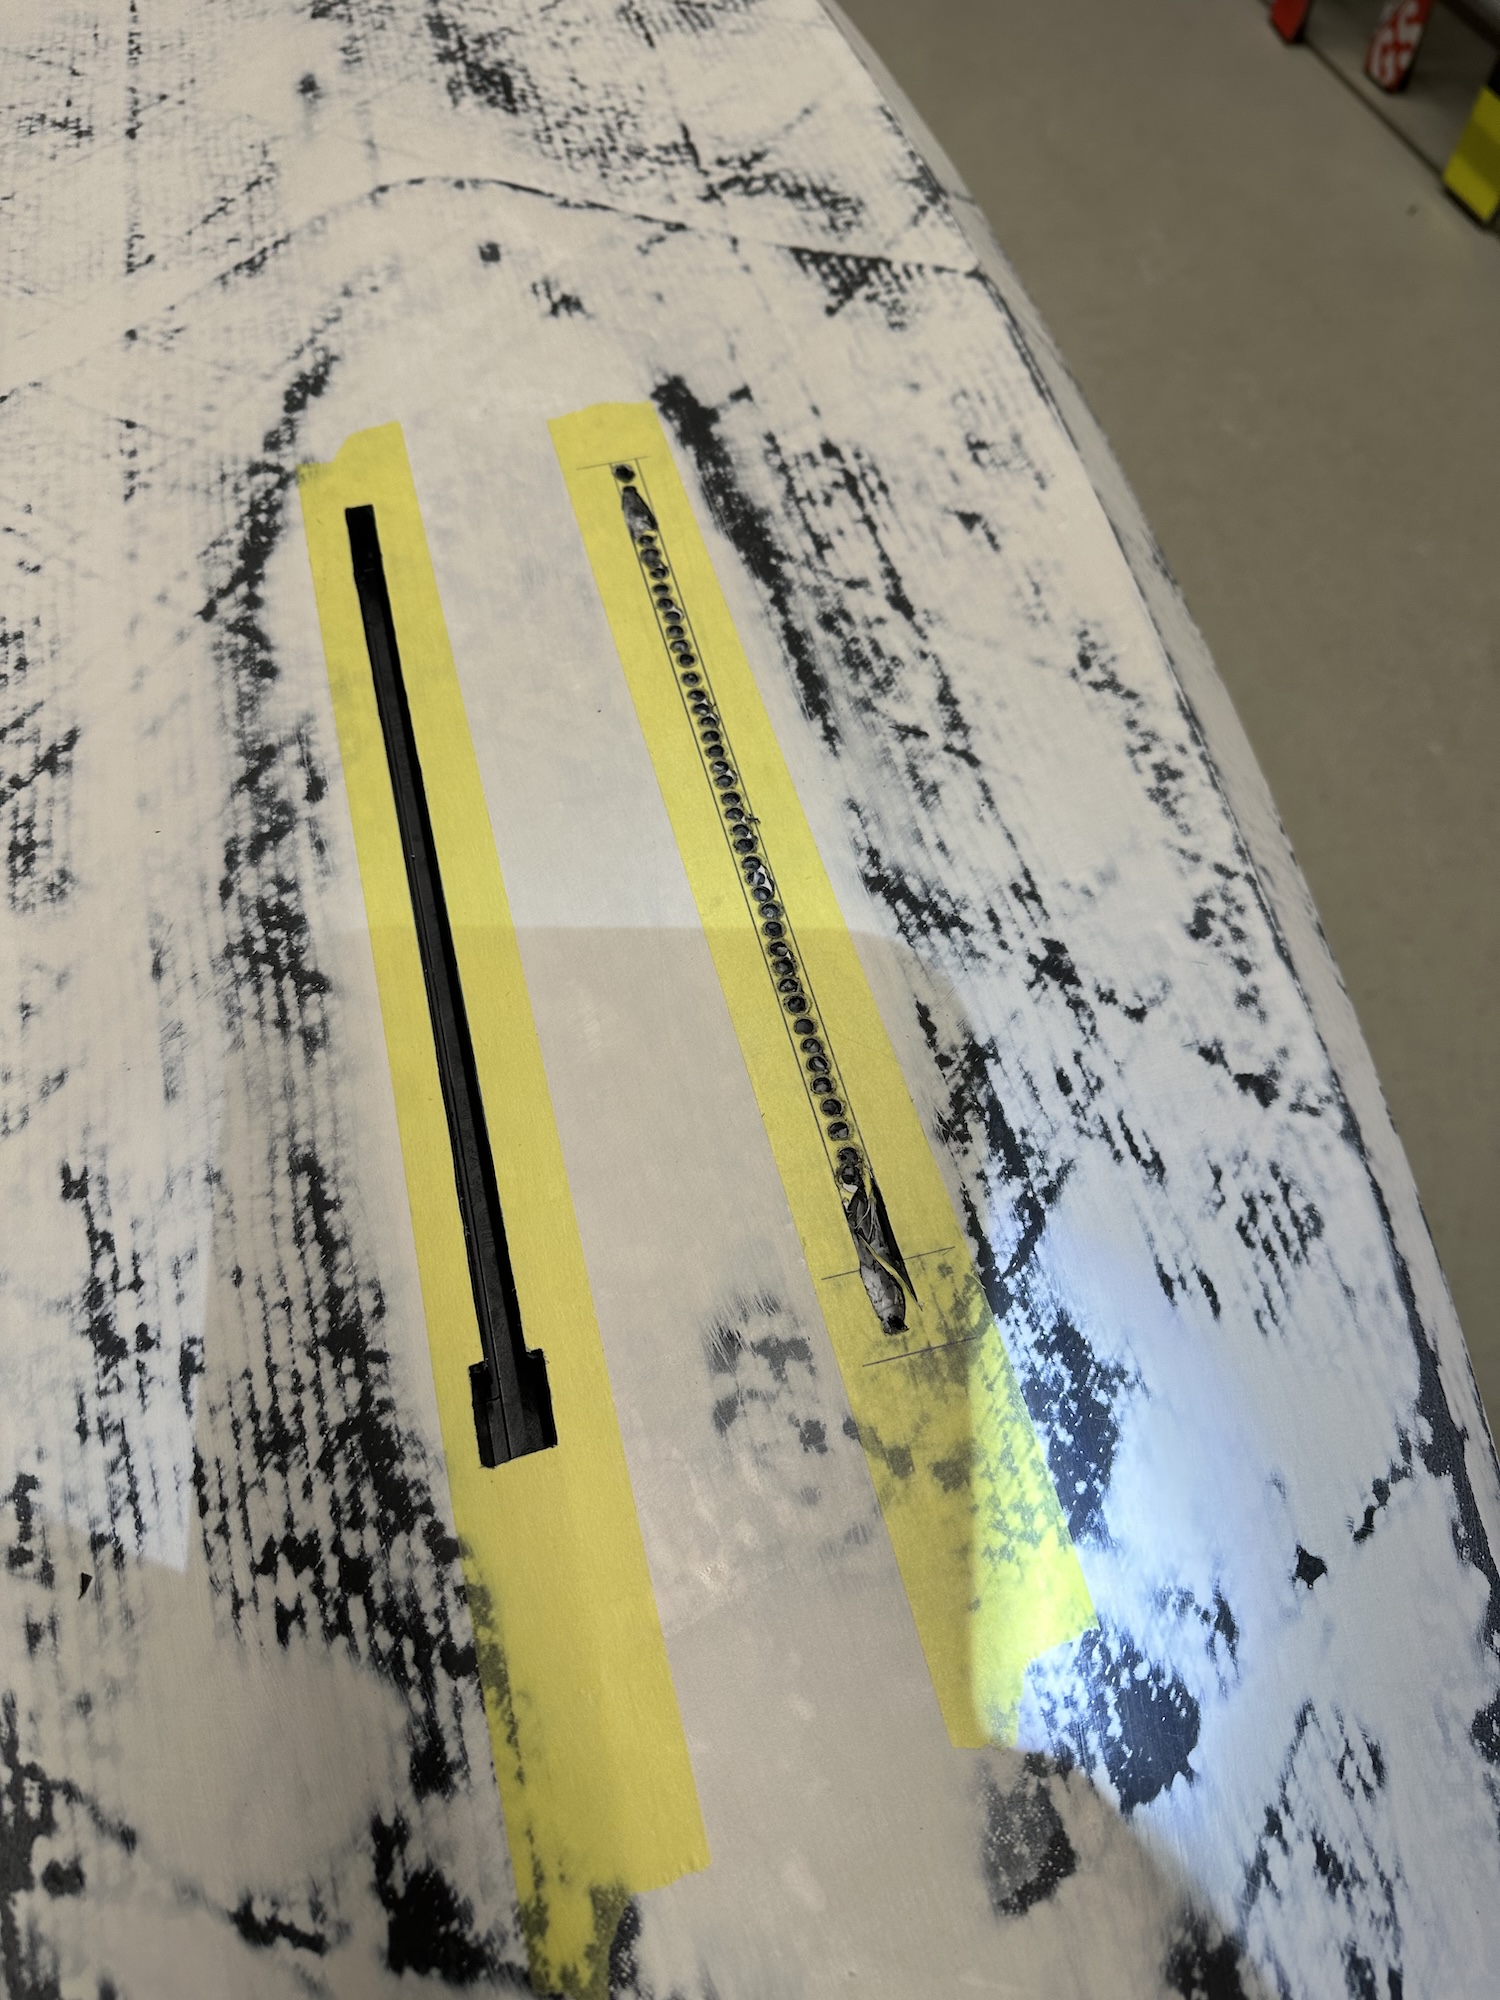
I used the same construction method as on my previous boards. I connected the 35mm trackbox to the deck with two 20mm stringers and glued the leashplug and vent plug into inserts. All the inserts were made from Airex T92.80 80 kg/m3, with PET honeycomb inside the PVC foam.I glued all the inserts in with a mixture of epoxy and West Microlight 410 between airex and eps. Between airex and airex I used microballons and epoxy, and between the tracks and plugs and the airex.
5. Deck sandwich
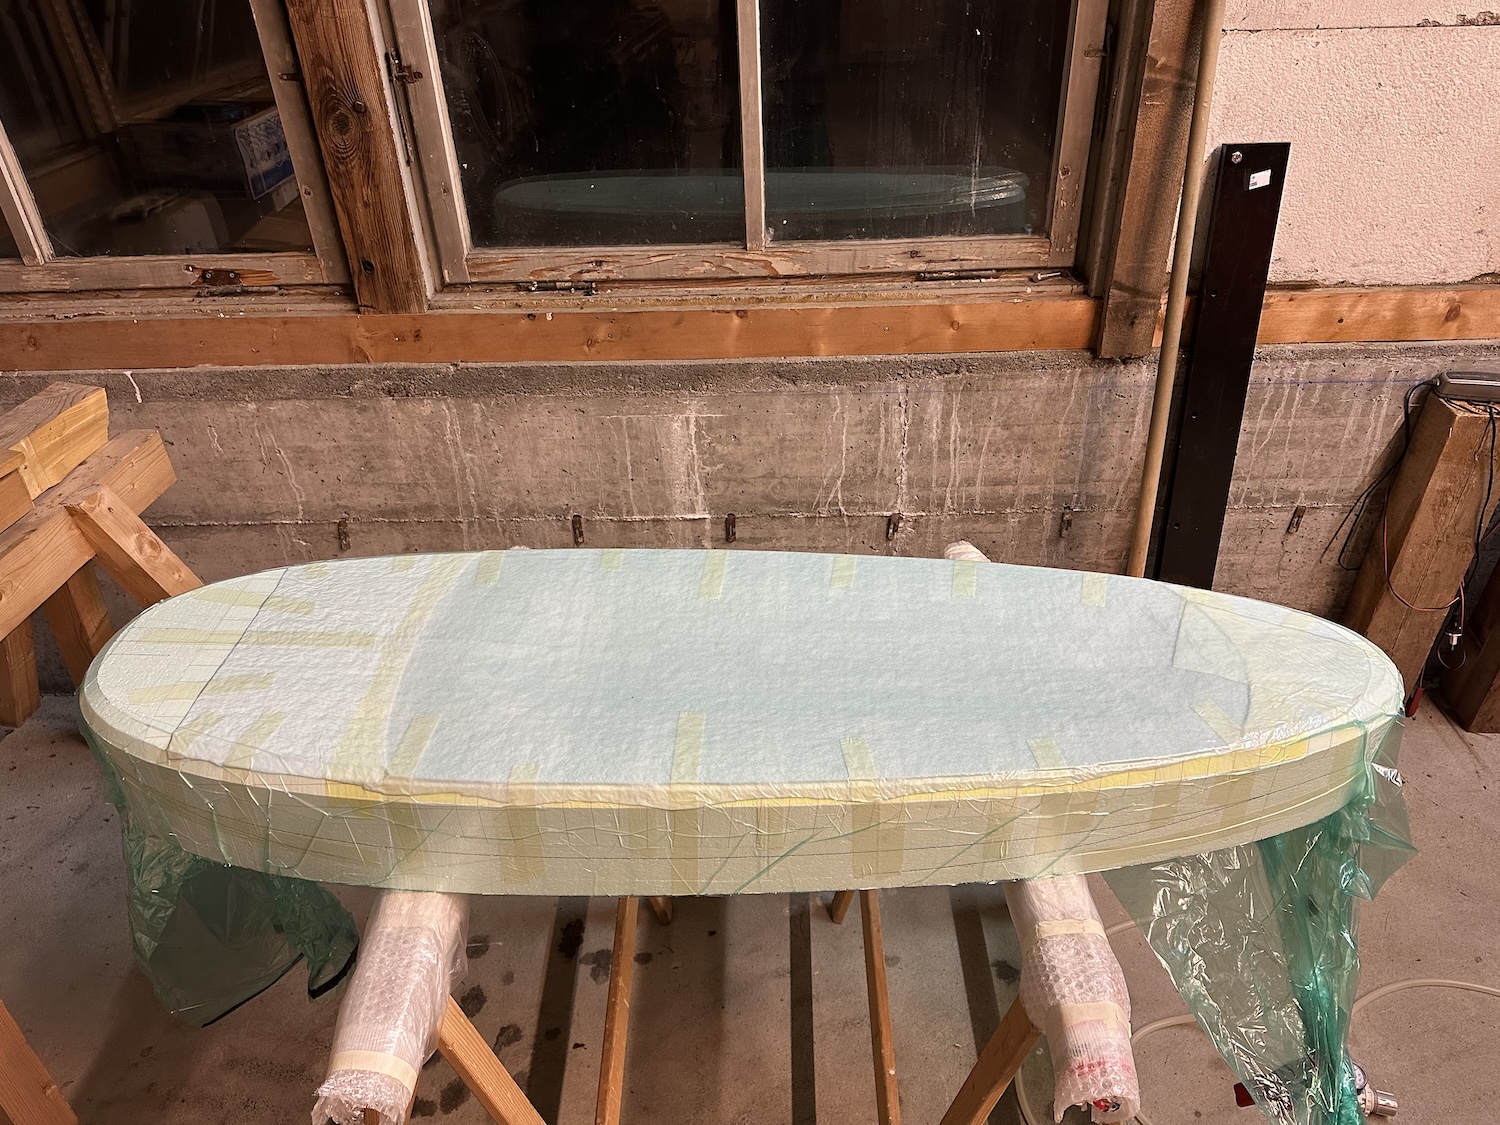
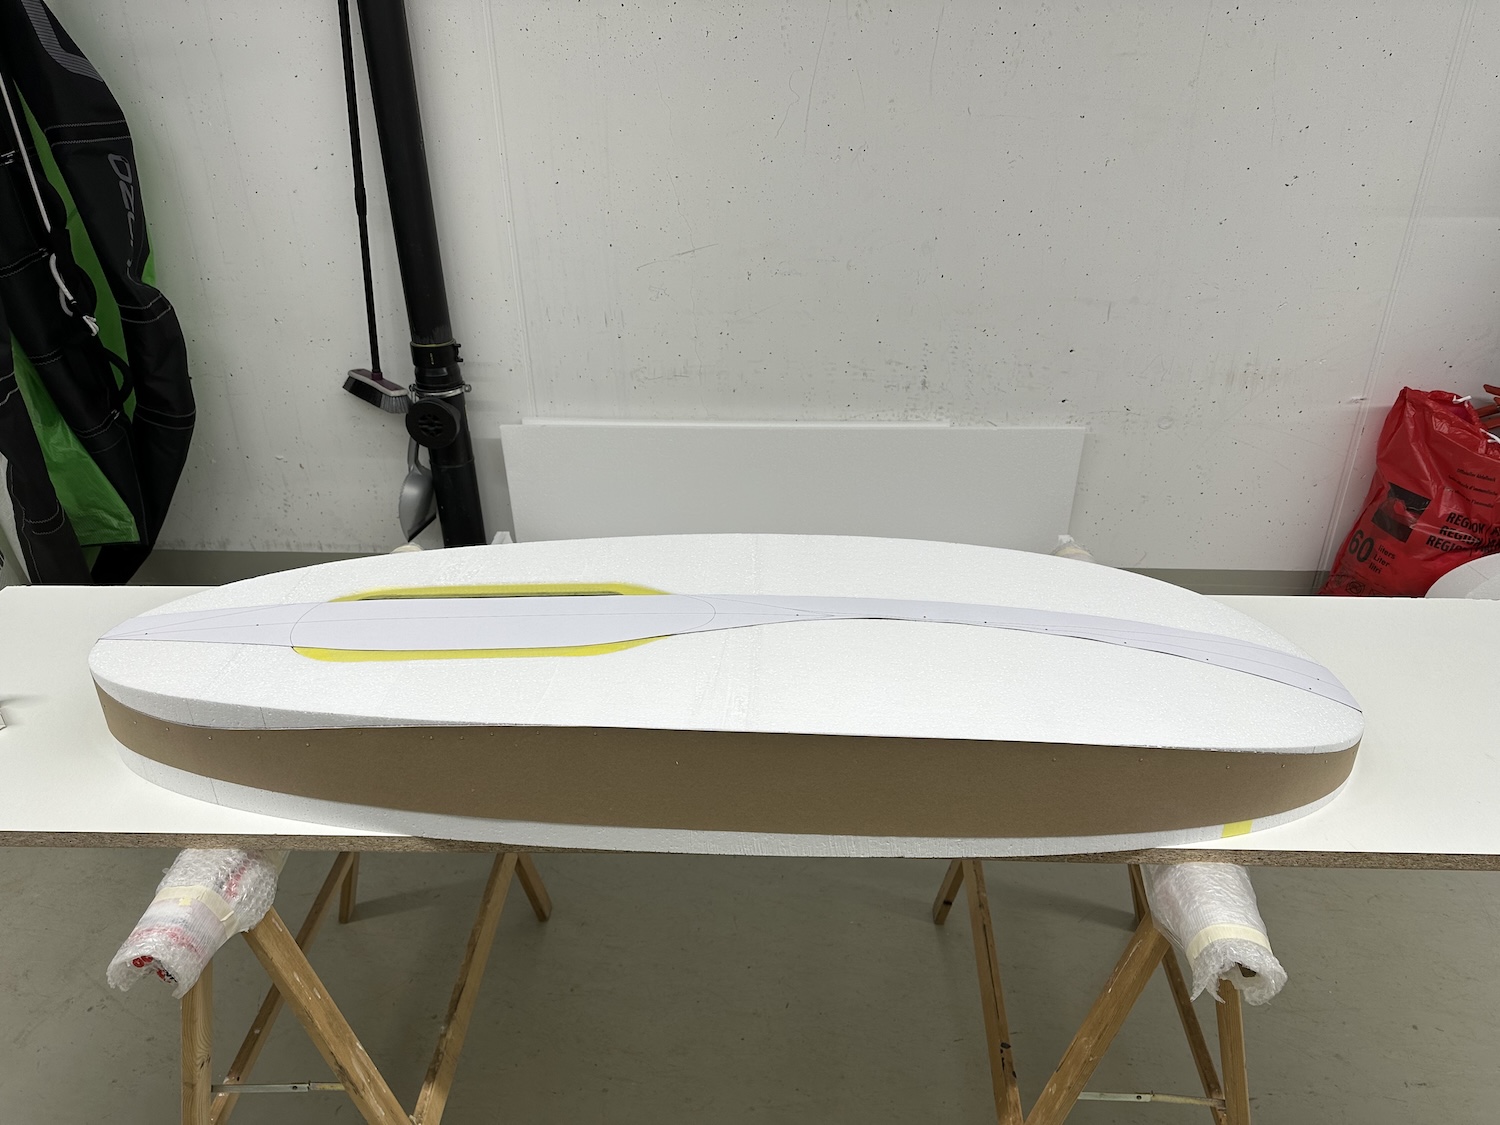
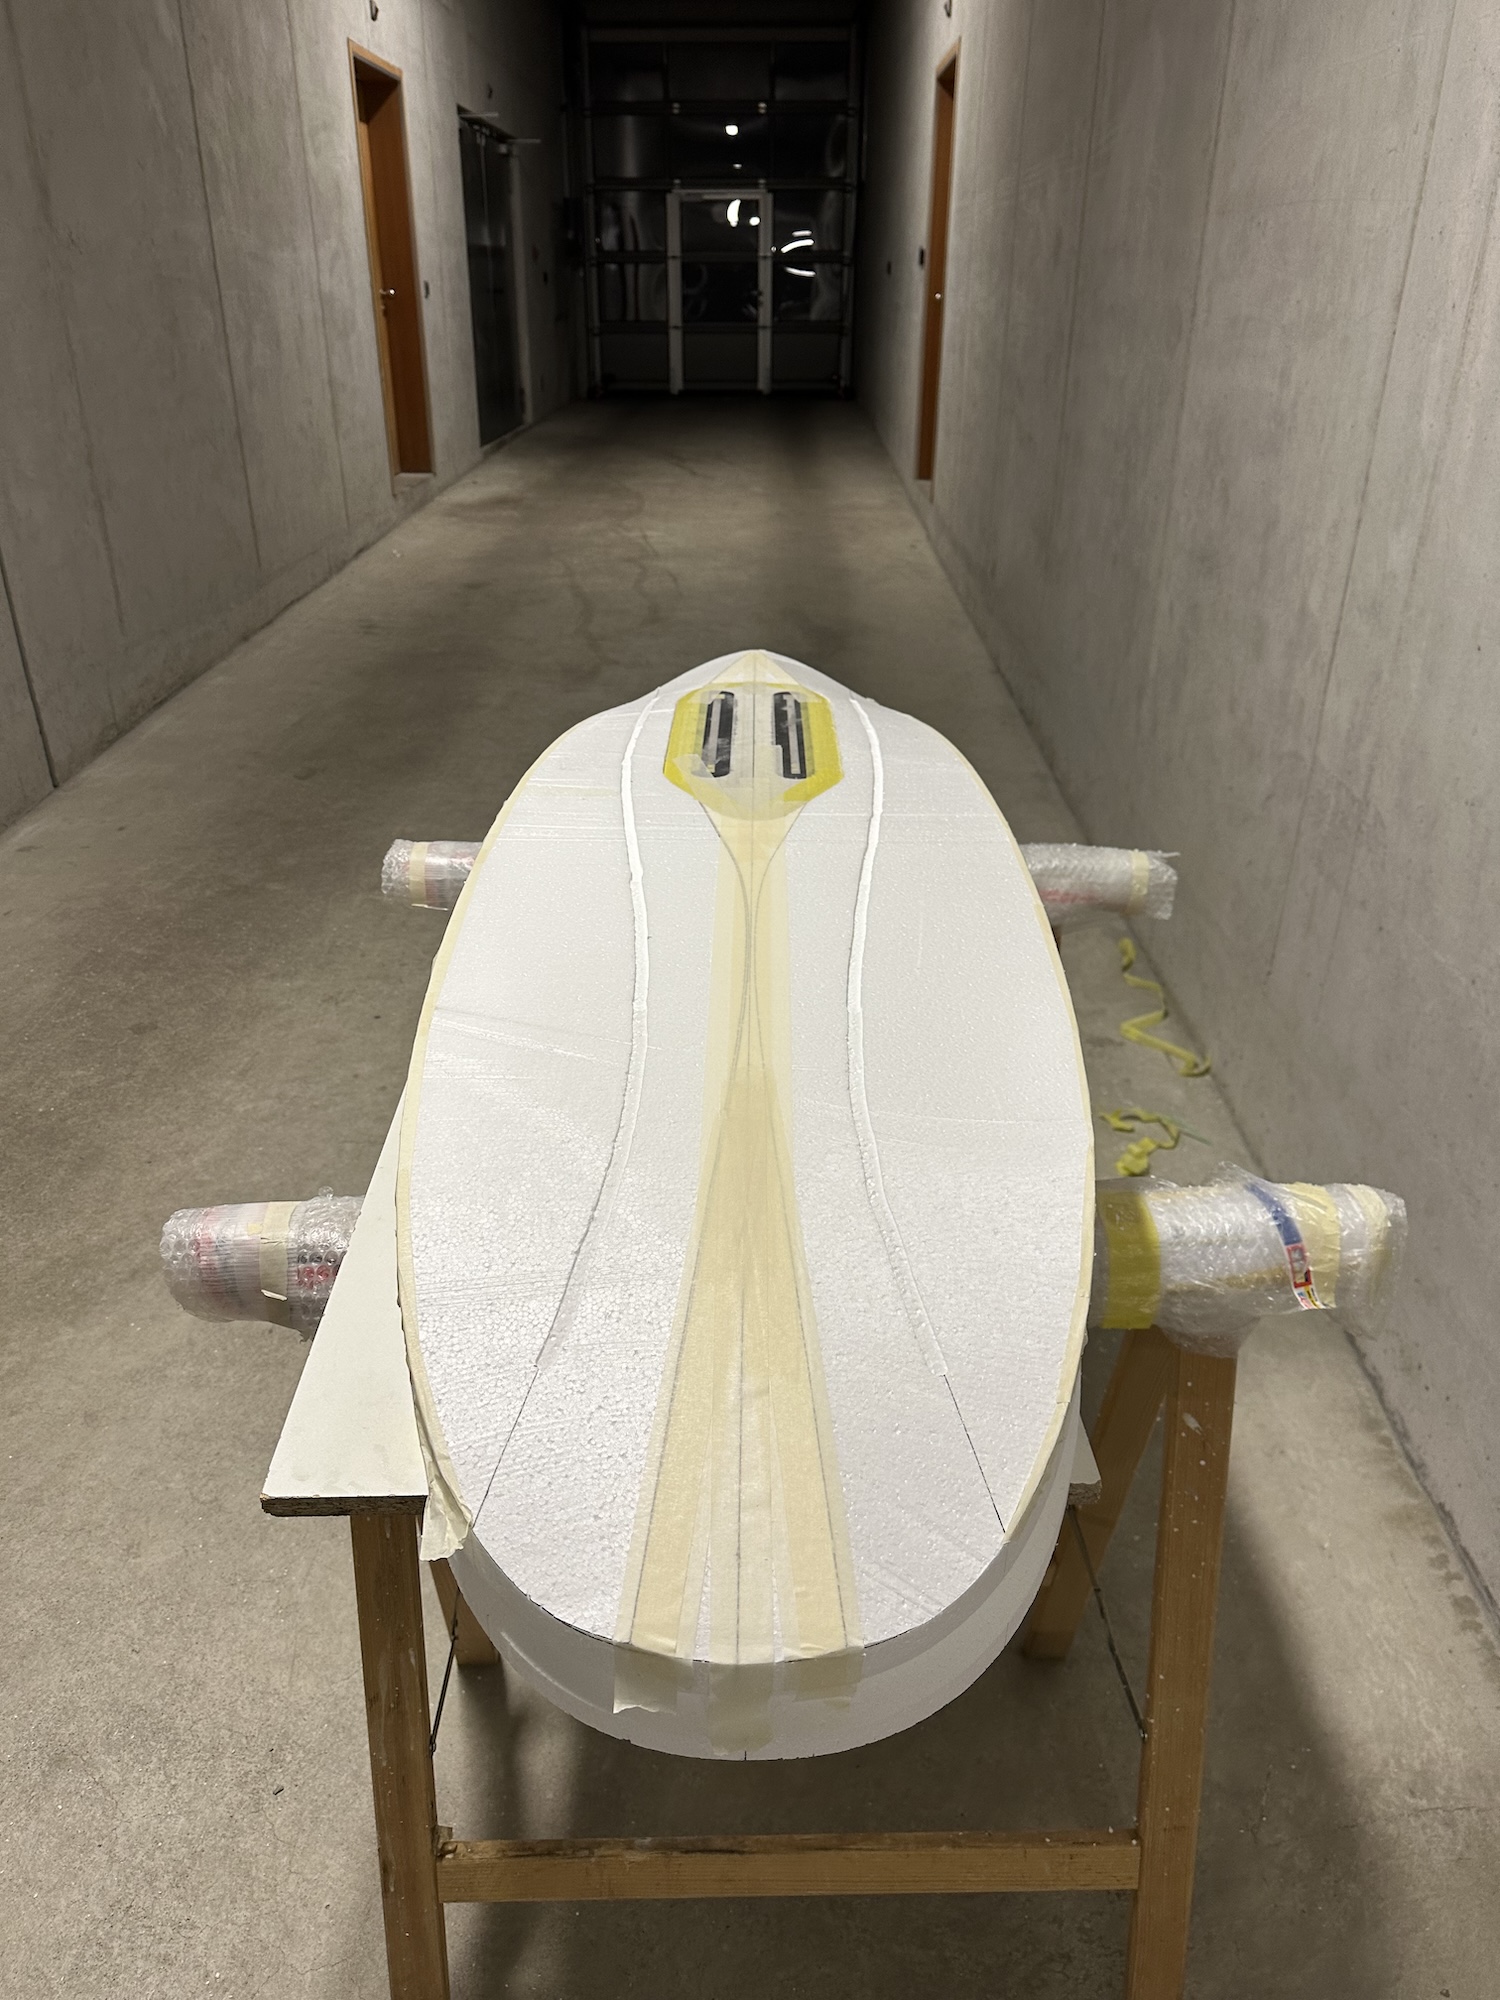
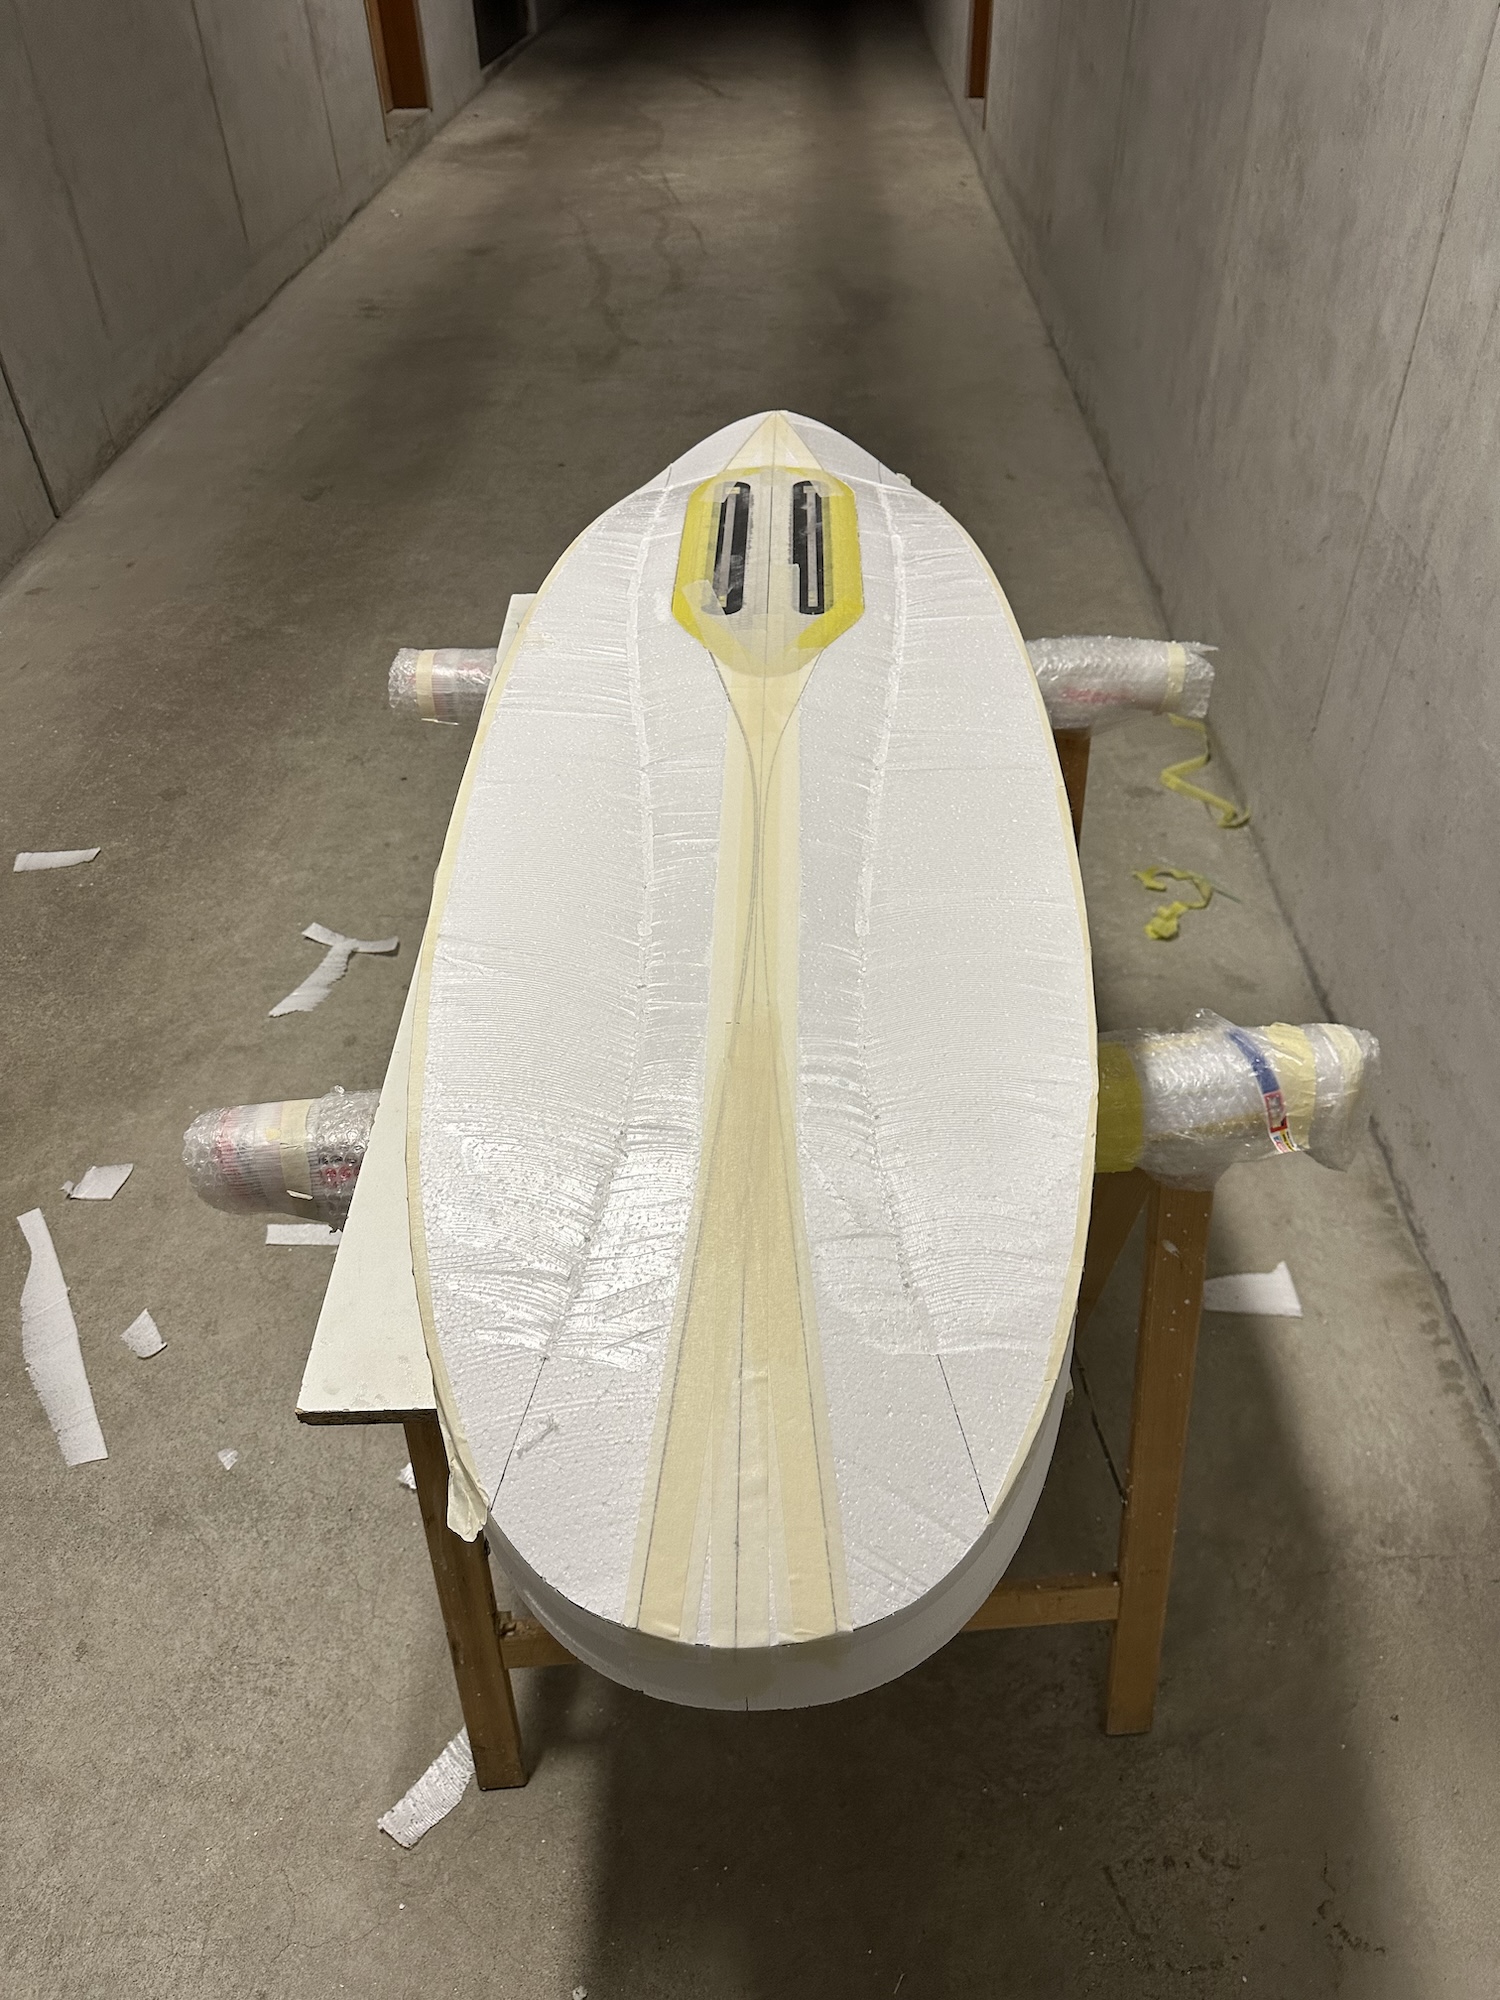
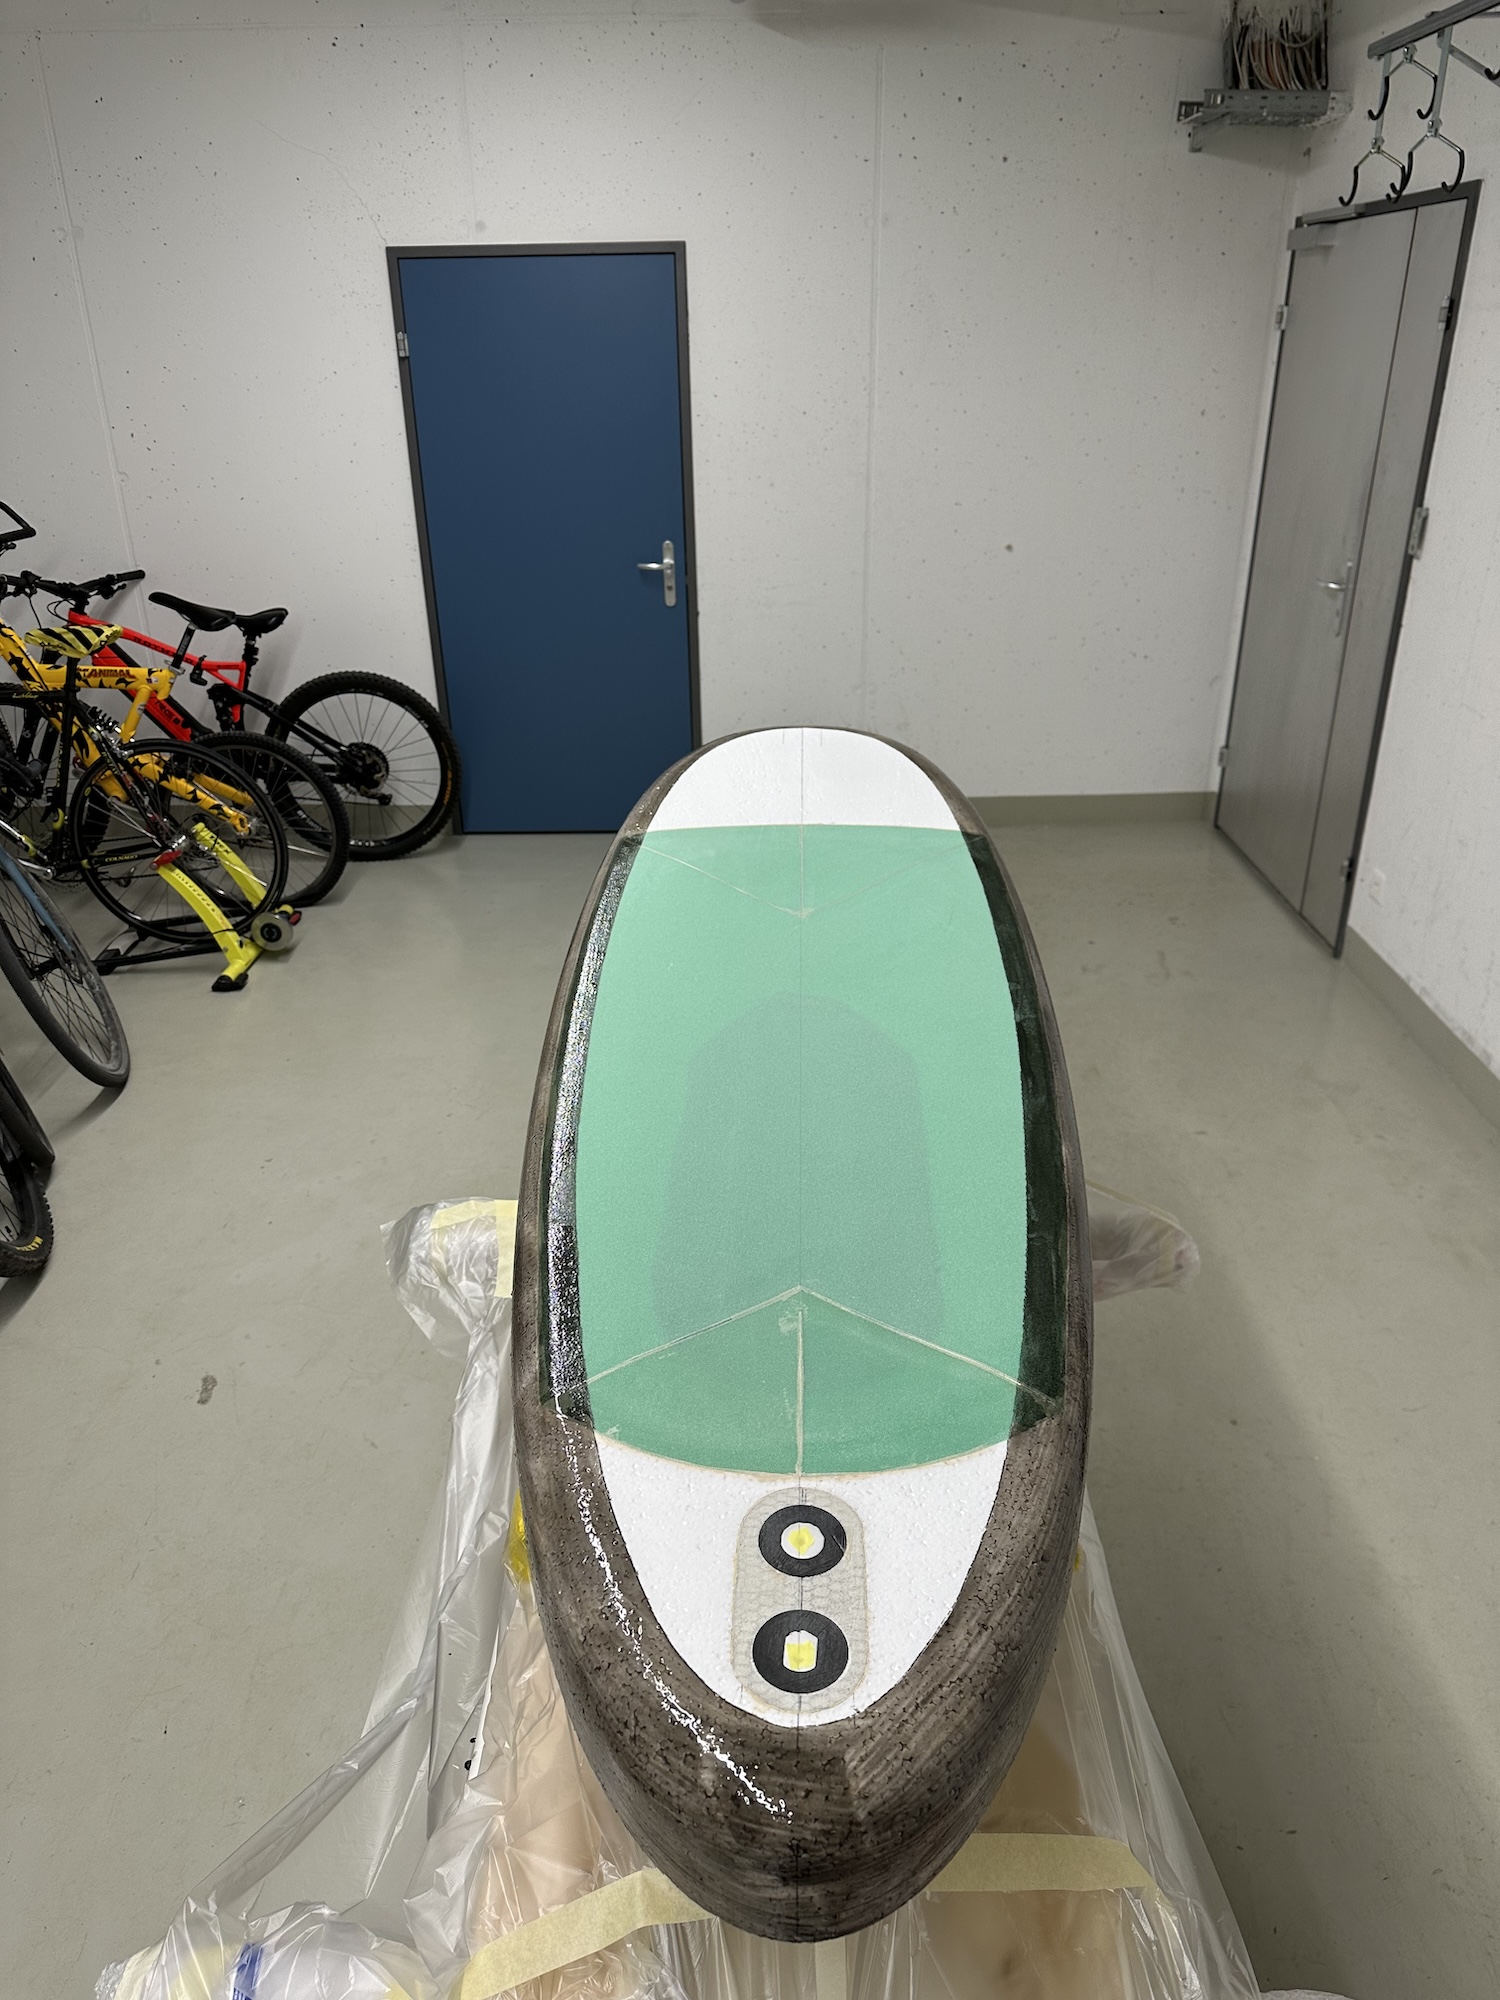
As the decksandwich on my old builds had proven to withstand a lot of impact, I decided to use the same construction. As it was my first time making a deck concave I was not sure if the Airex would be pressed perfectly to the EPS, so I used two triangles at the front and back of the concave to help with the contours. I think I can do without them on a next build.





6. Layup
I used almost the same fibre layup as last time, but made some changes to the order.
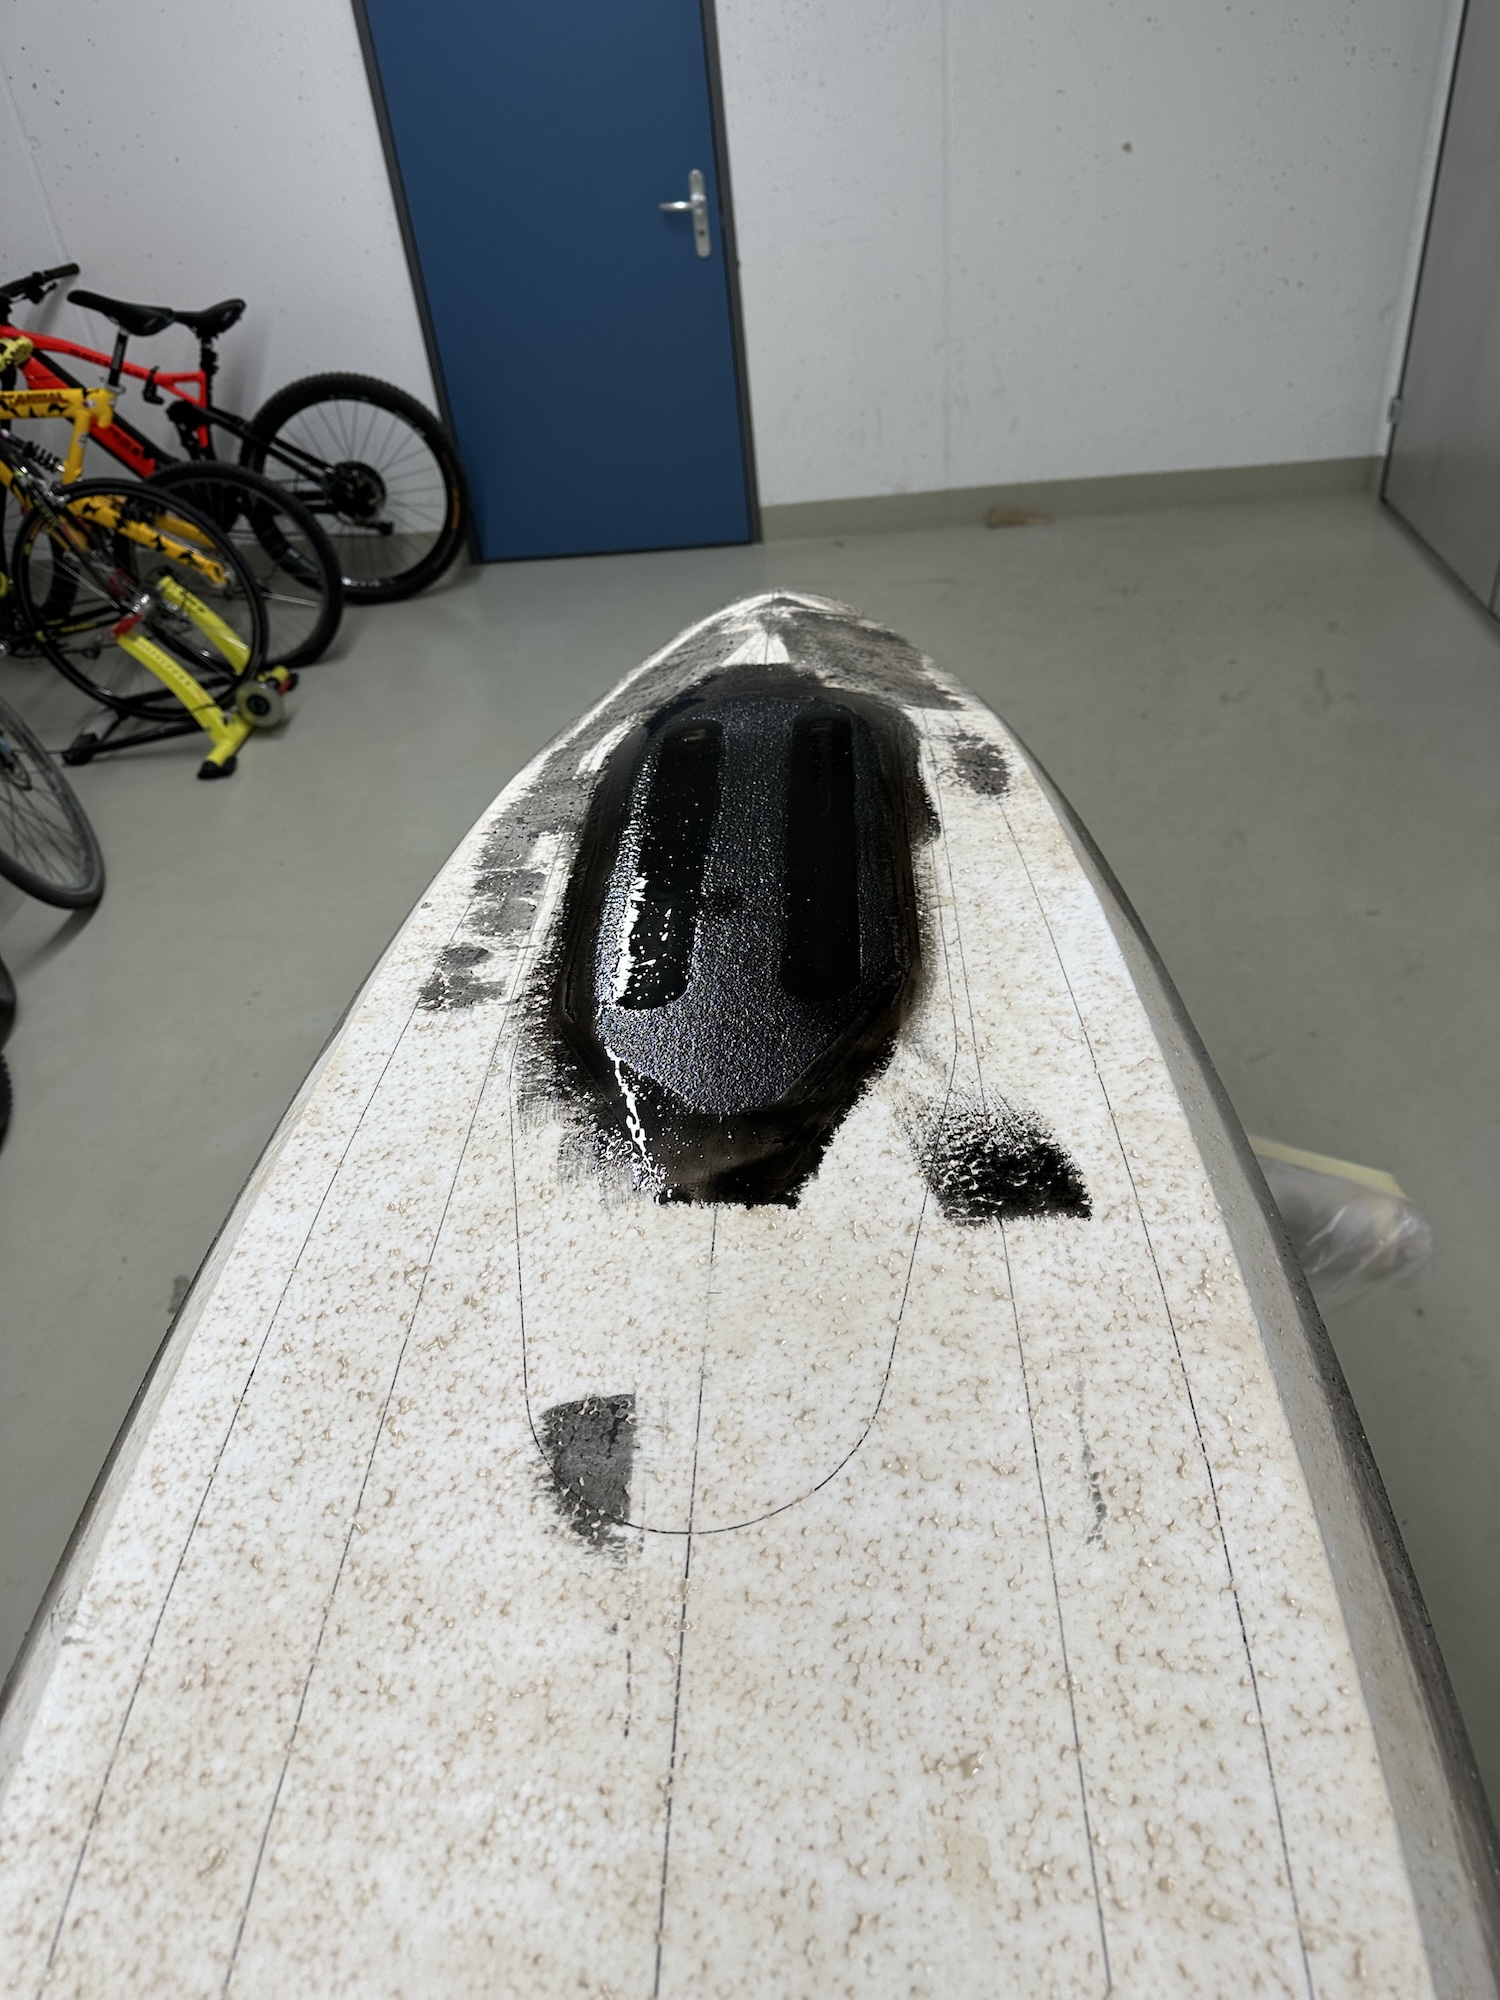
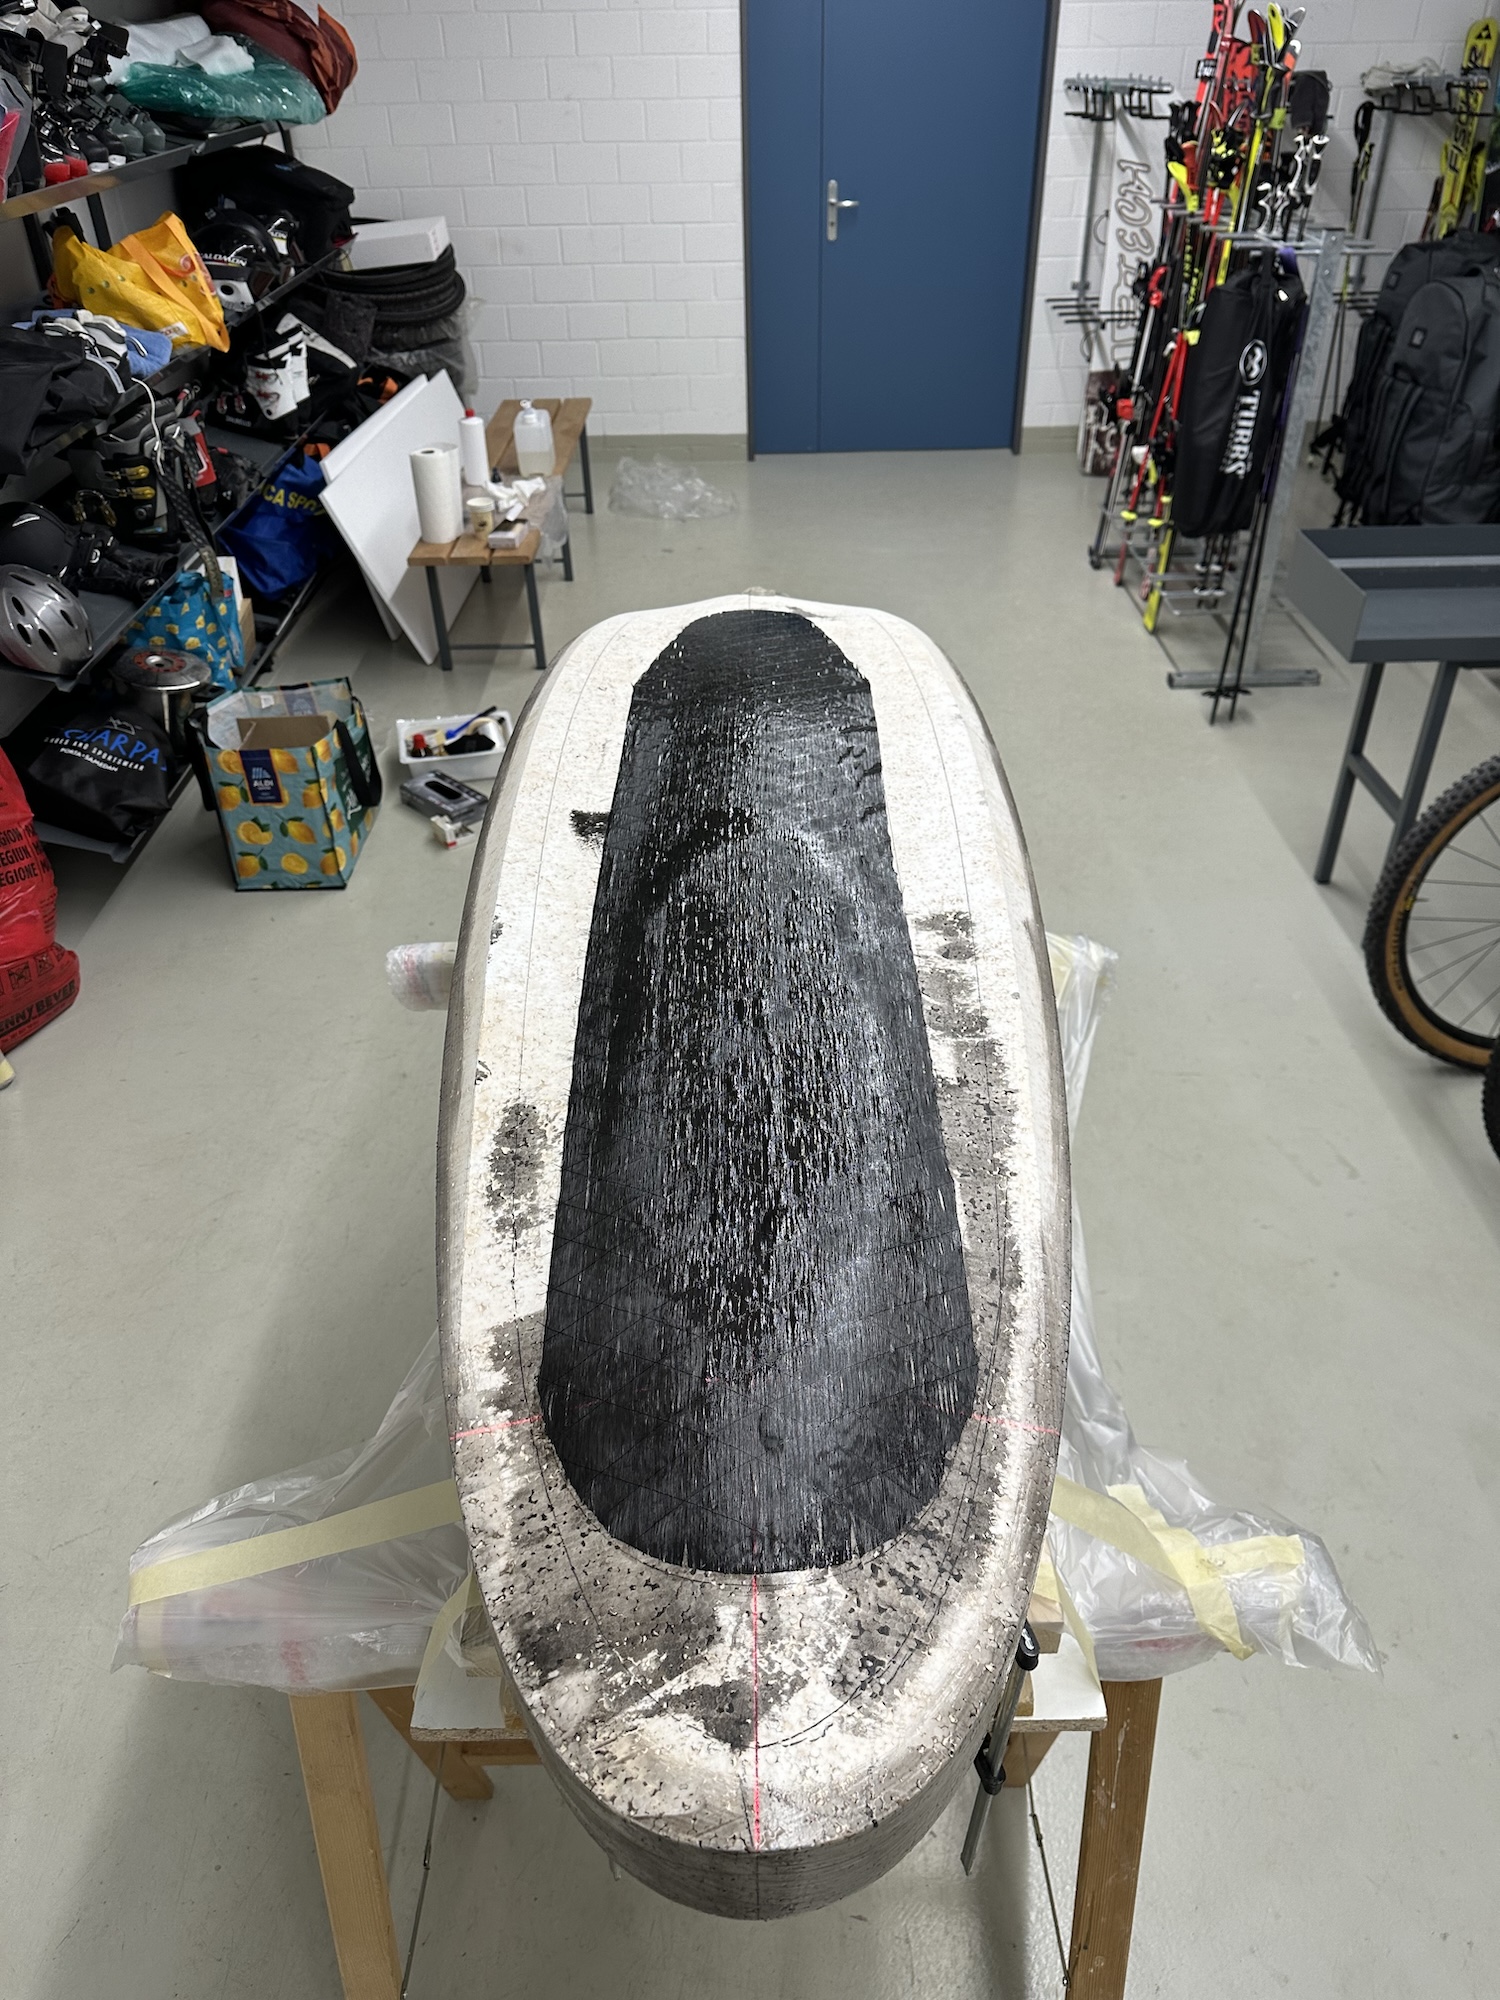
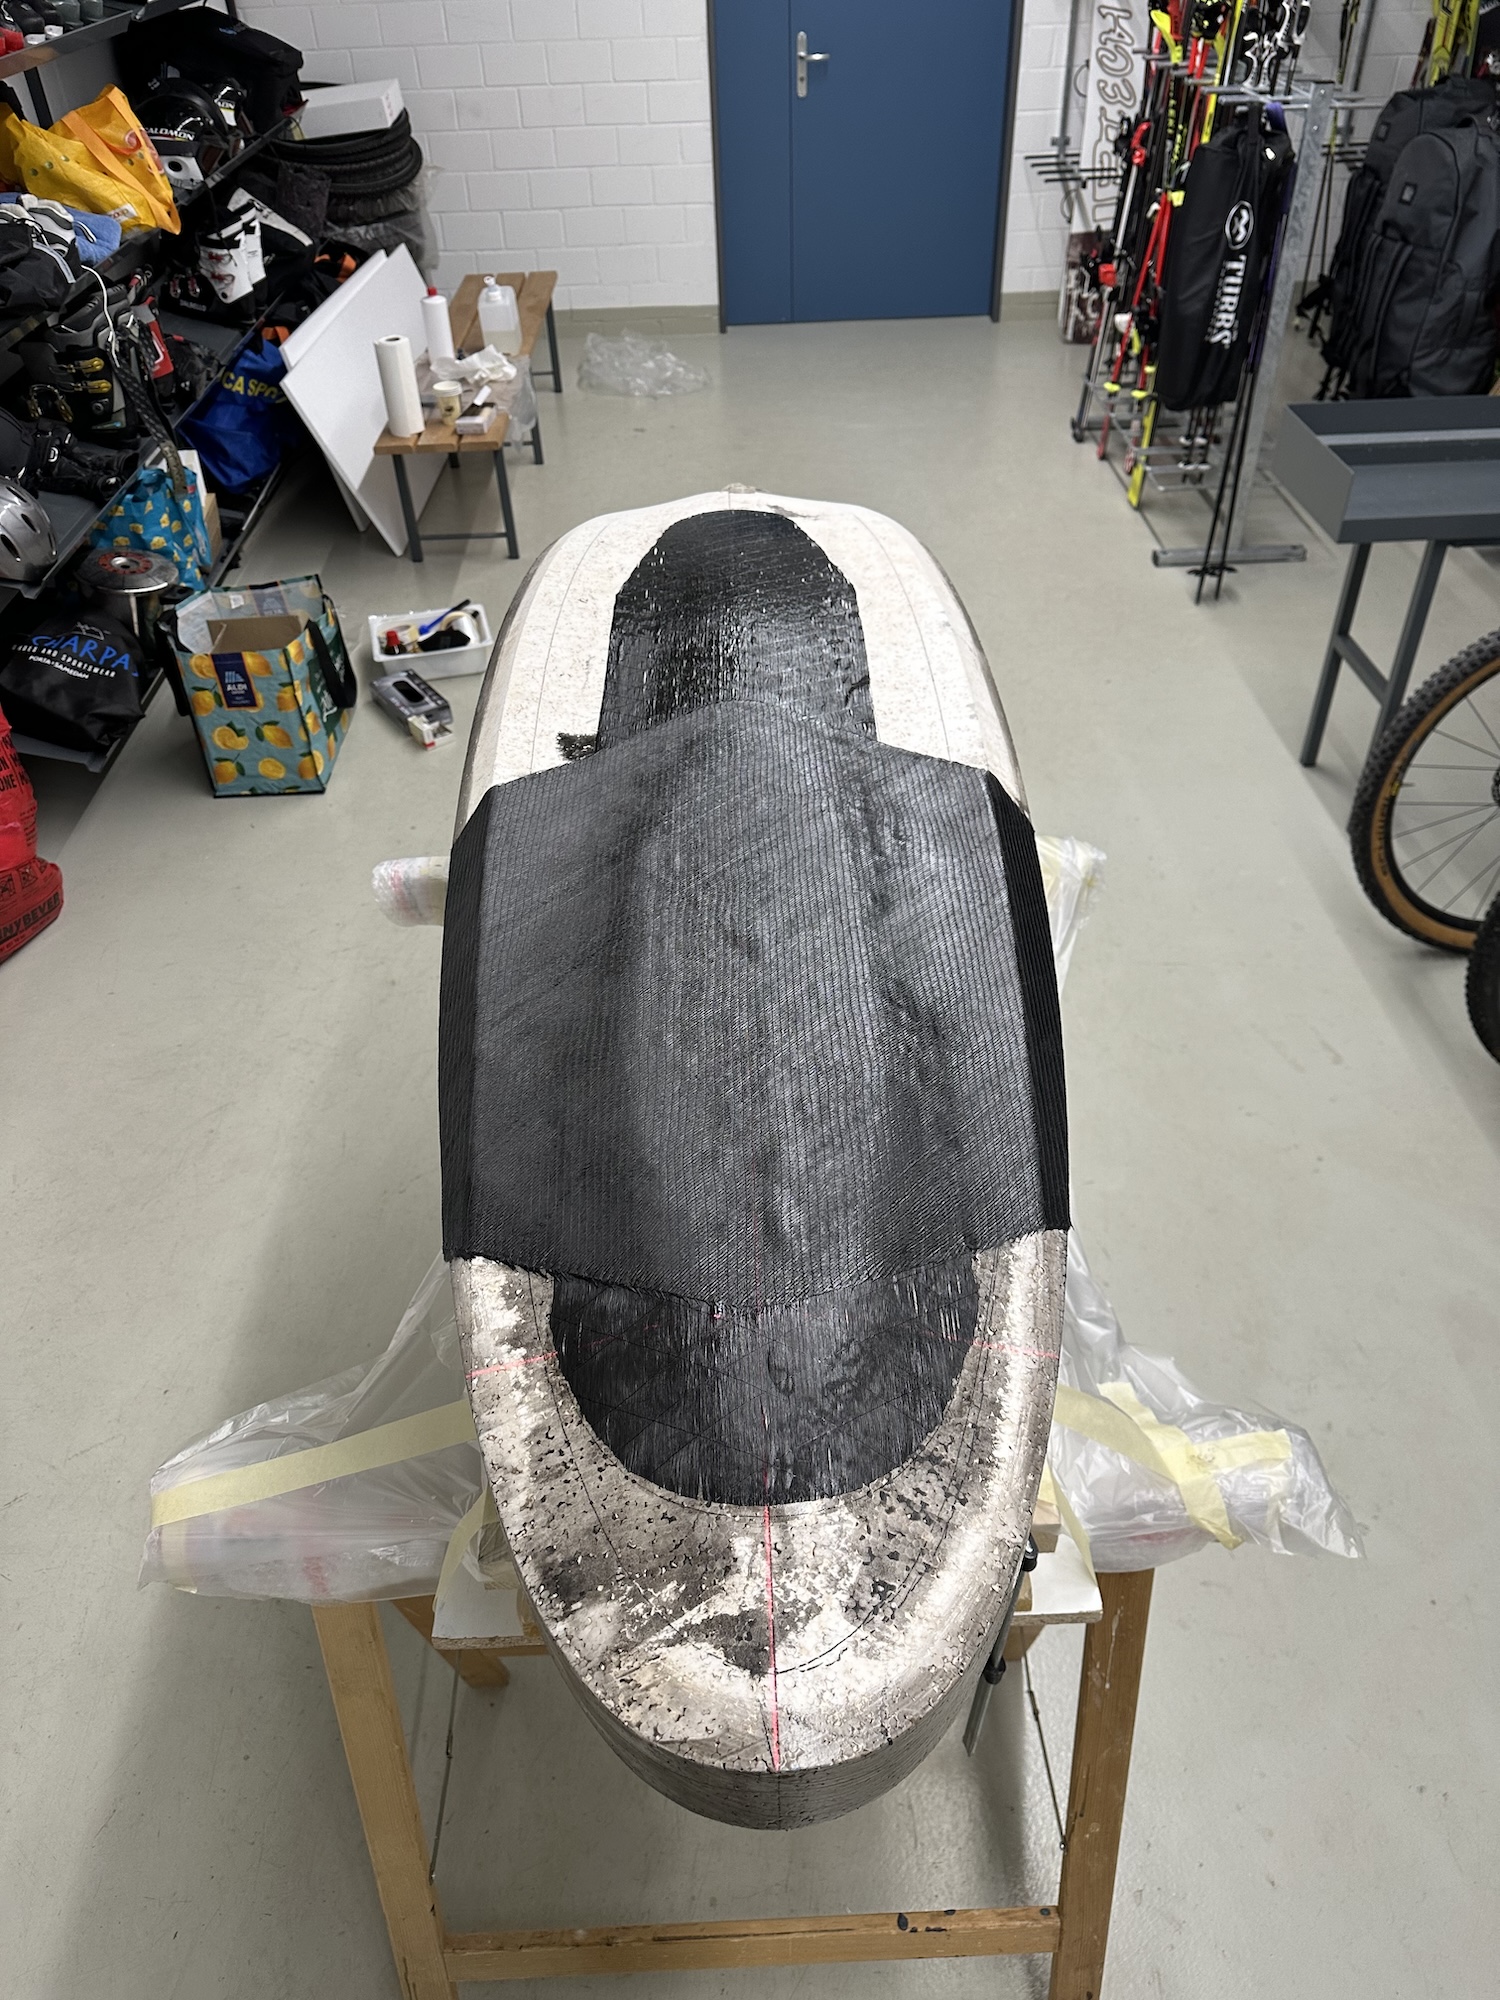
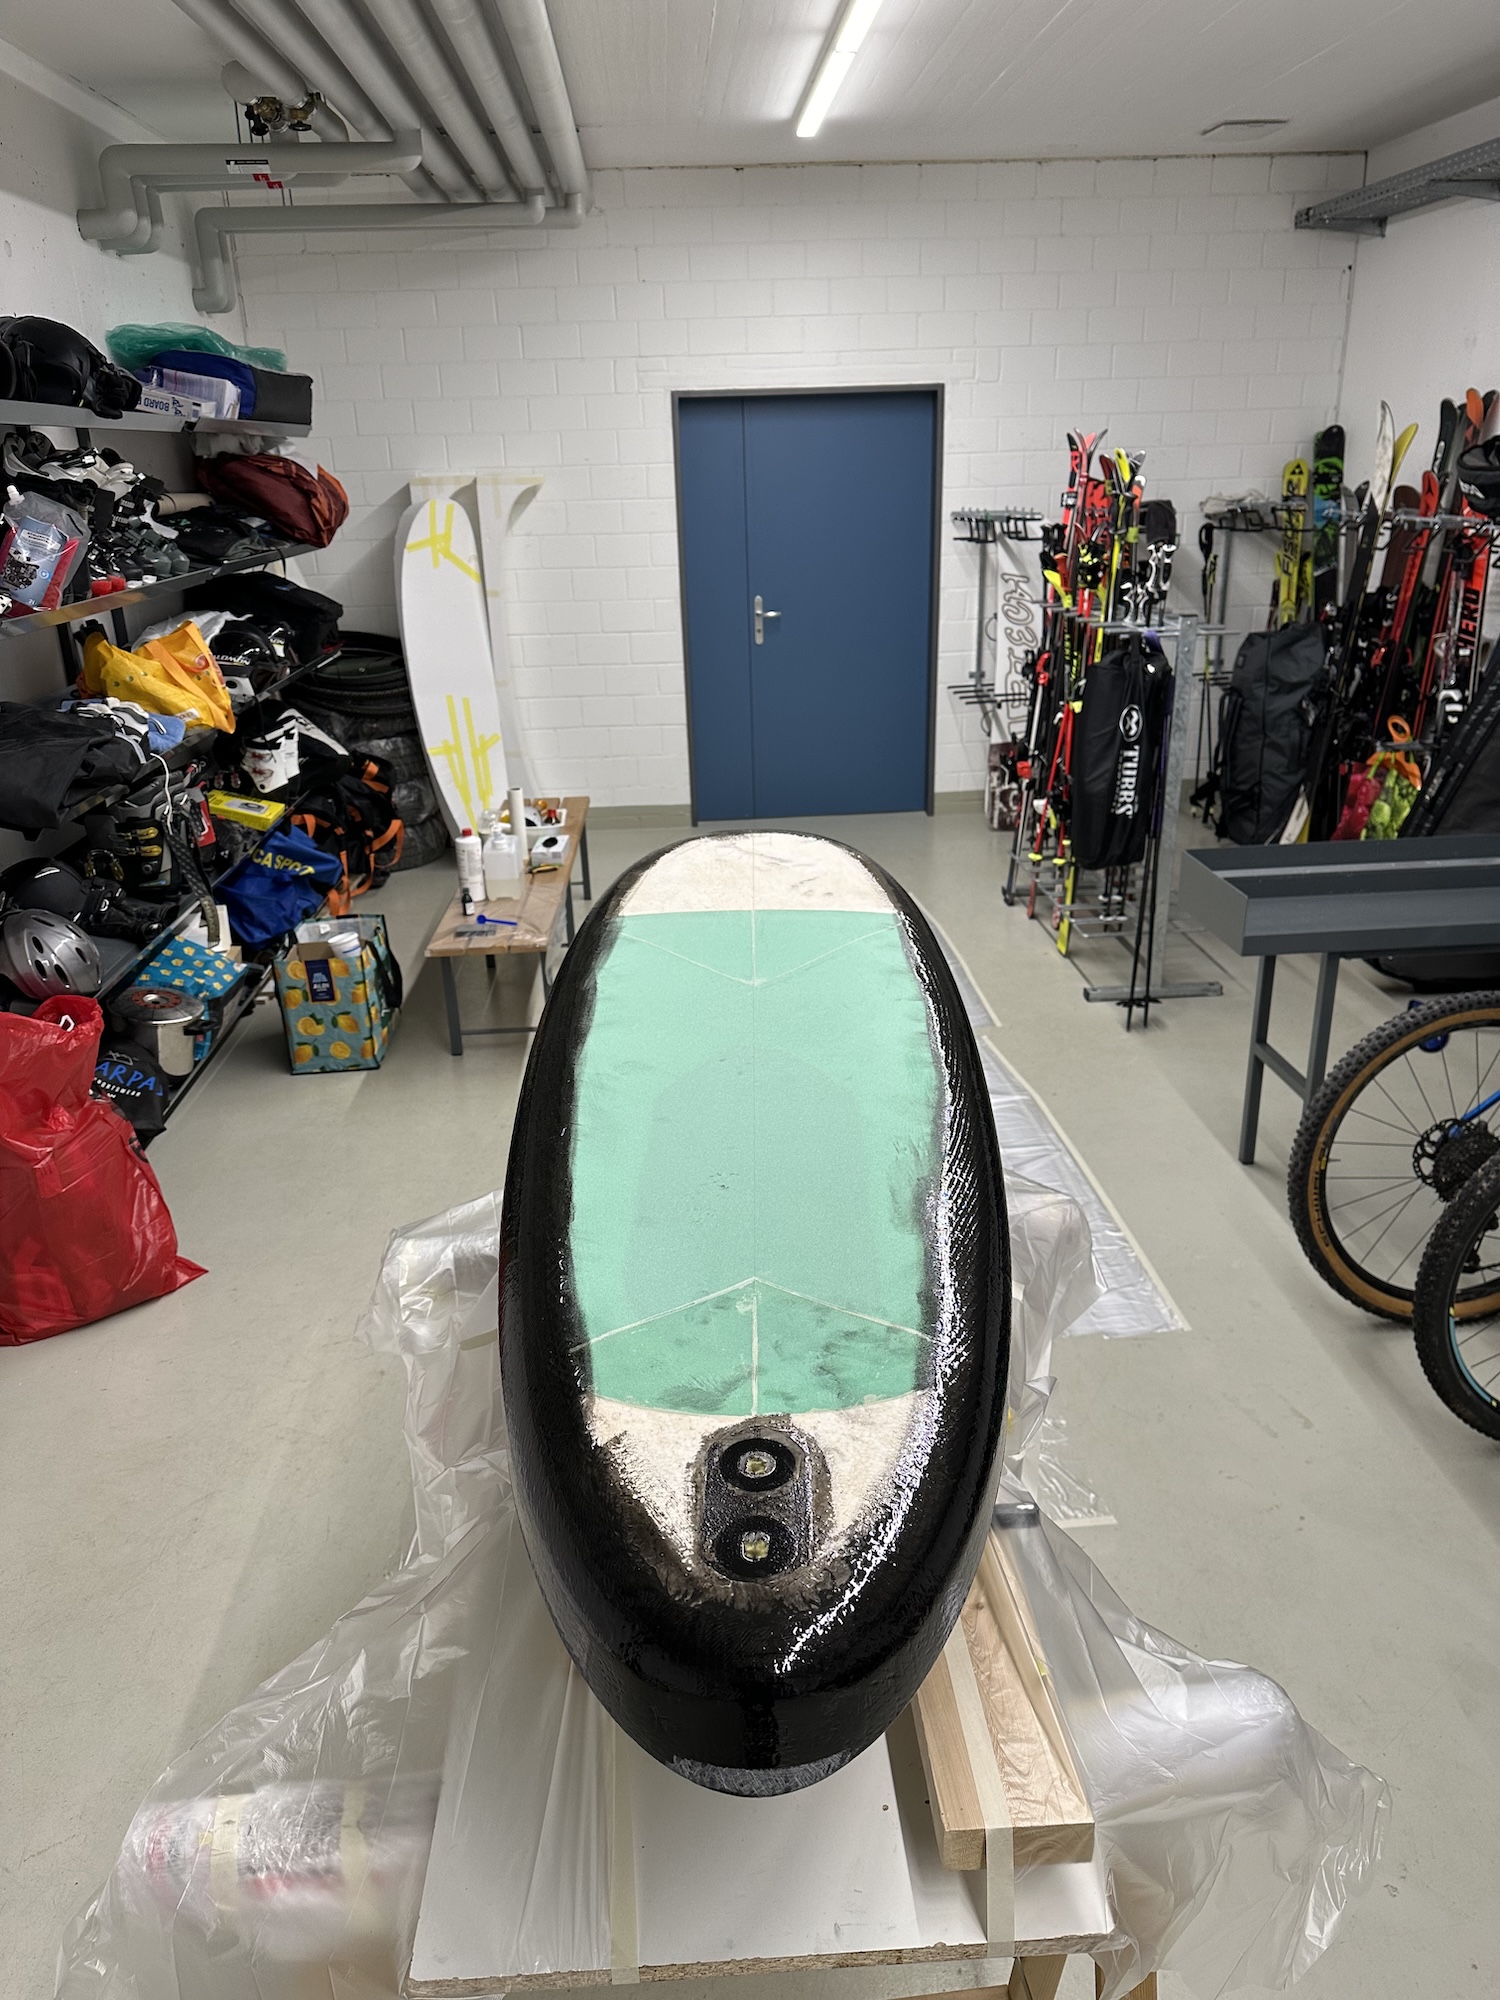
On this board I did the bottom first in the following order: EPS, UD patch, box patch over the rails (this tip came from Laird Davis, shout out to him), then the top layer of biax 45° extending 5 cm onto the deck, stripes of s-glass over the chines, tail section and centreline of the board.
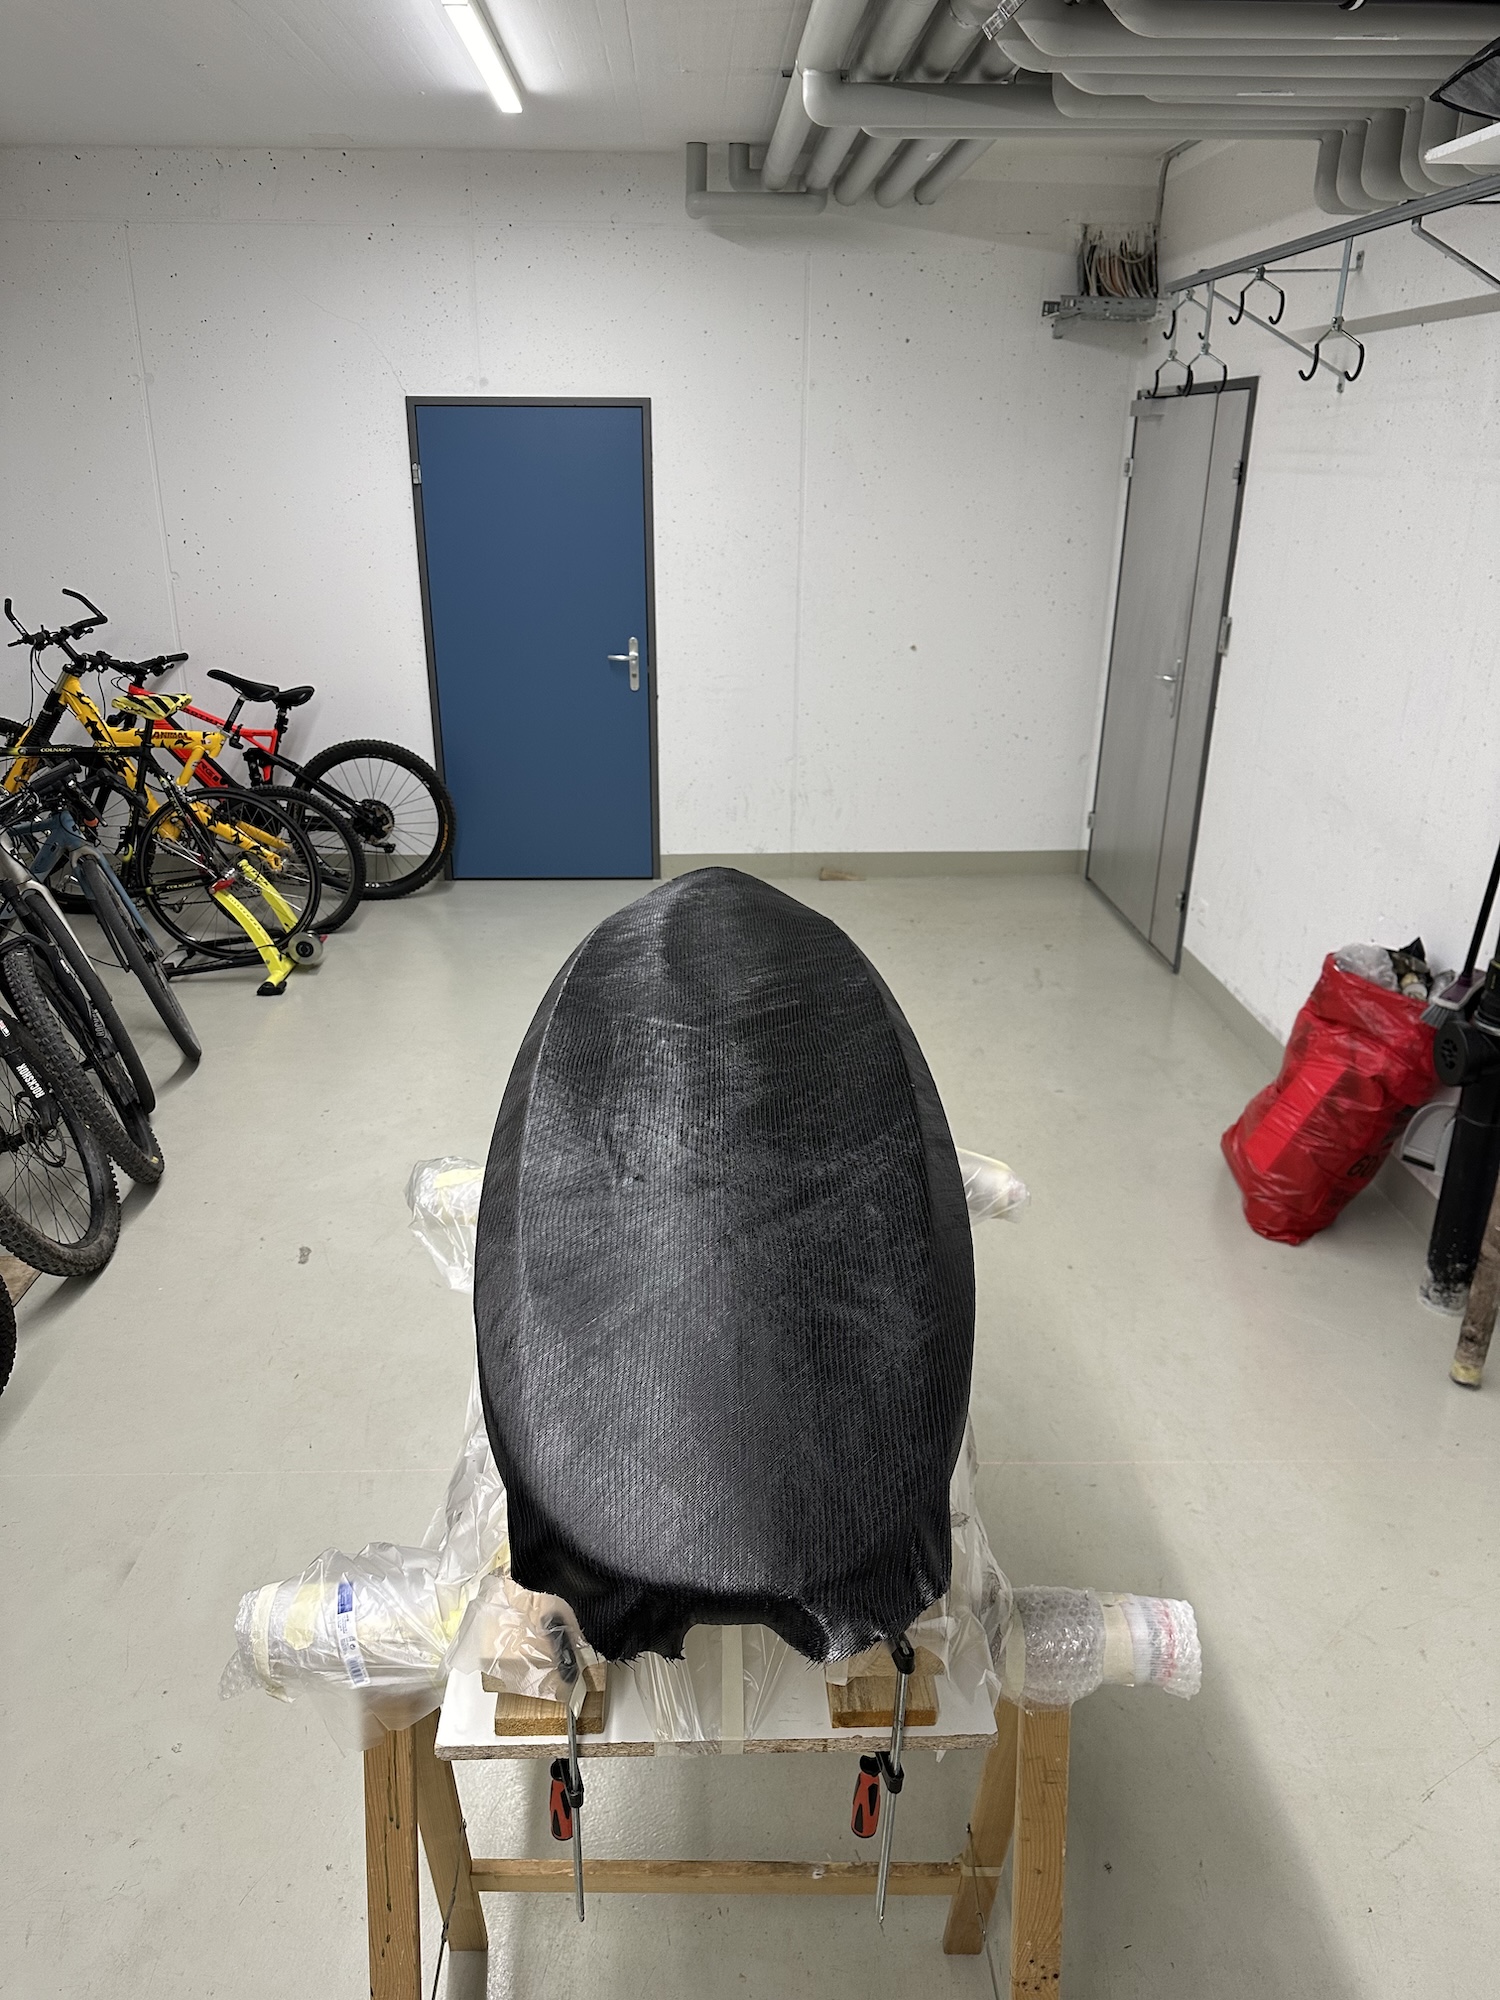
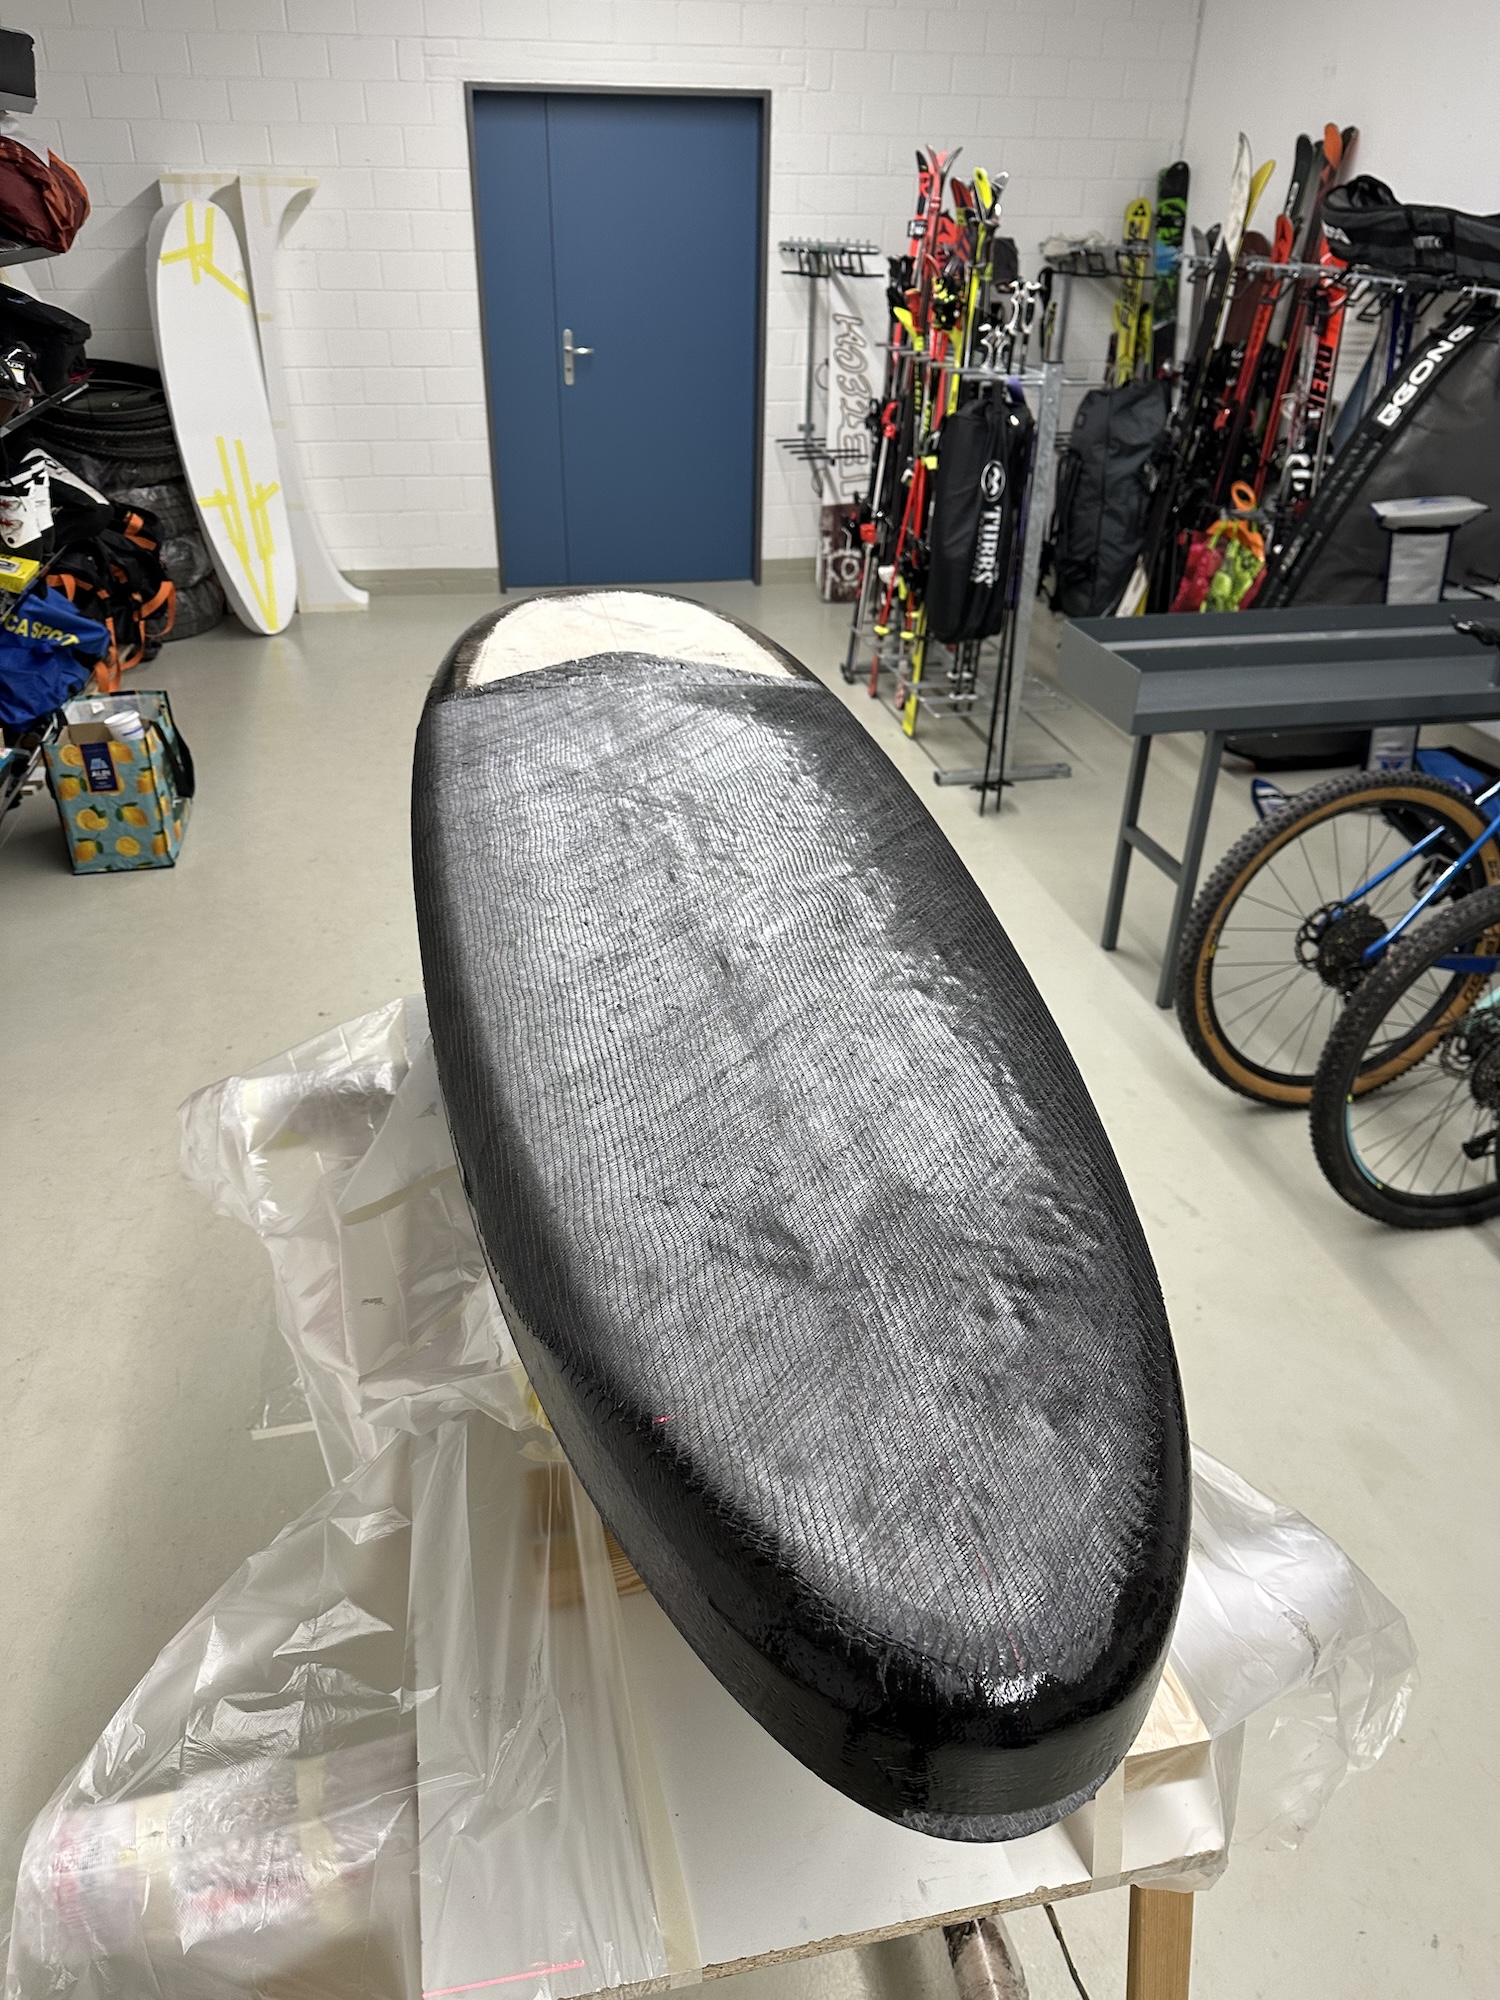
Deck: EPS: over stringers carbon biax 45° patch, fibreglass-airex sandwich, UD patch, biax 45° patch for standing area, top layer biax 45° extending to the bottom of the rails. I debated whether or not to extend it another 5cm down, as I had done on my previous builds. But as I have very sharp chines and precisely shaped double concave, it was much easier to do it this way. I will see how it holds up. Stability wise it feels very rigid and I don't think I would feel the difference, again I put strips of S-glass over all the rails, nose and tail.
7. Lamination:
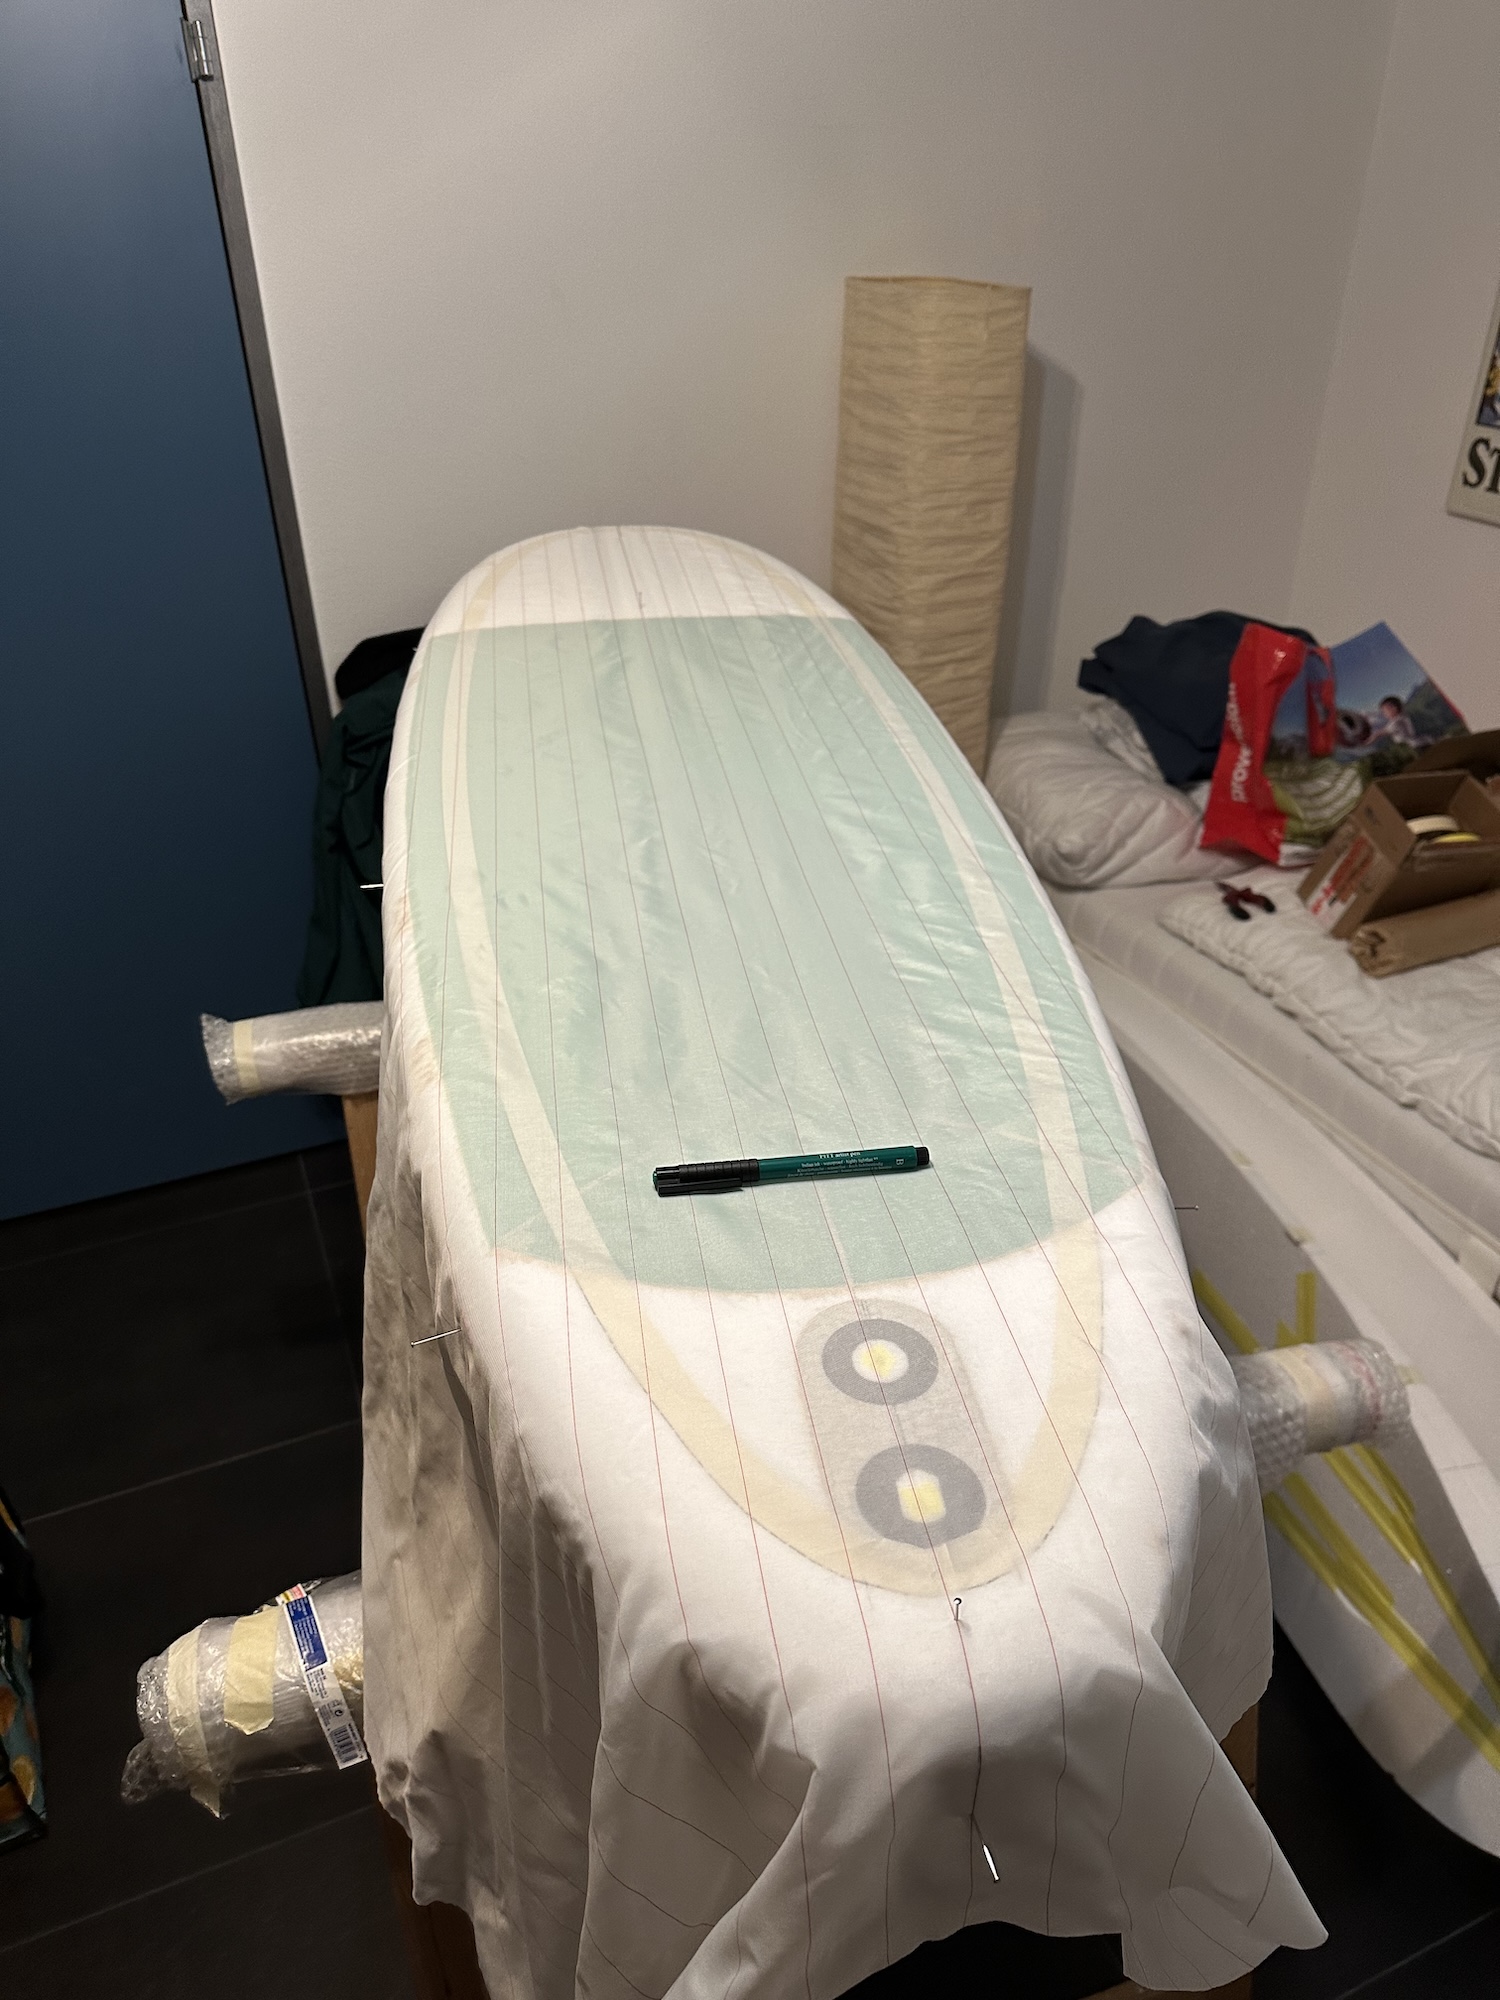
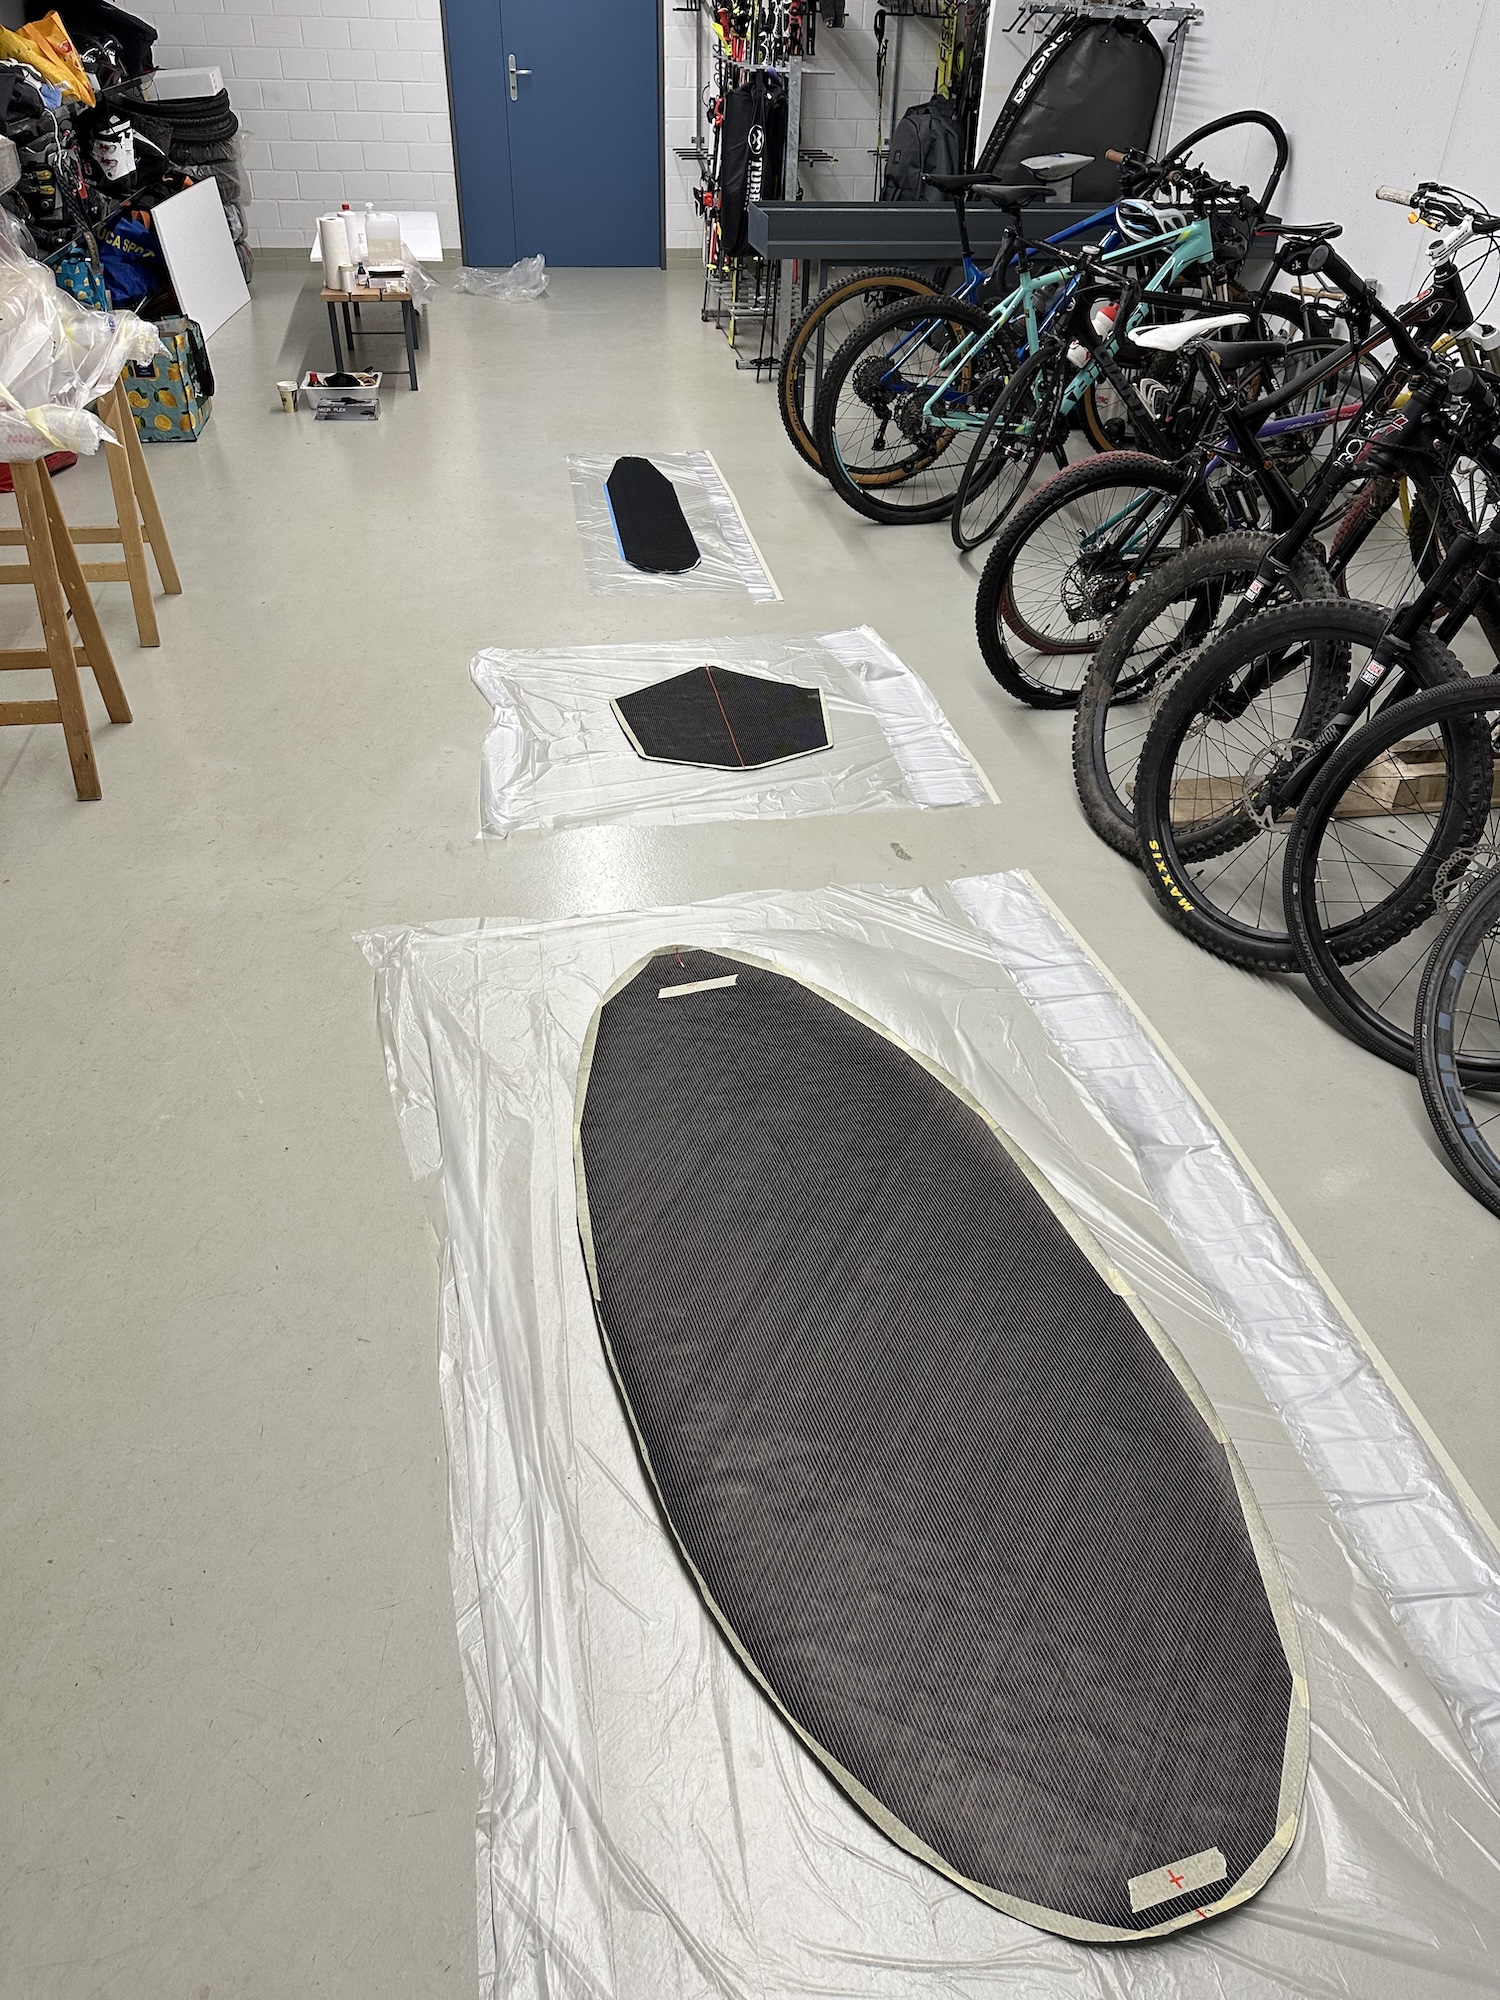
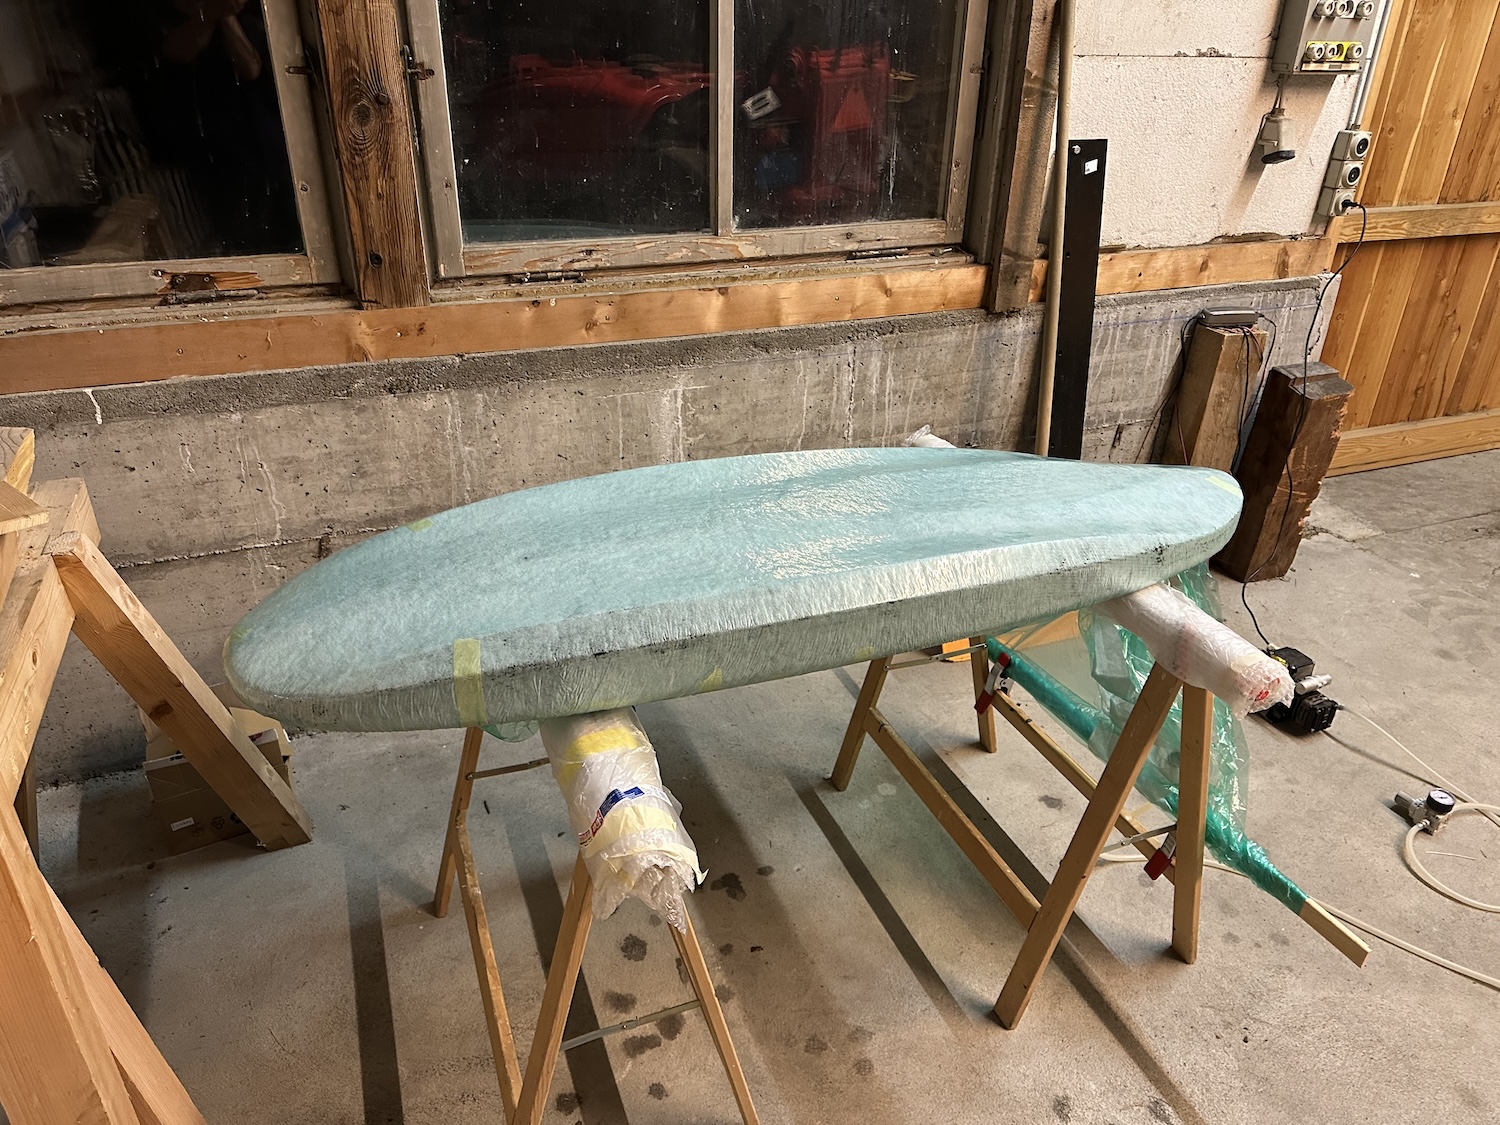
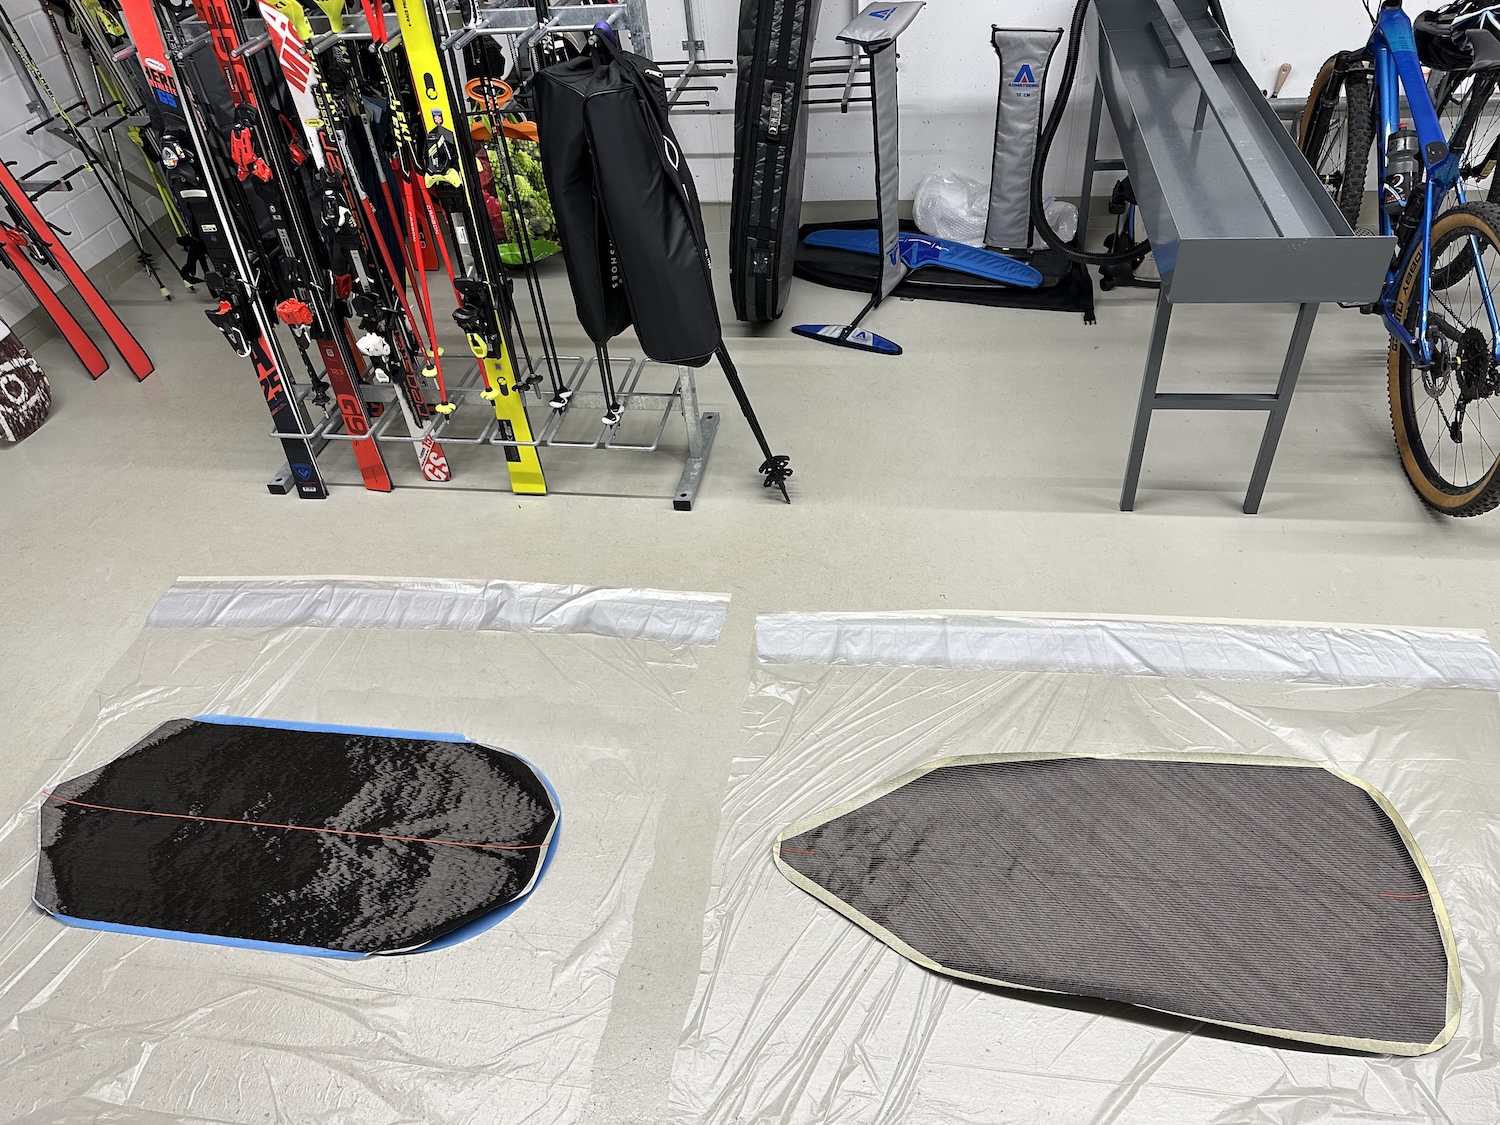
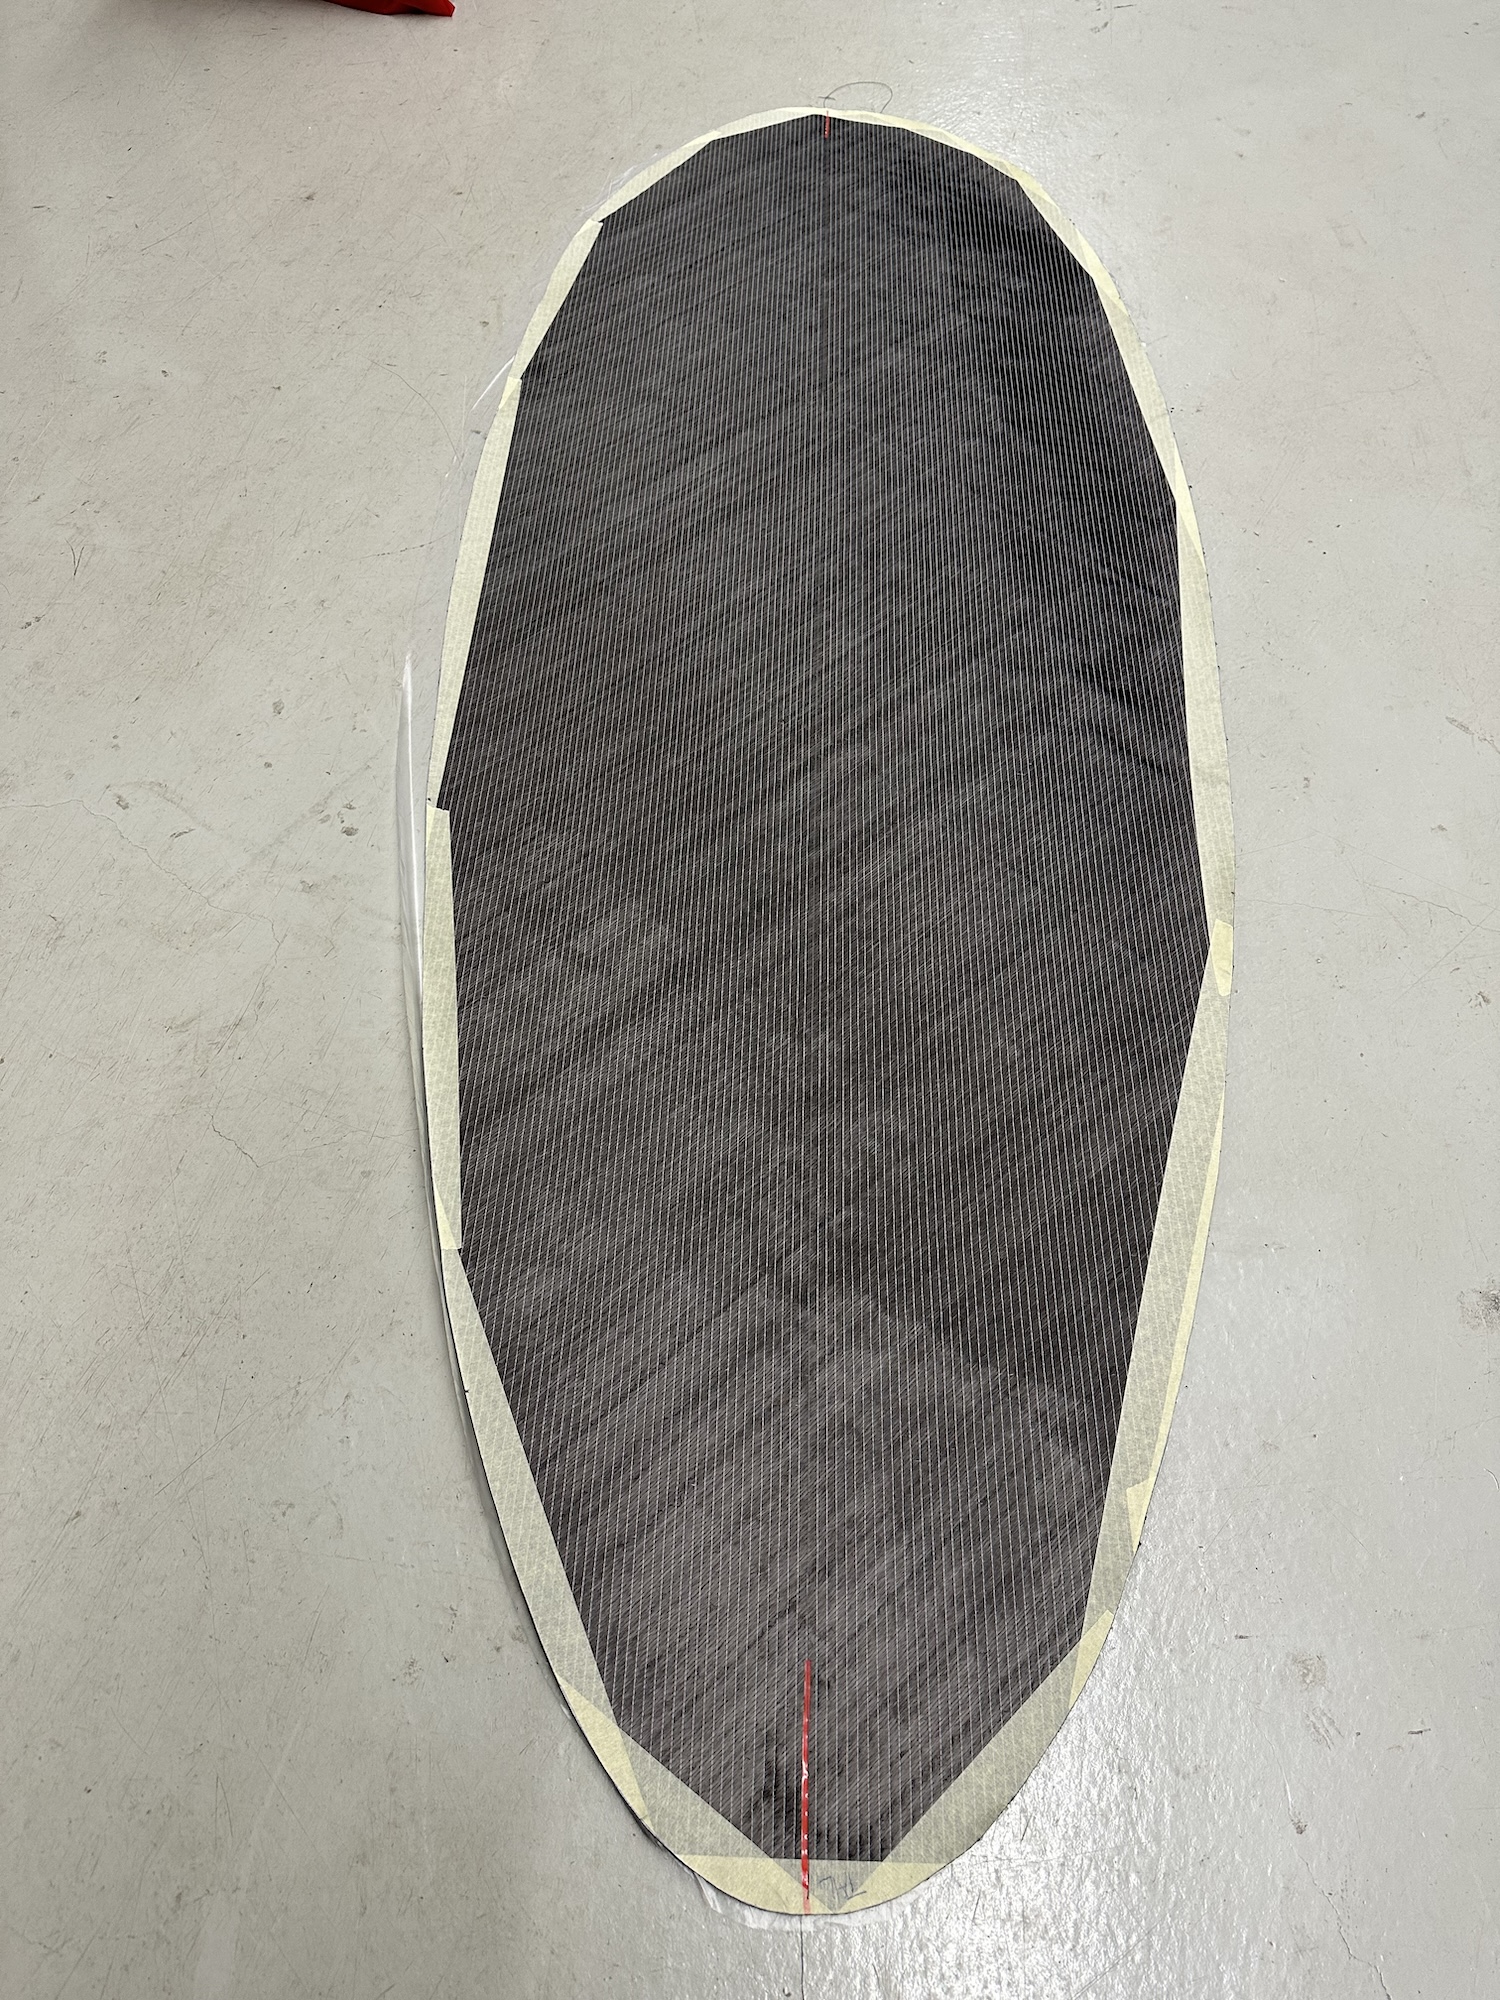
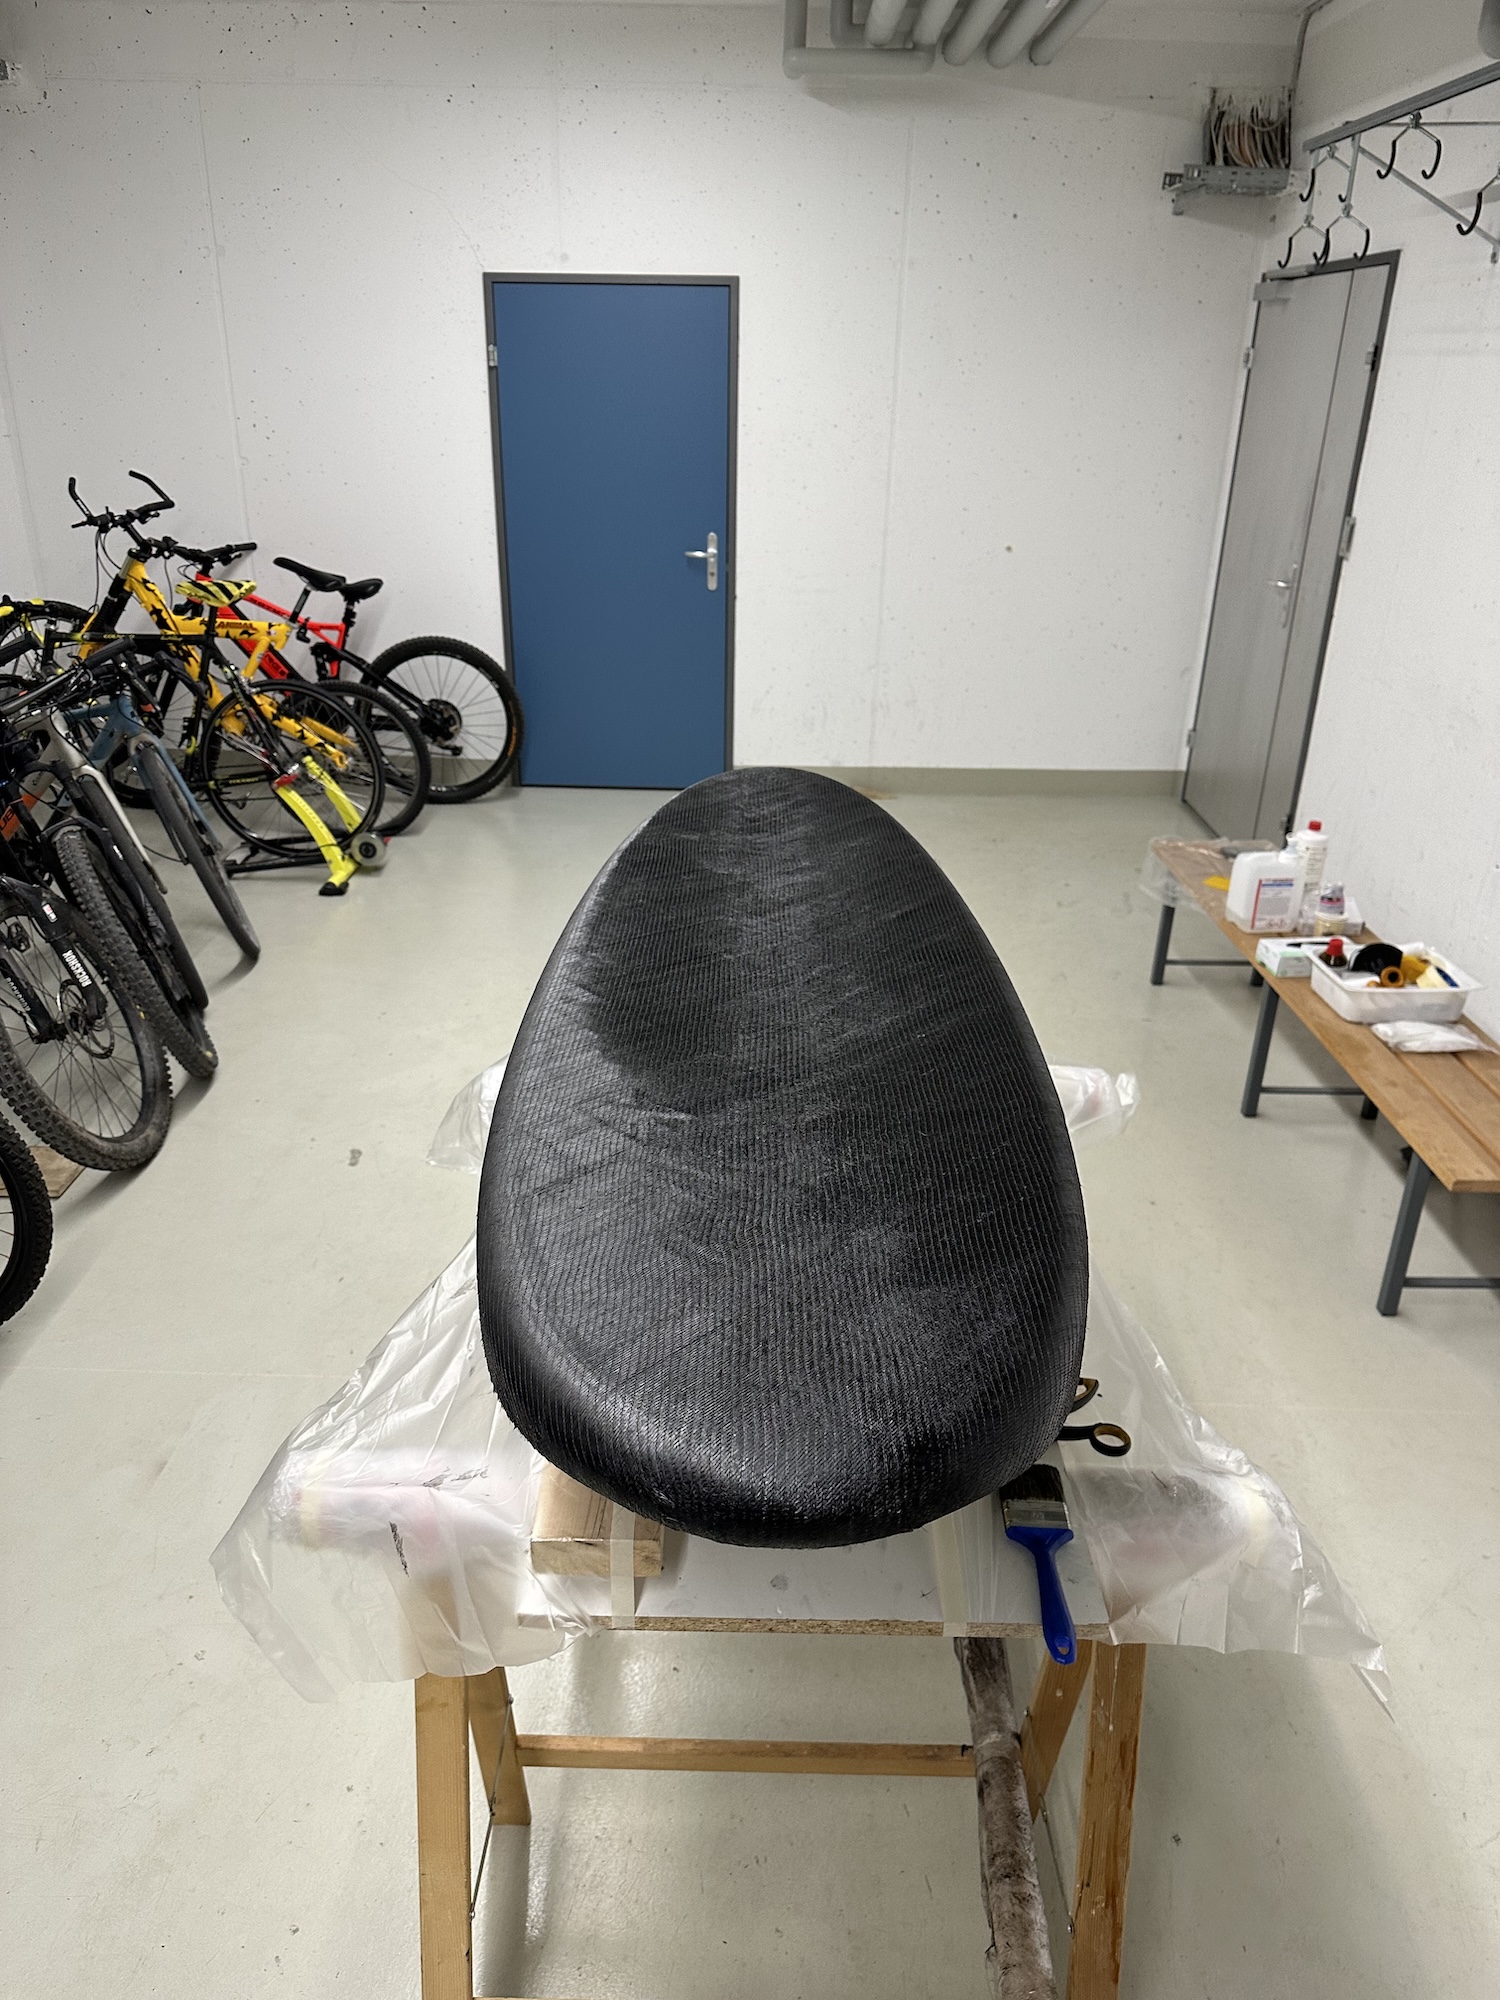
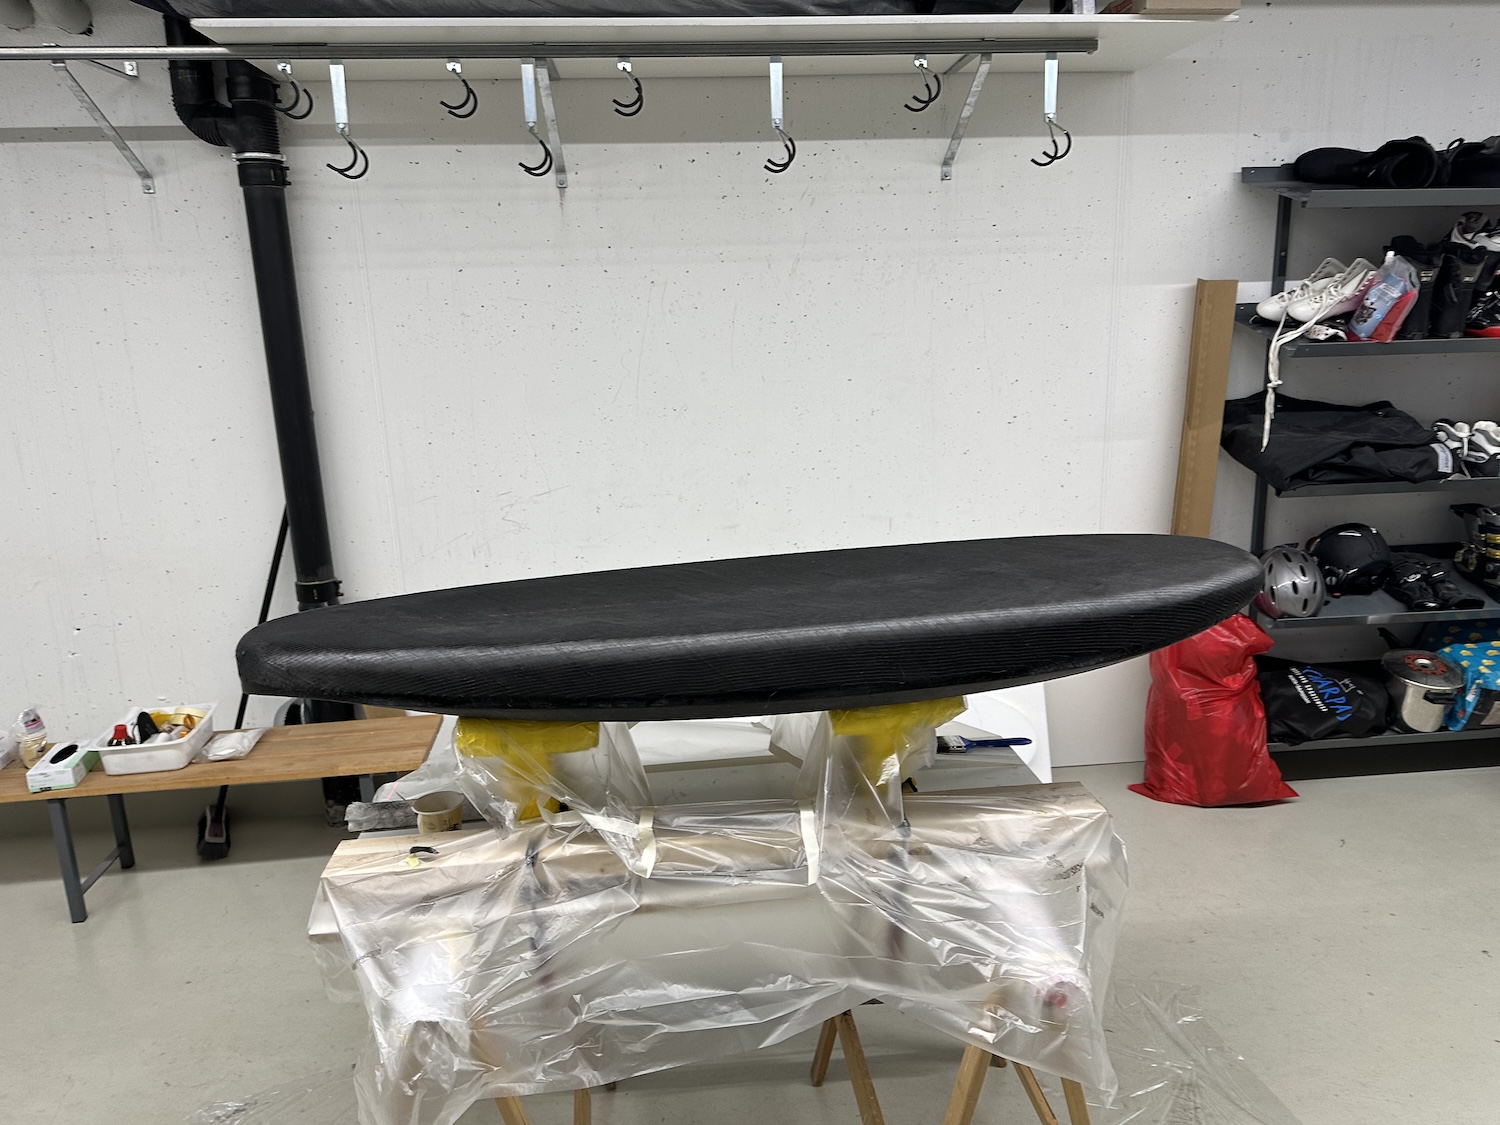
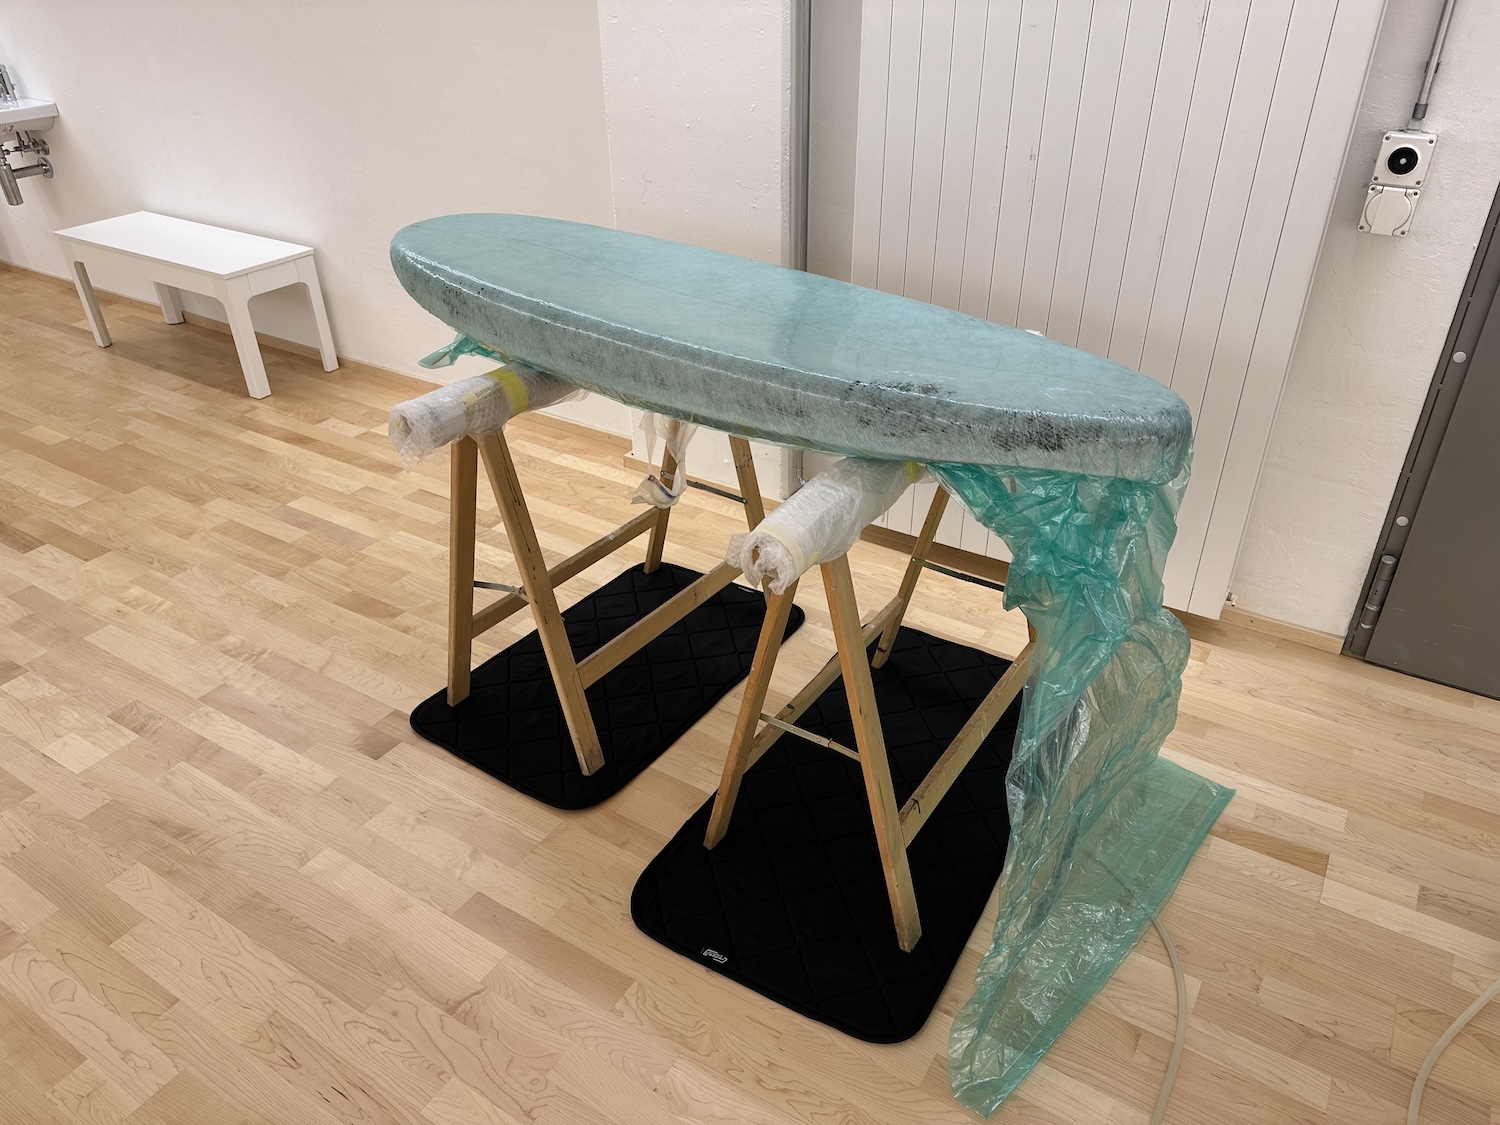
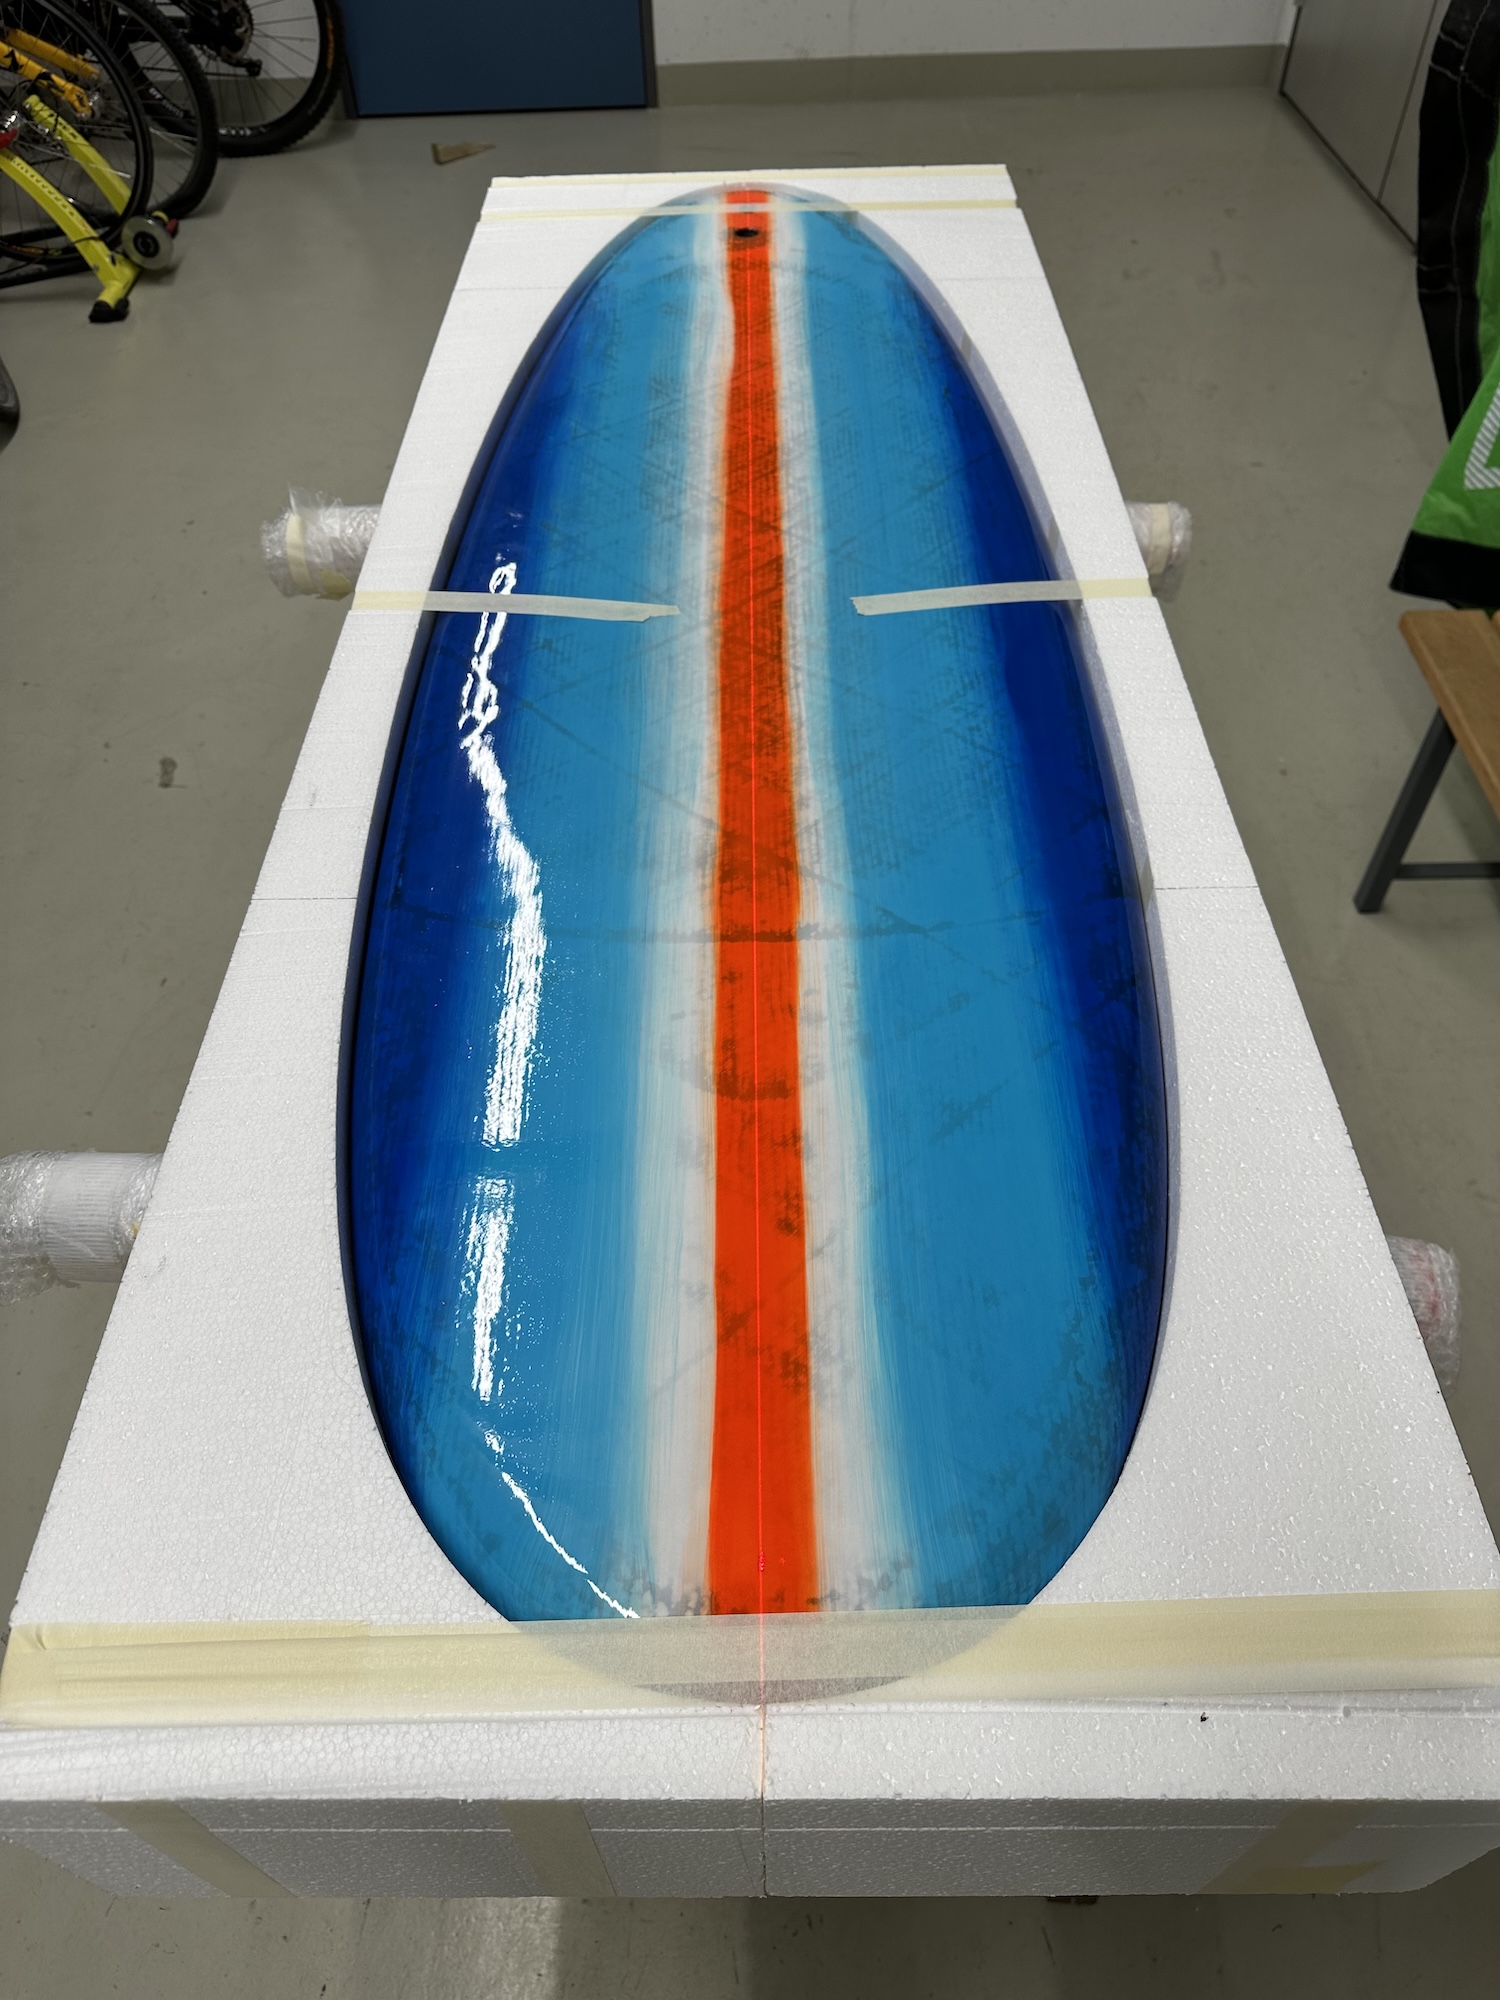
I pre-cut all the carbon patches to templates. For the patches I used prints from the cad and for the top layers I wrapped the blank with the tear-off cloth a, fixed it with needles and marked it with a pen. This was the easiest and most accurate way to cut the templates I have made so far. To place the carbon cloth accurately, I marked the centre line of the cuts either with a thin piece of tape or thread, which I sewed very loosely into the threads holding the cloth together with a few stitches. Knowing the centre line, I bought a cheap laser to mark the centre line of the canvas. This made it very easy to unroll the pre-wetted cloth precisely onto the blank. I sealed the blank with epoxy and West Microlight 410. I used a fast setting epoxy and did the lamination while the epoxy was still tacky. Over the box and the rails I used a little extra epoxy mixed with thixotropic to make the wrapping around the rails easier (in fact it was the easiest wrapping I have ever done) and to make the joint with the rails bullet proof. I used a slow setting epoxy for the lamination to get an stress-free lamination and to get as much excess resin out of the vacuum bag as possible. After the top coat, I applied strips of S-glass to all the rails and sharp edges.


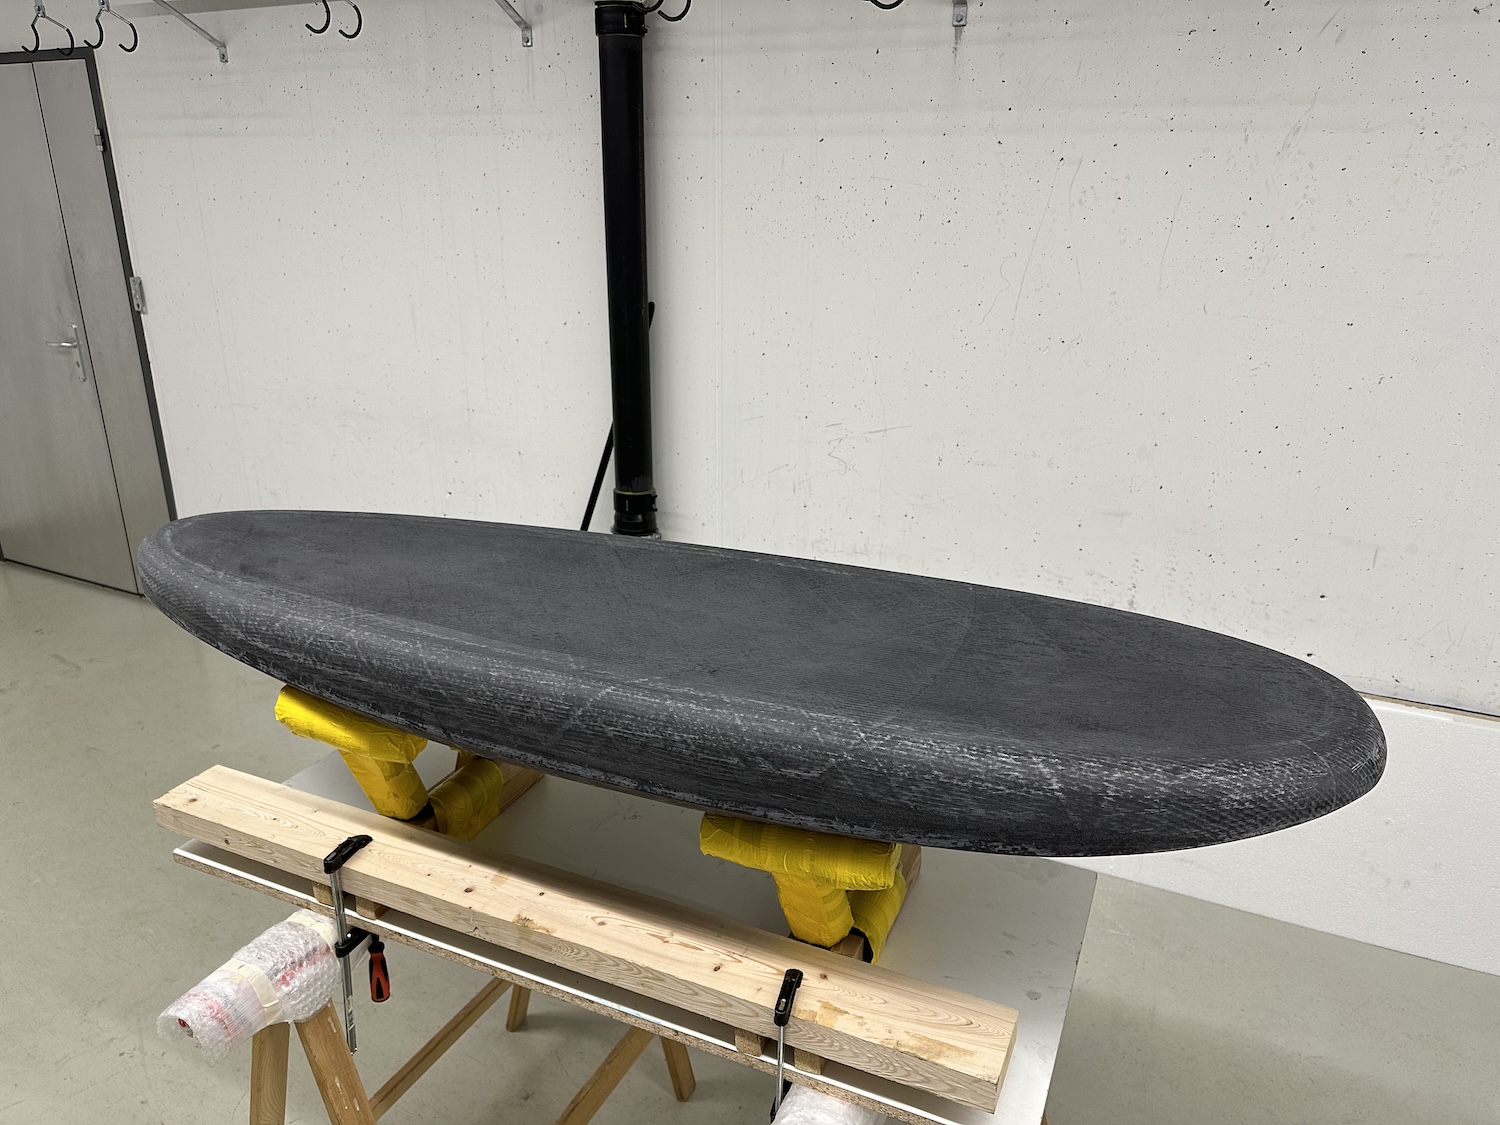
8. Filler and hot coat
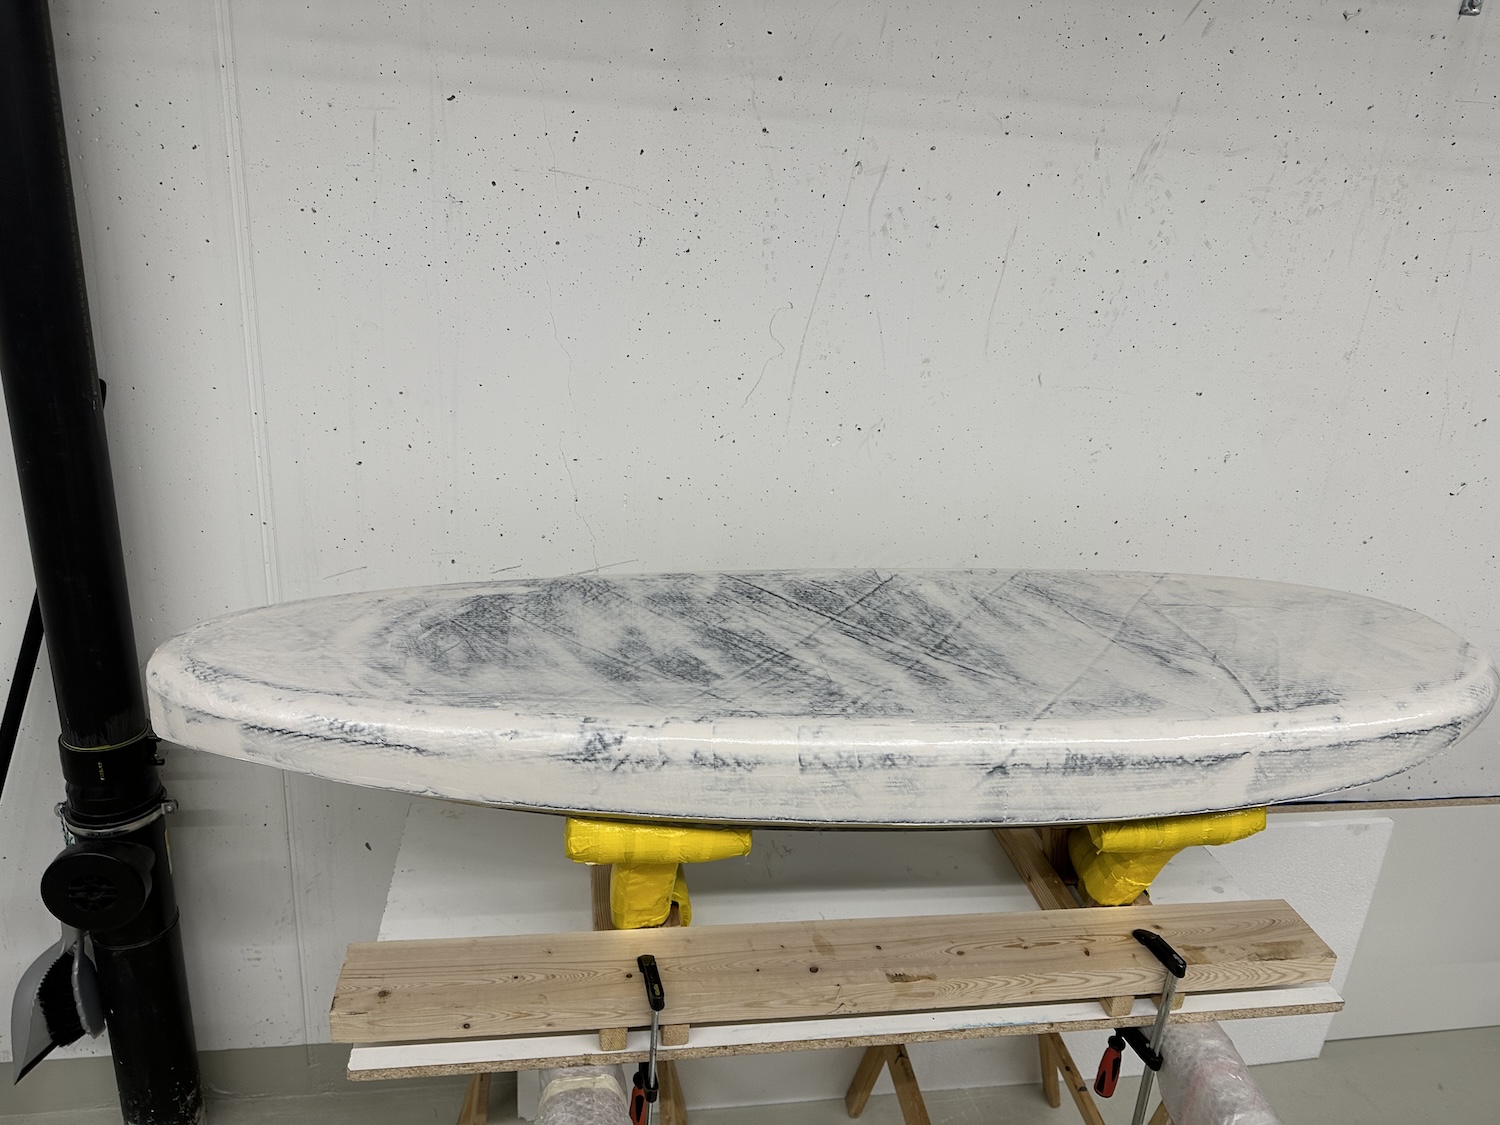
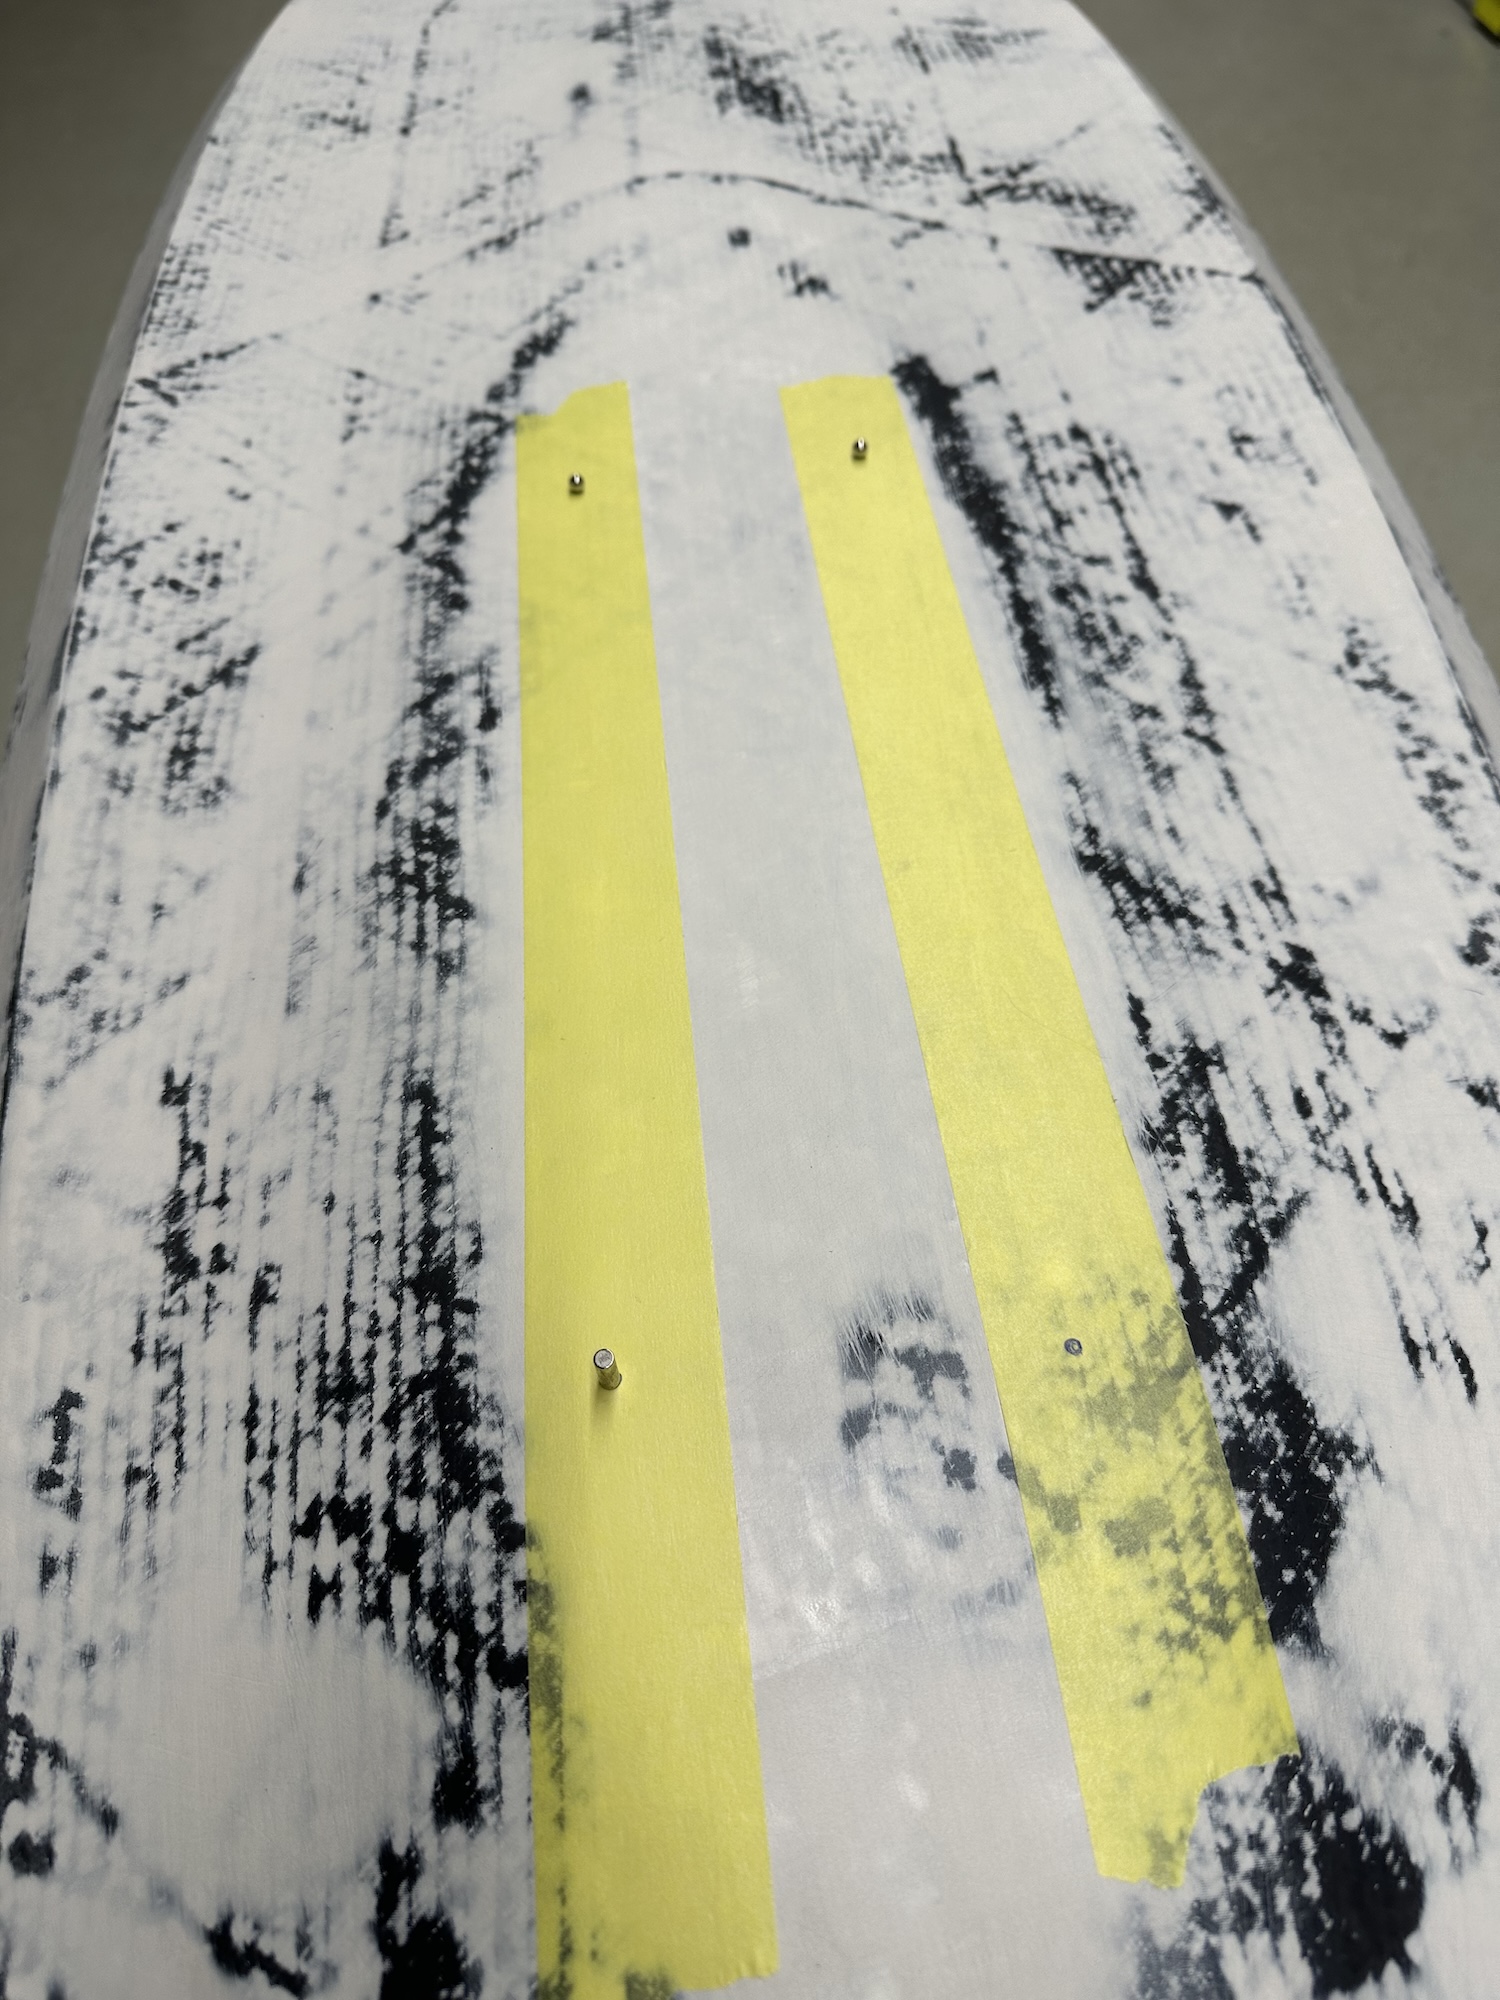
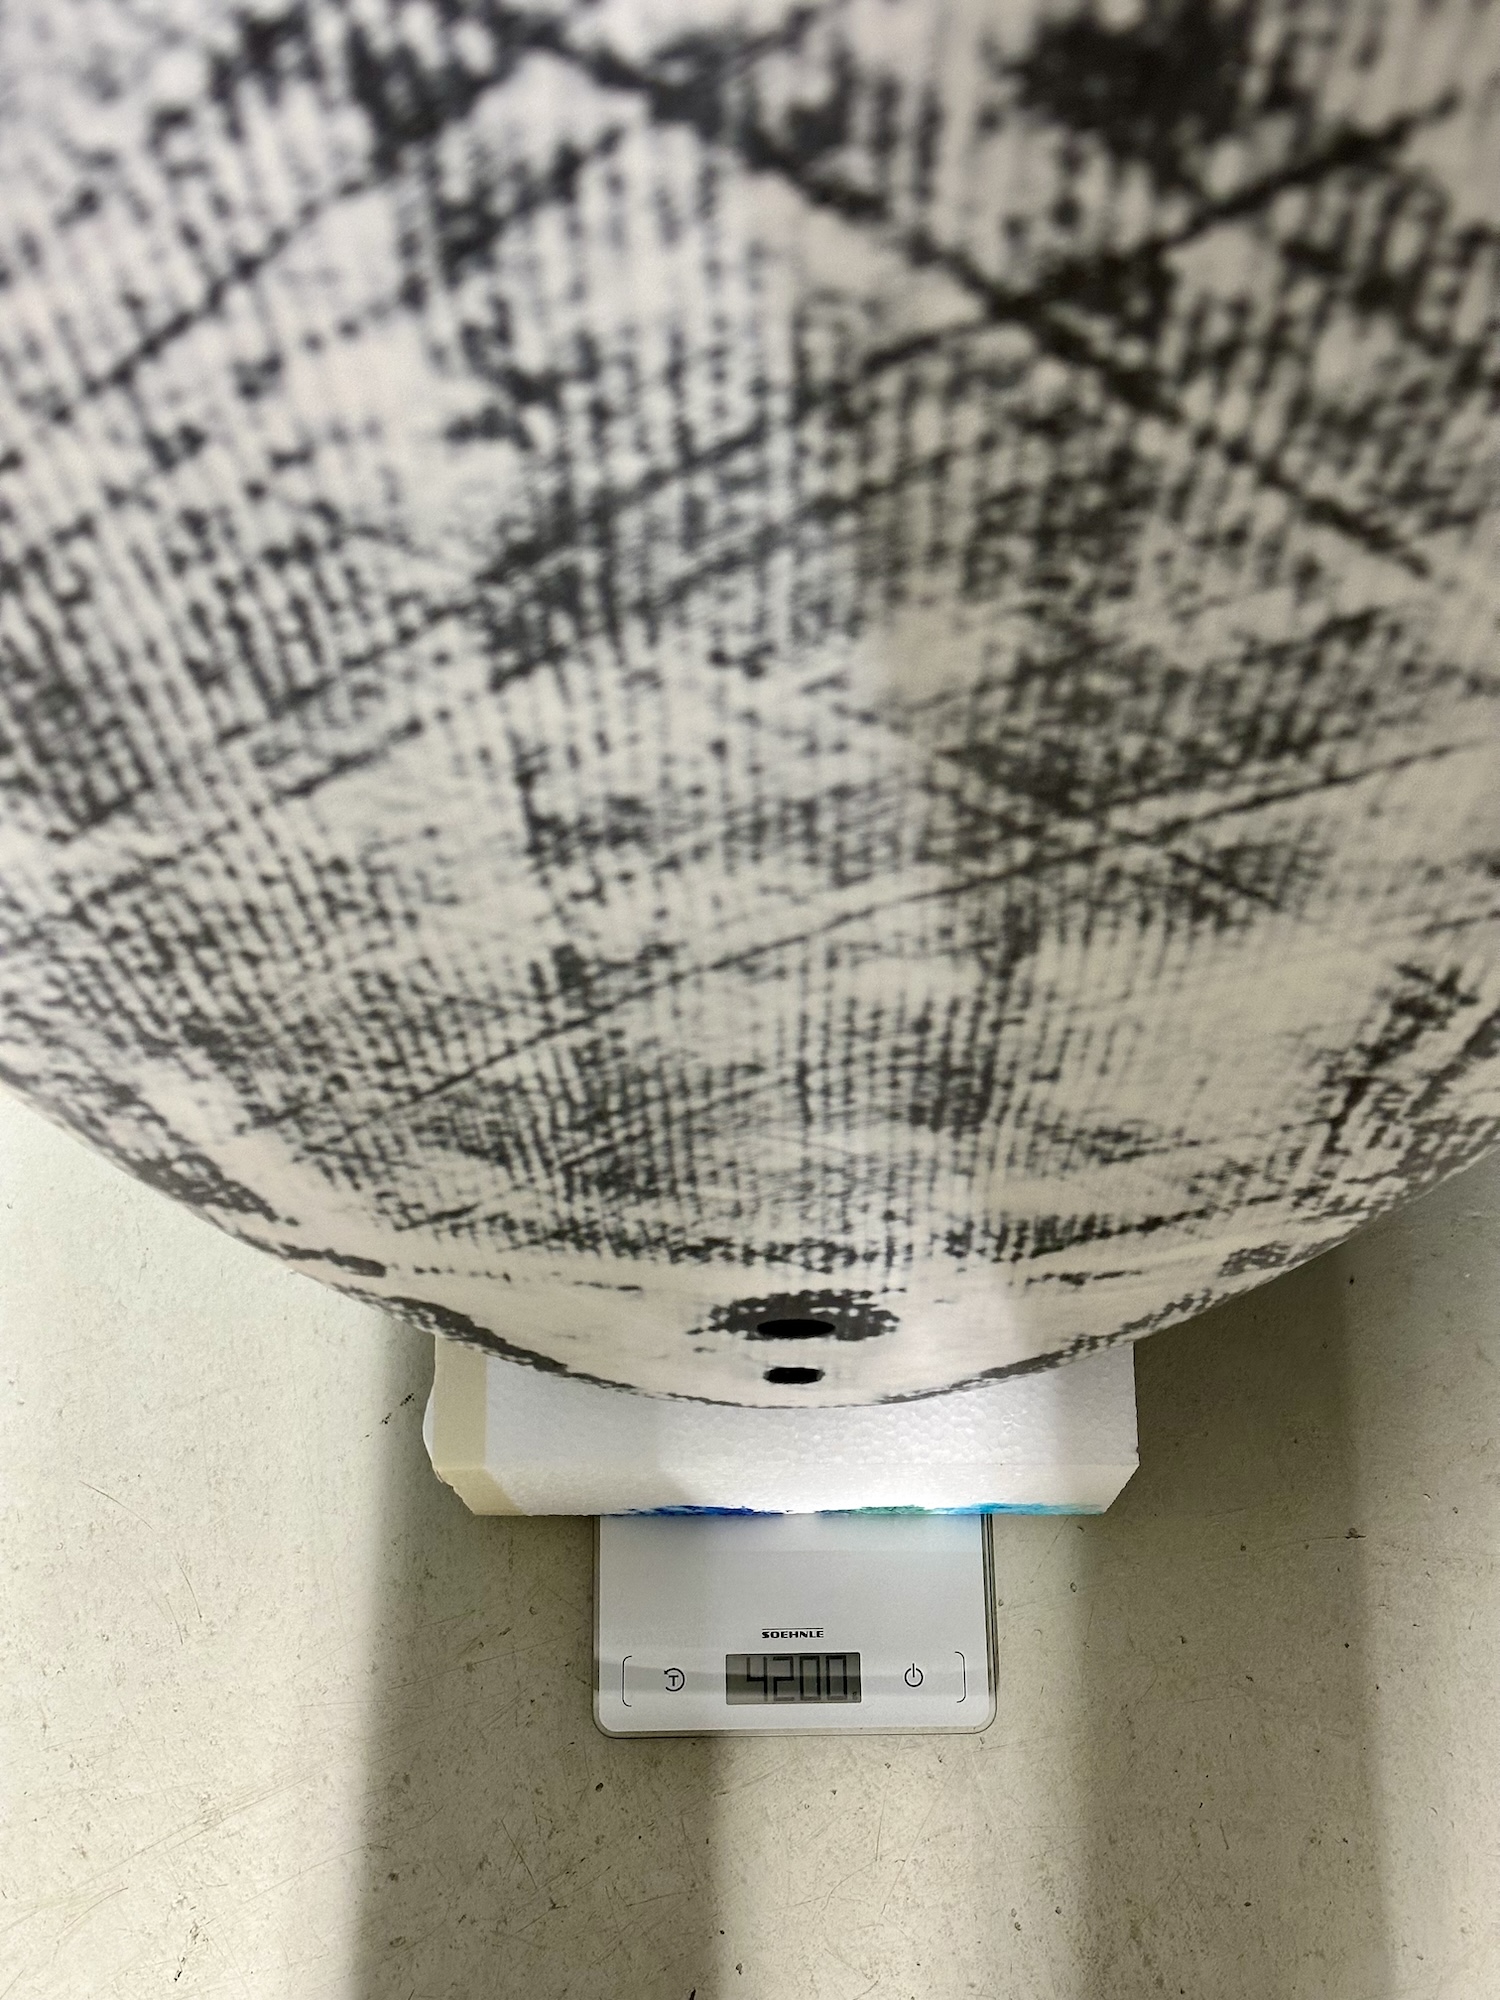
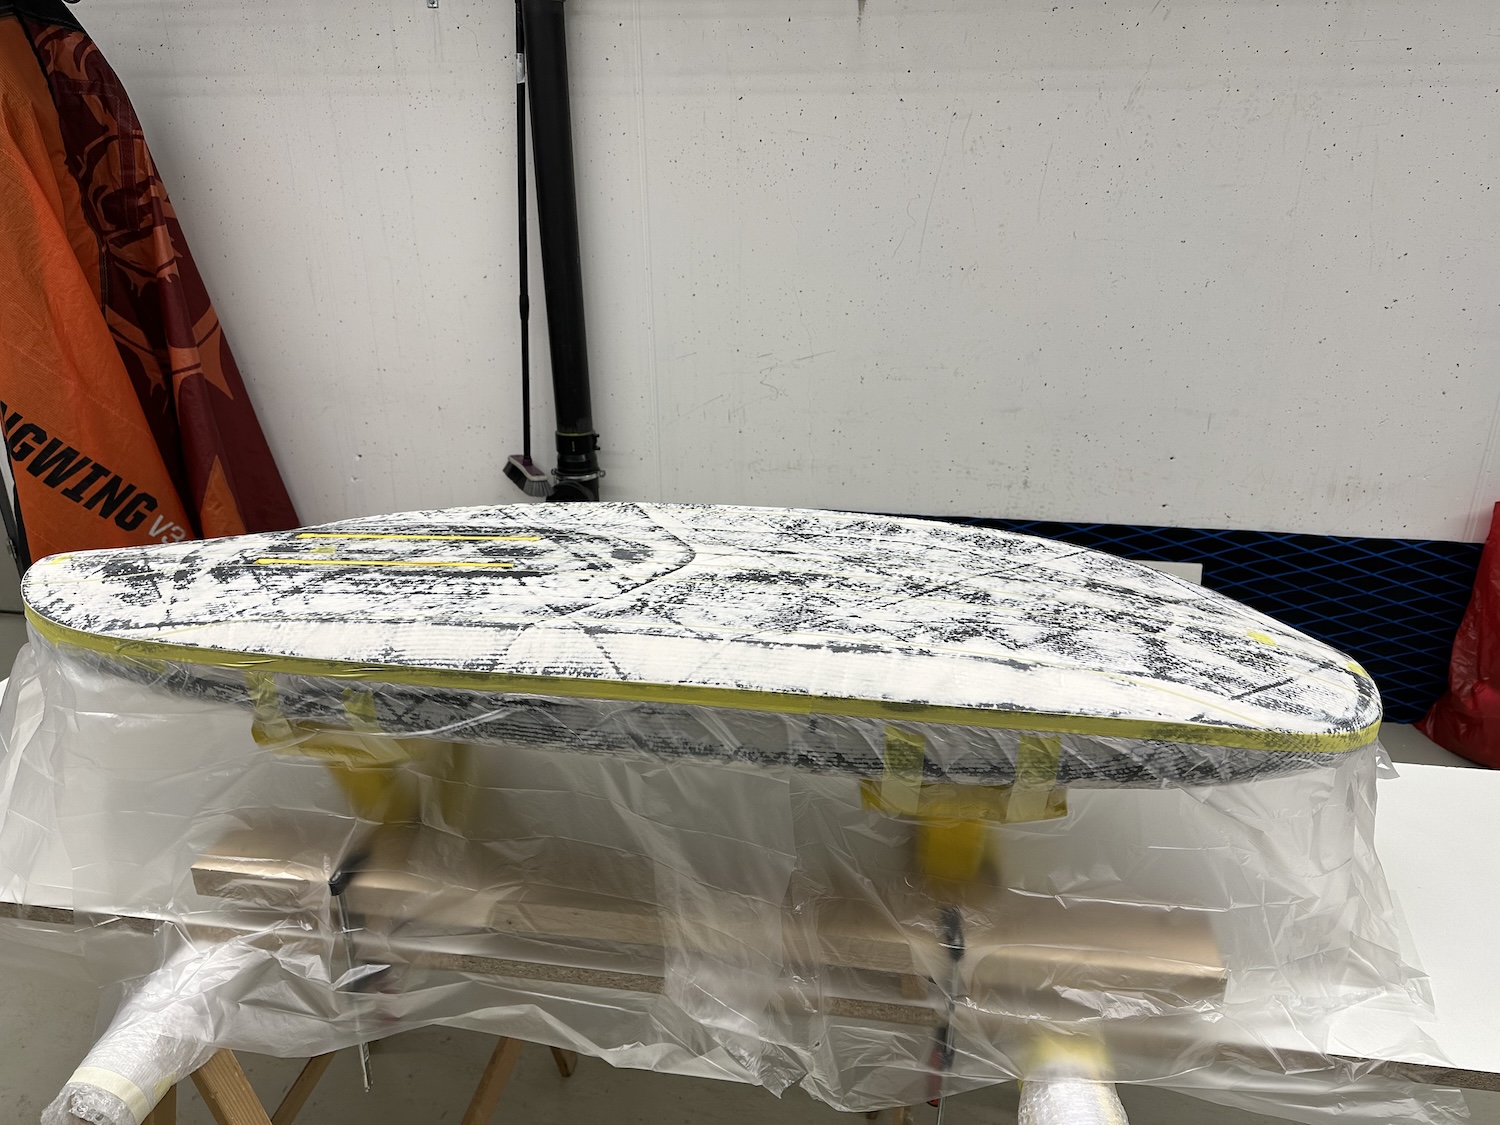
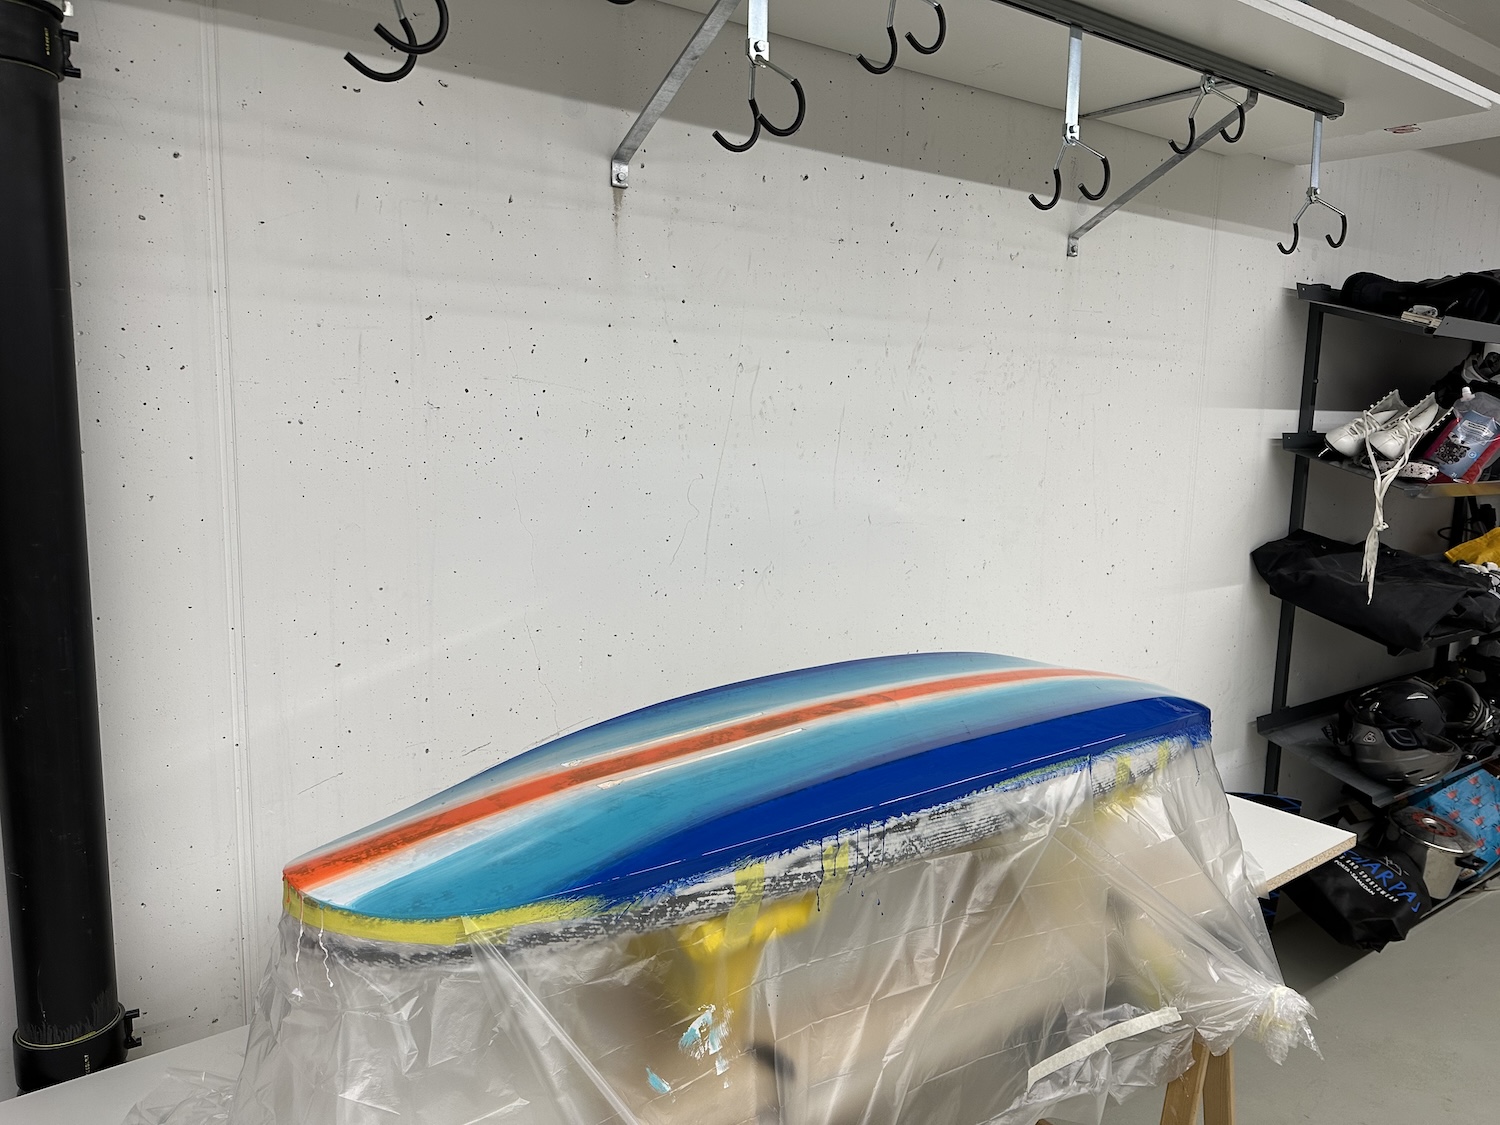
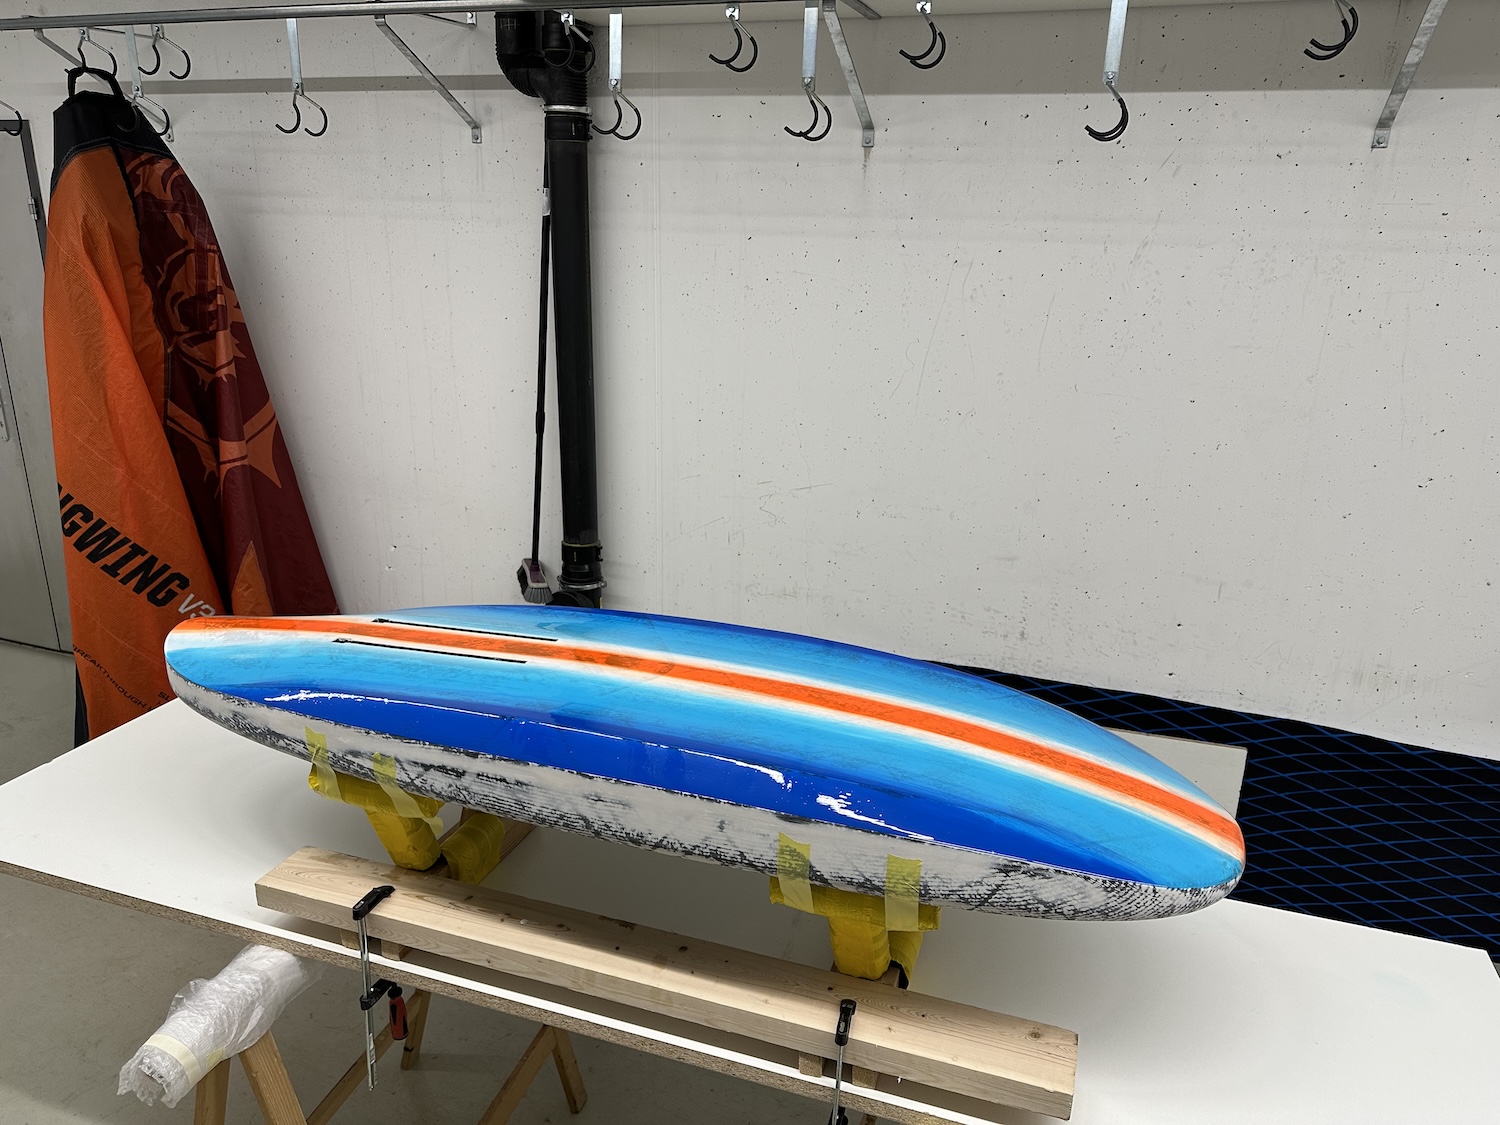
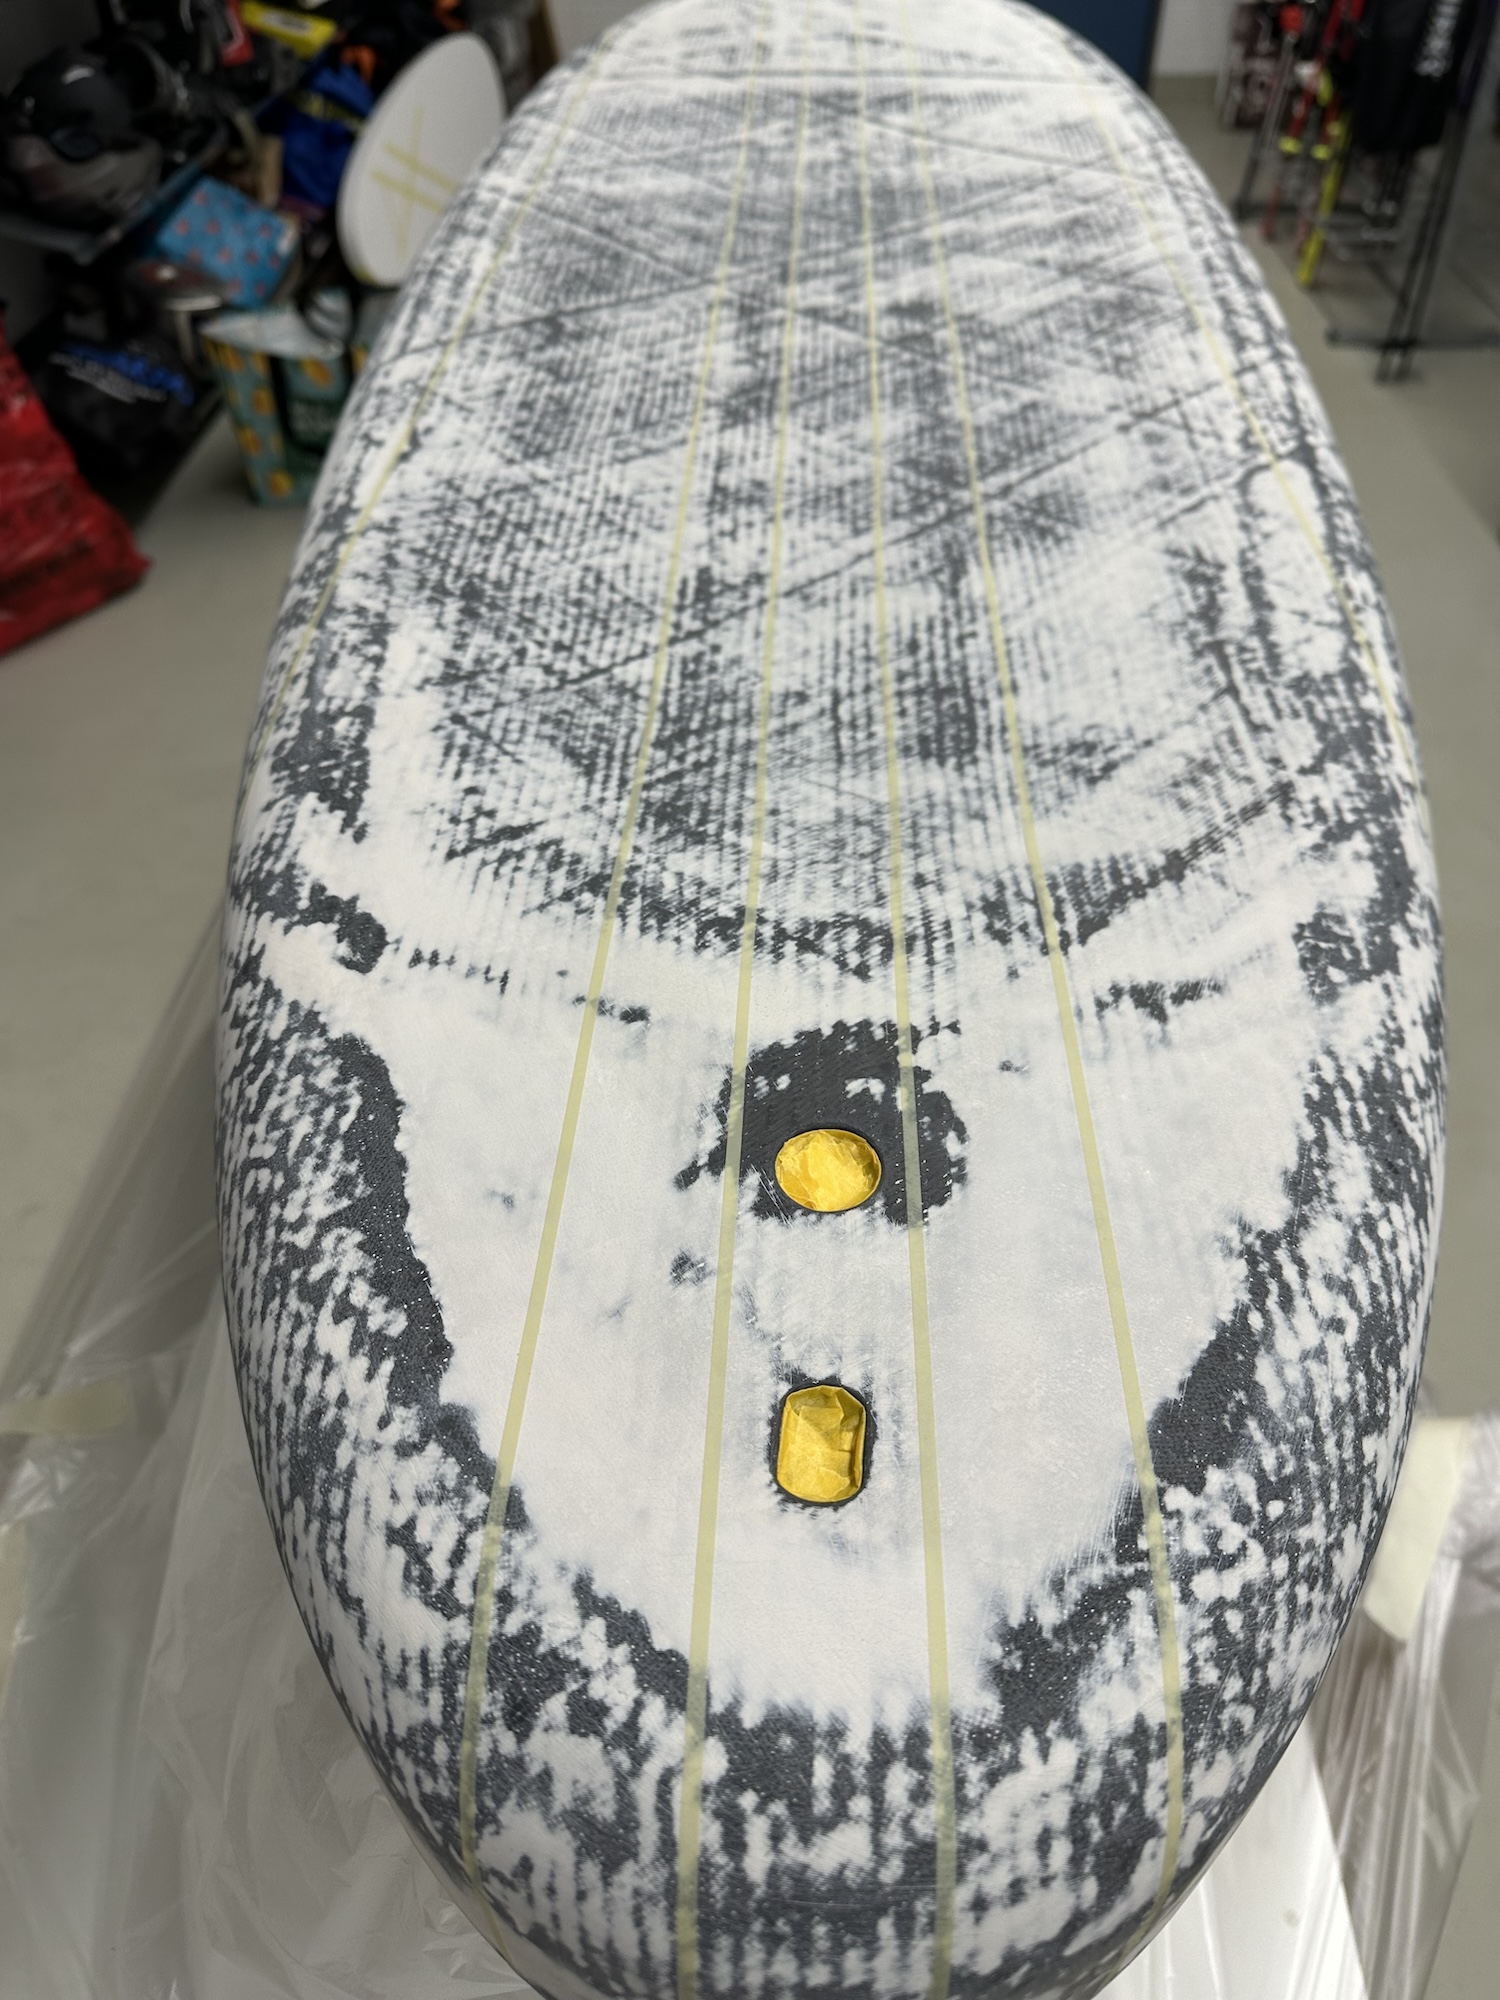
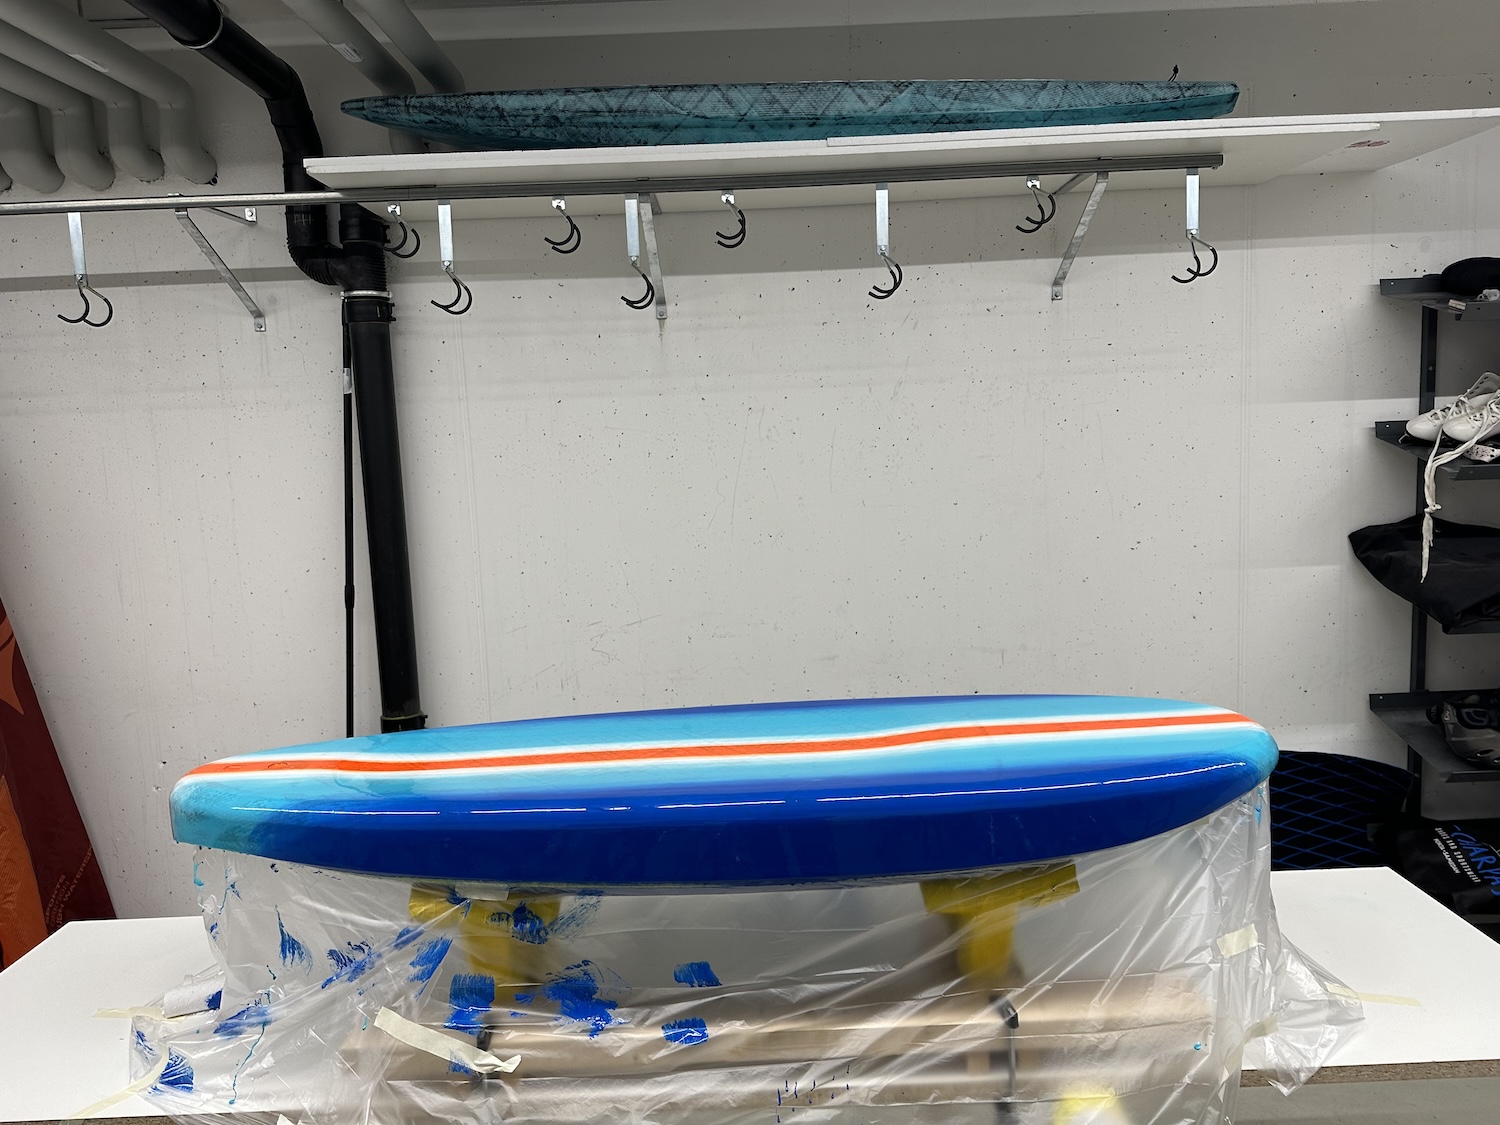
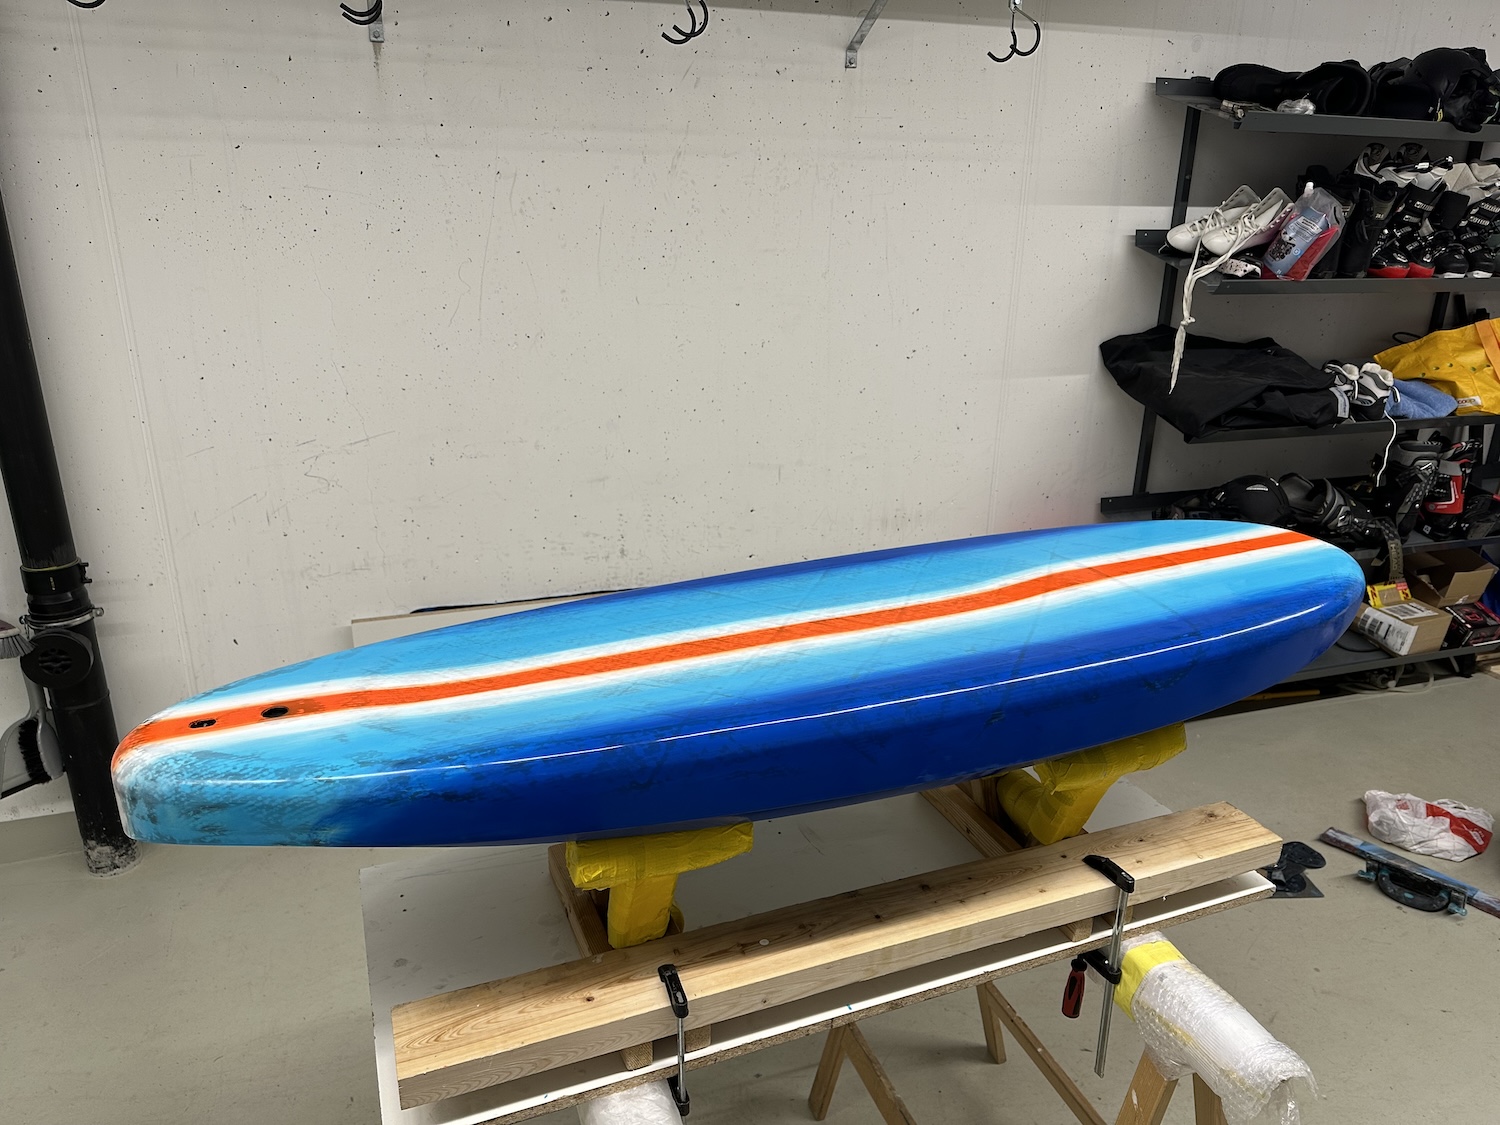
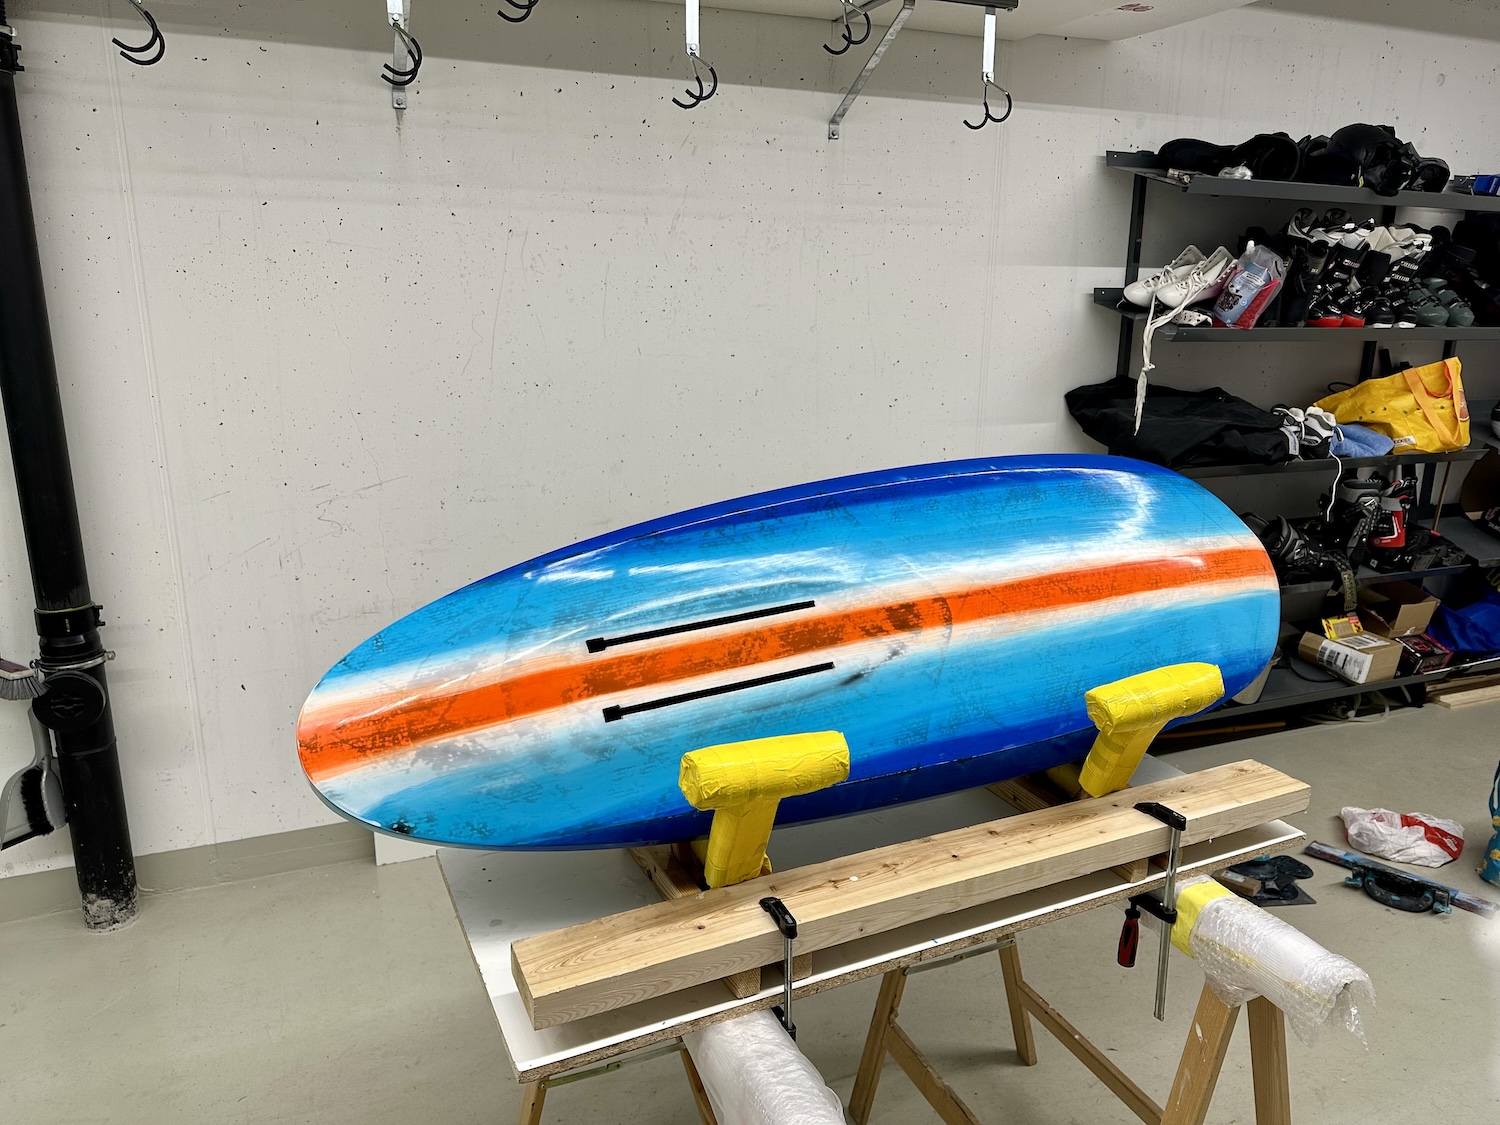
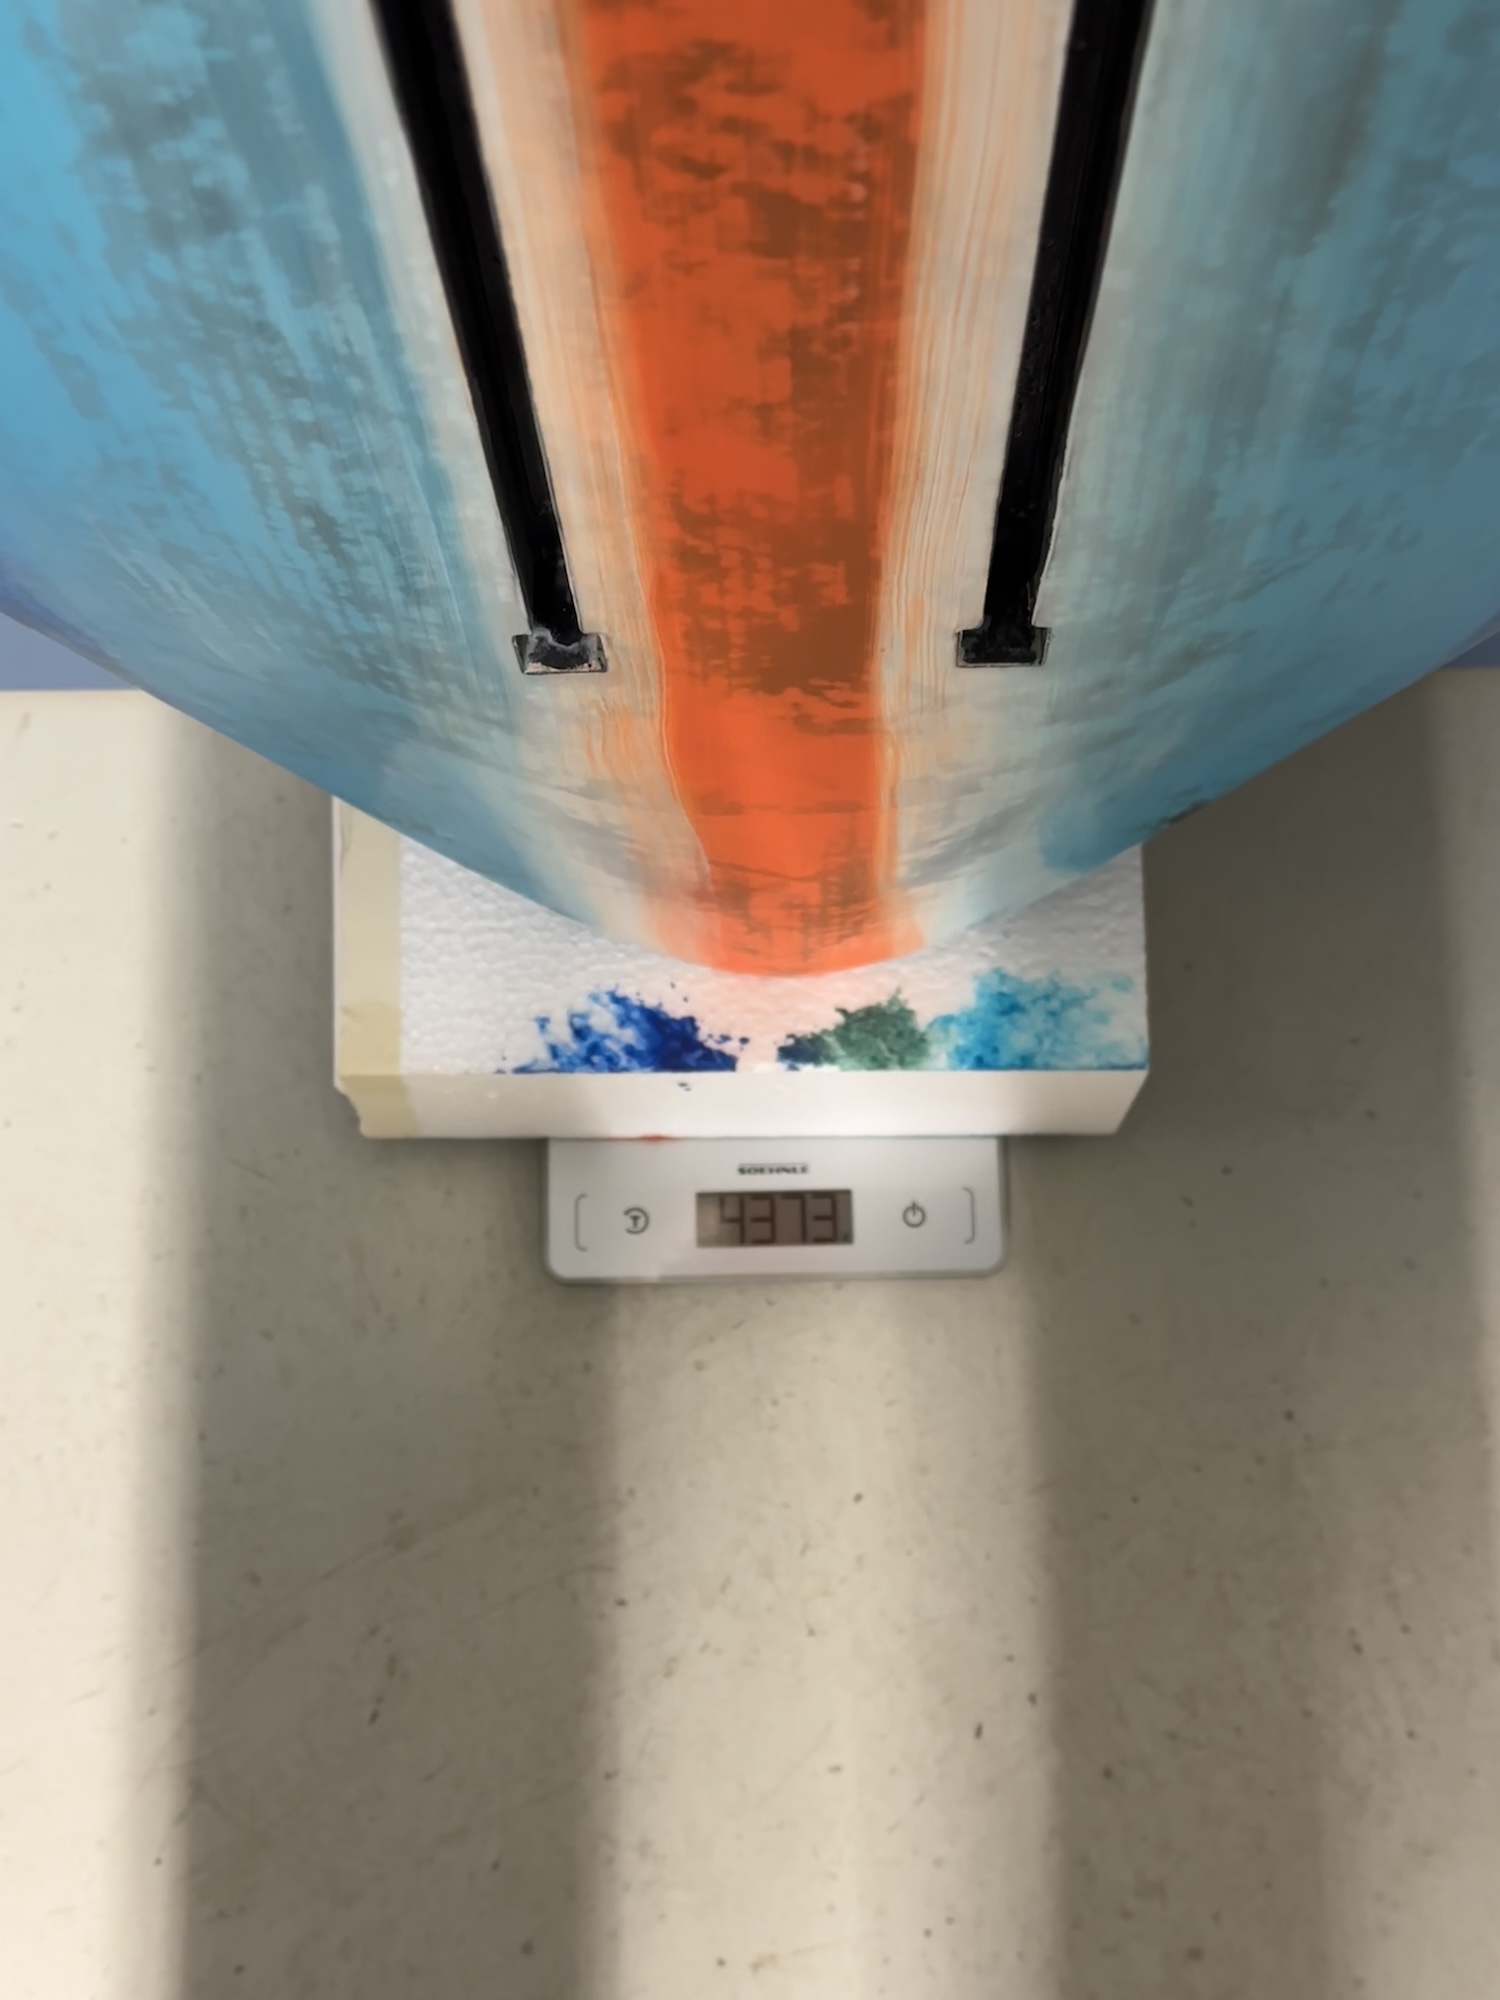
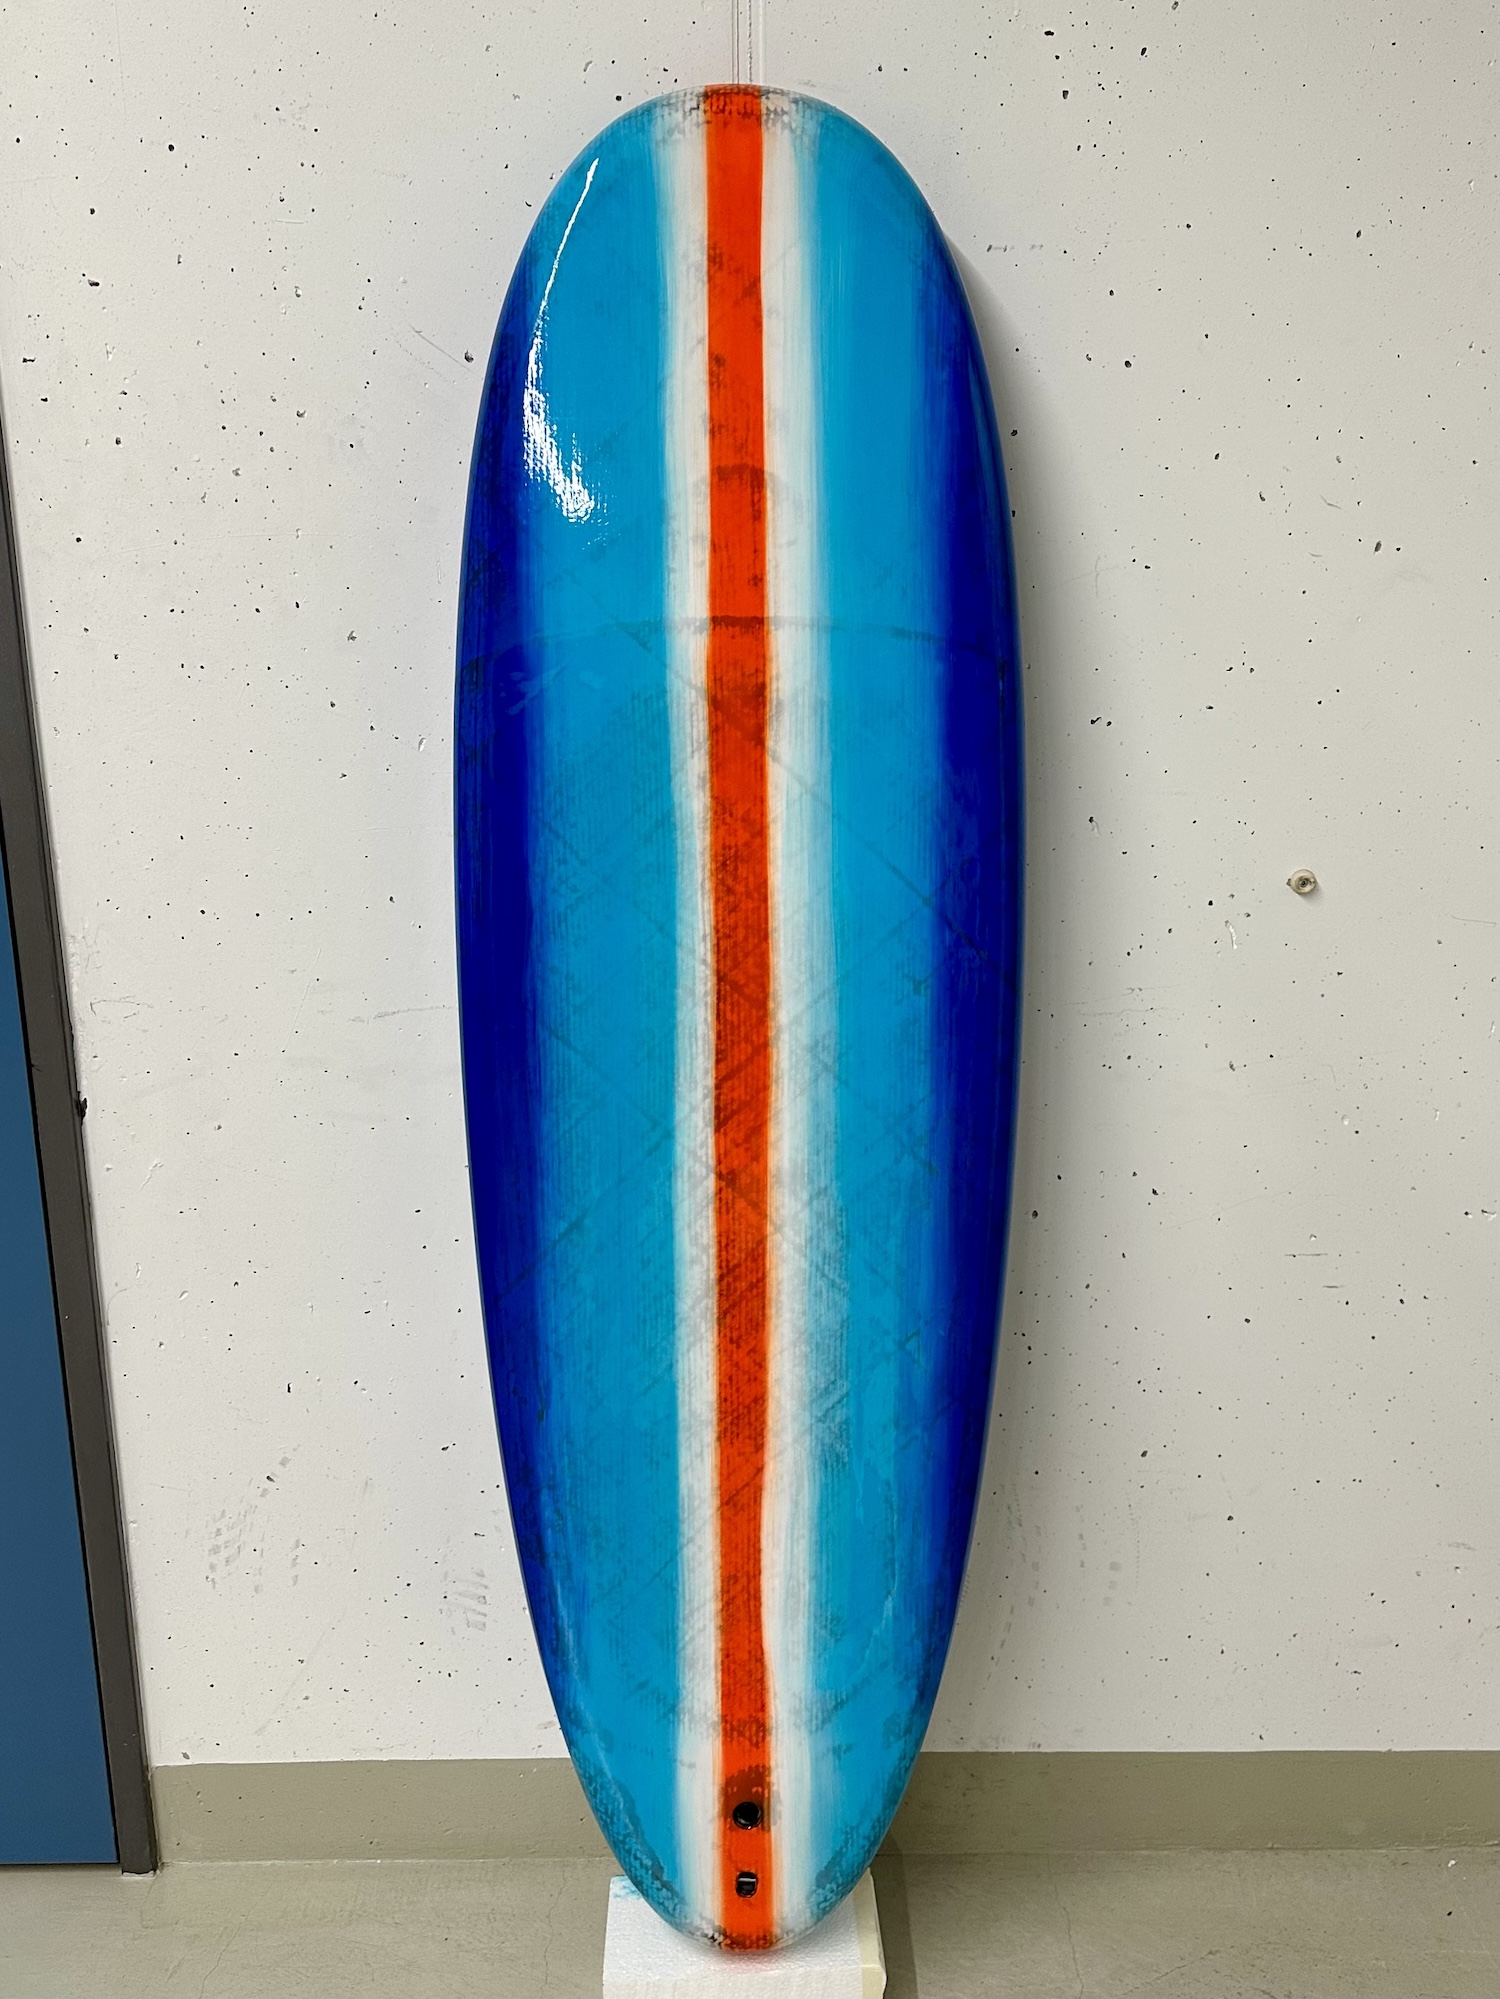
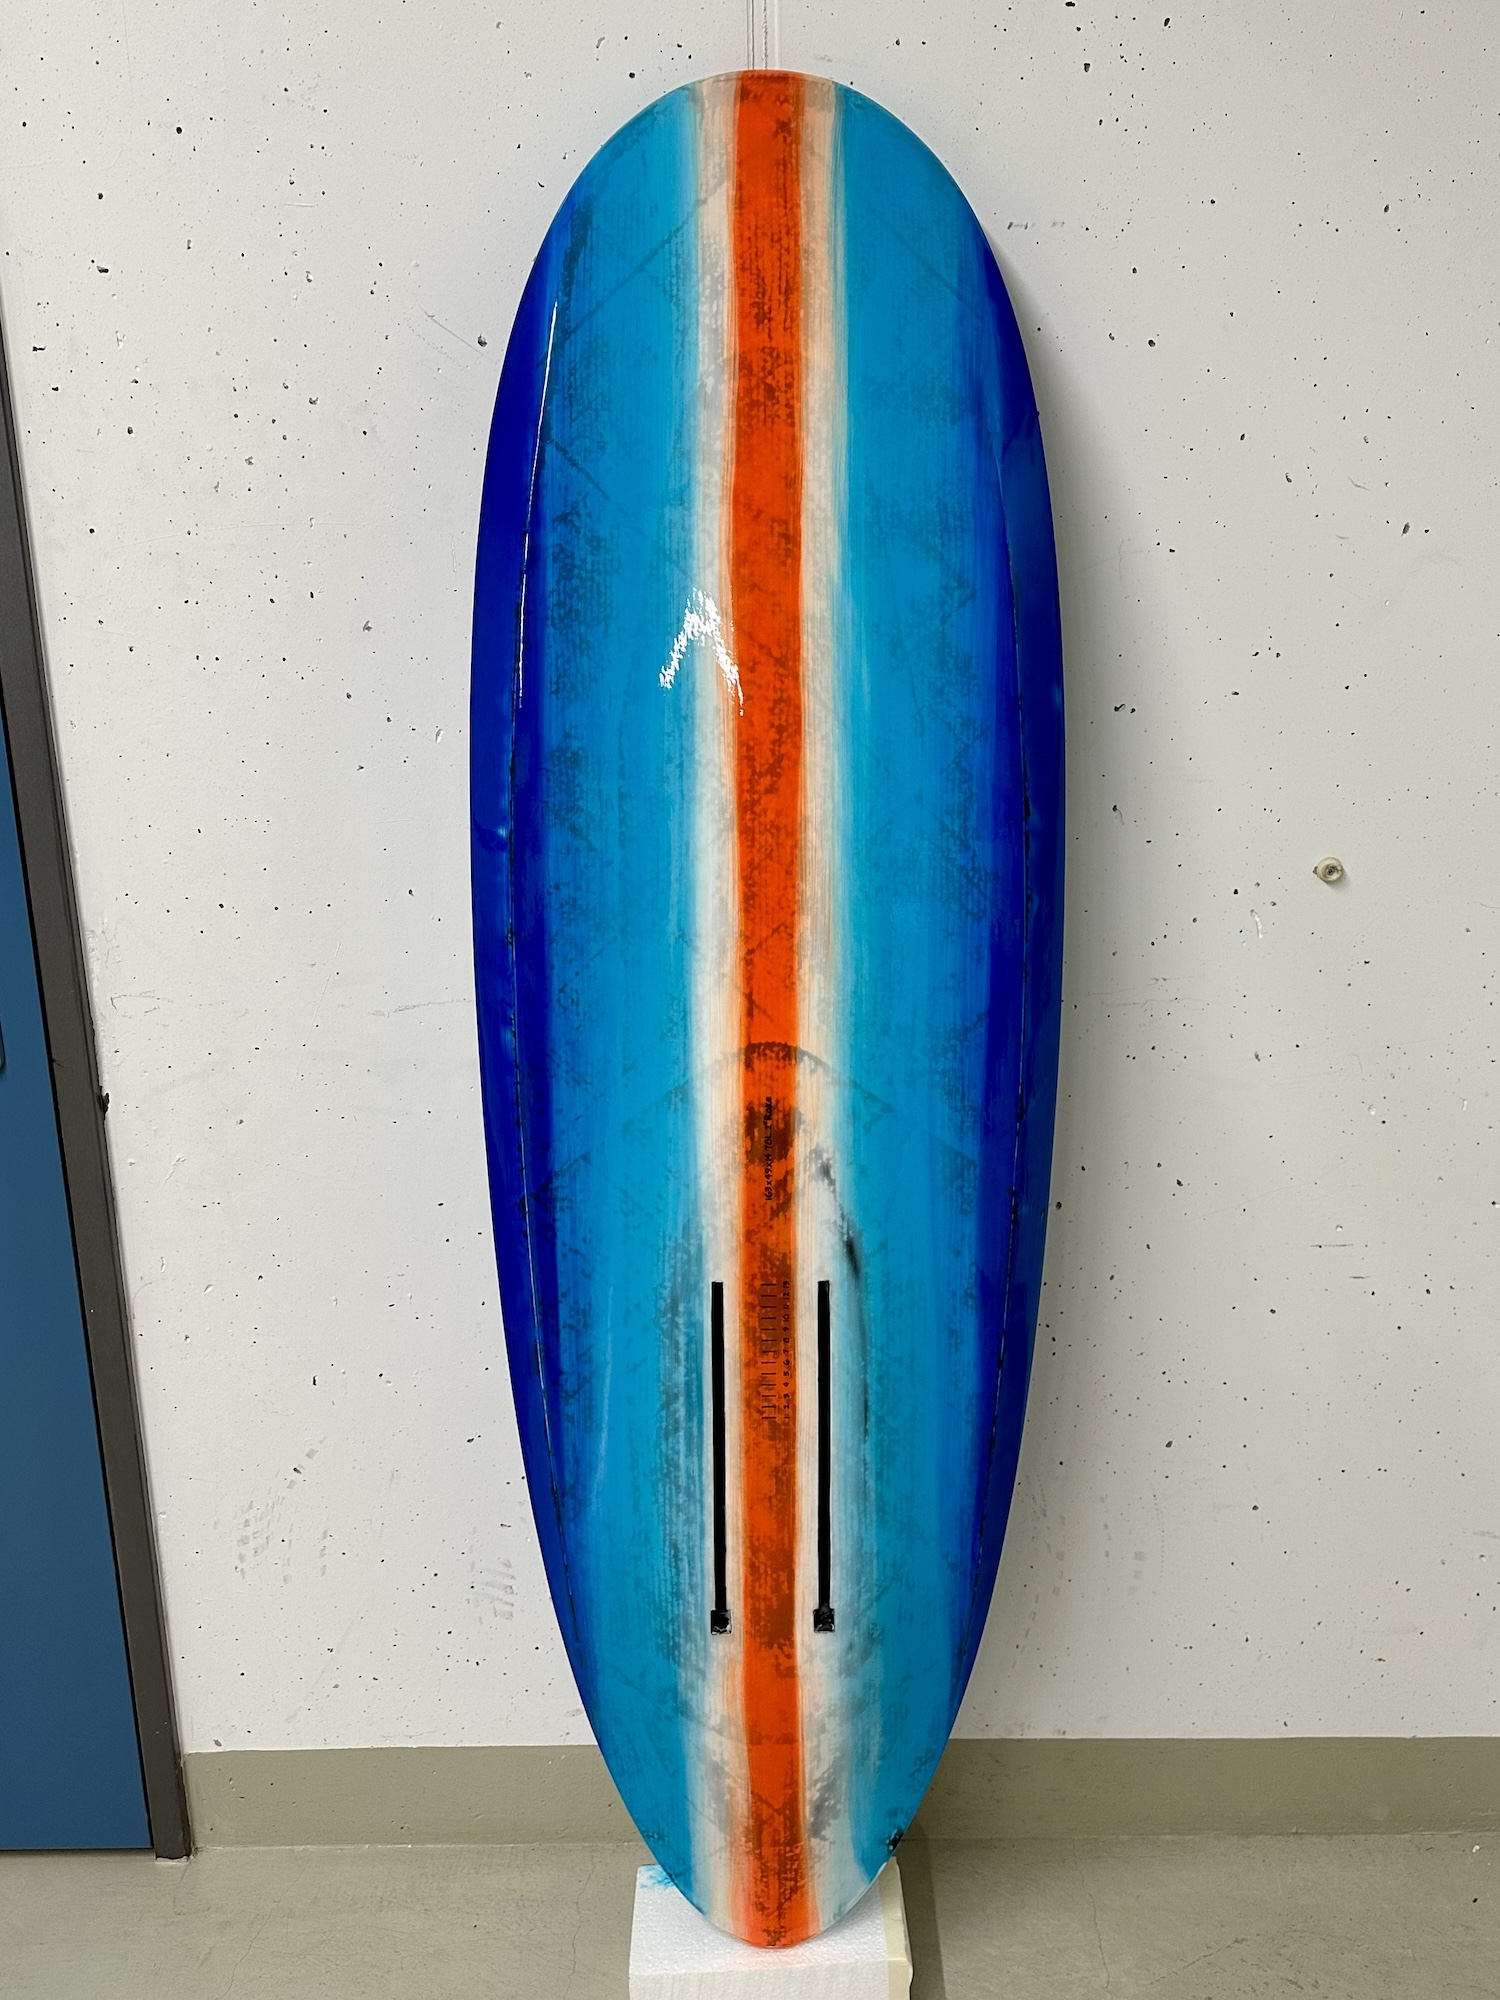
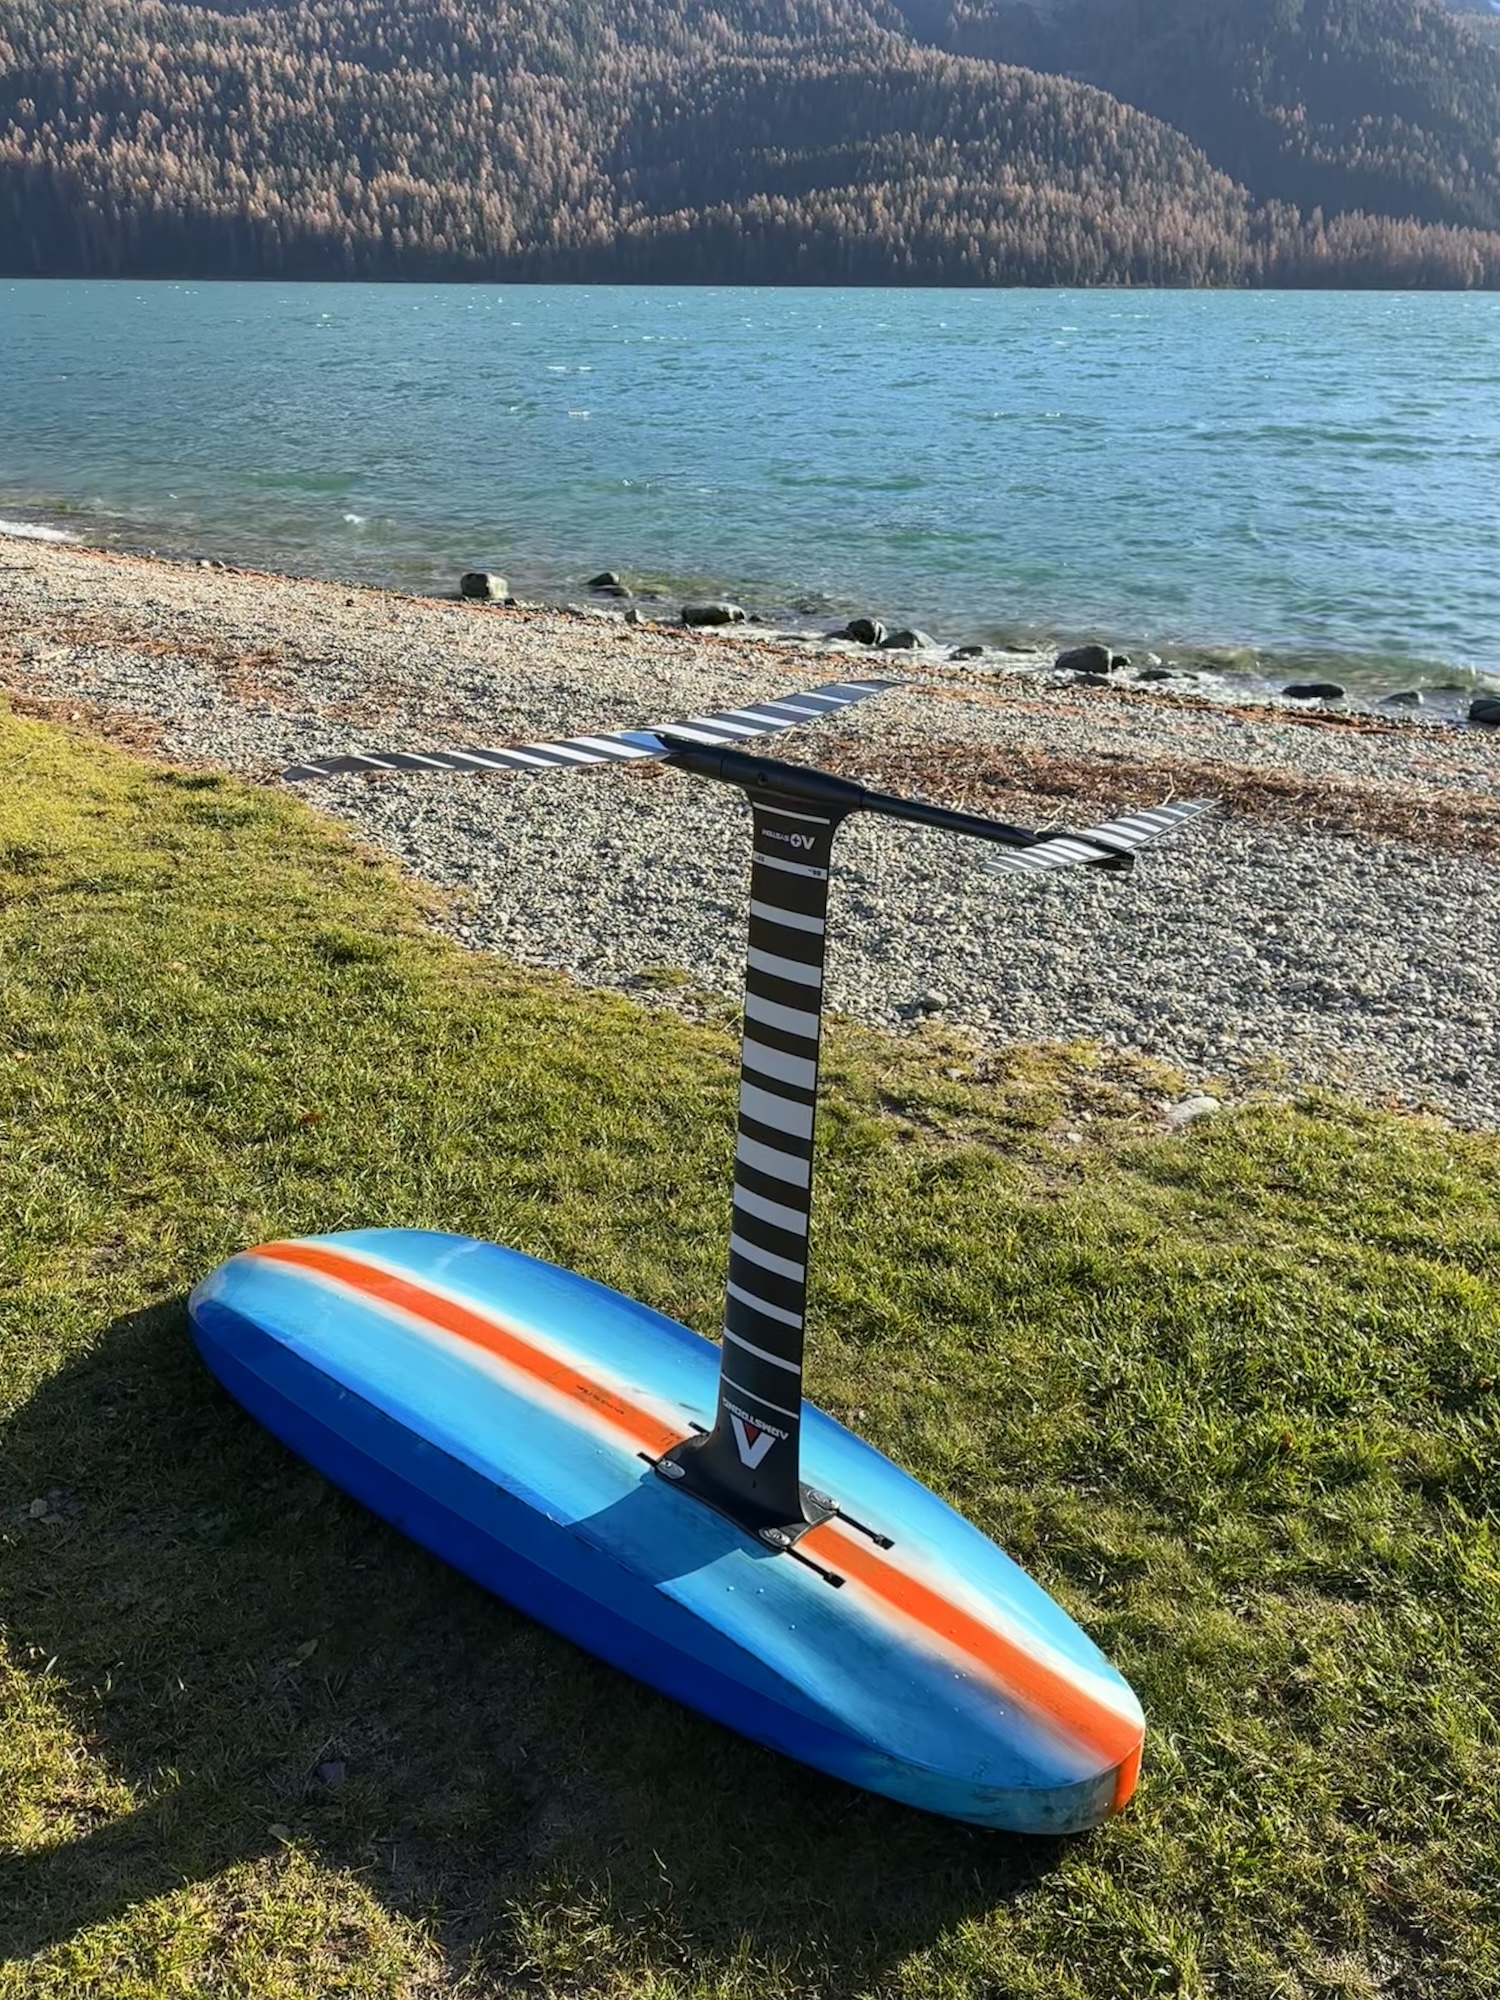
For the filler coat I used West Epoxy microlight system 410 with white liquid colour. I applied the filler much thicker than I have in the past and hoped that the microlight filler would actually sand as well as it promoted, which it did. The whole board was hand sanded and it was super easy compared to epoxy and microballons. The whole filler coat made a difference of just 50 g. For the hot coat I used tinted resin again as on my last build. I wanted to do a colour scheme that I had in mind for my DW board, a design that resembles my wingsuits. I applied the colour stripes with a brush. Compared to a single colour design, my hot coat was heavier because I could not spread the epoxy as evenly across the board without destroying the pattern. I really like the look, but I sacrificed some weight for it.

9. Finish
It probably doesn't matter, but I wanted the best possible finish for this board, and since I was going to do it anyway, why not? I read some very conflicting stuff about what grit a boat/surfboard/foilboard should be finished with and in the end, I decided to do some research into Reynolds numbers myself. My conclusion was that at the speed I was going on my foil I was normally below the speed where a layer of turbulence would minimise drag in the water. So I decided to go for the smoothest surface possible. There is a big debate about this and I think a 600-800 grit might be better for DW boards as well as general surfboards. However, for a wingfoil board that is going to be used in winds over 15 knots and is going to be pumped up on the foil rather than reaching foil speed through a displacement hull, I think a highly polished surface might actually be better. So I sanded the hot coat to 800 grit. I took it to a garage and had them apply a self-healing spray paint for cars. It only added about 70 grams, but the finish is absolutely perfect. Like glass.
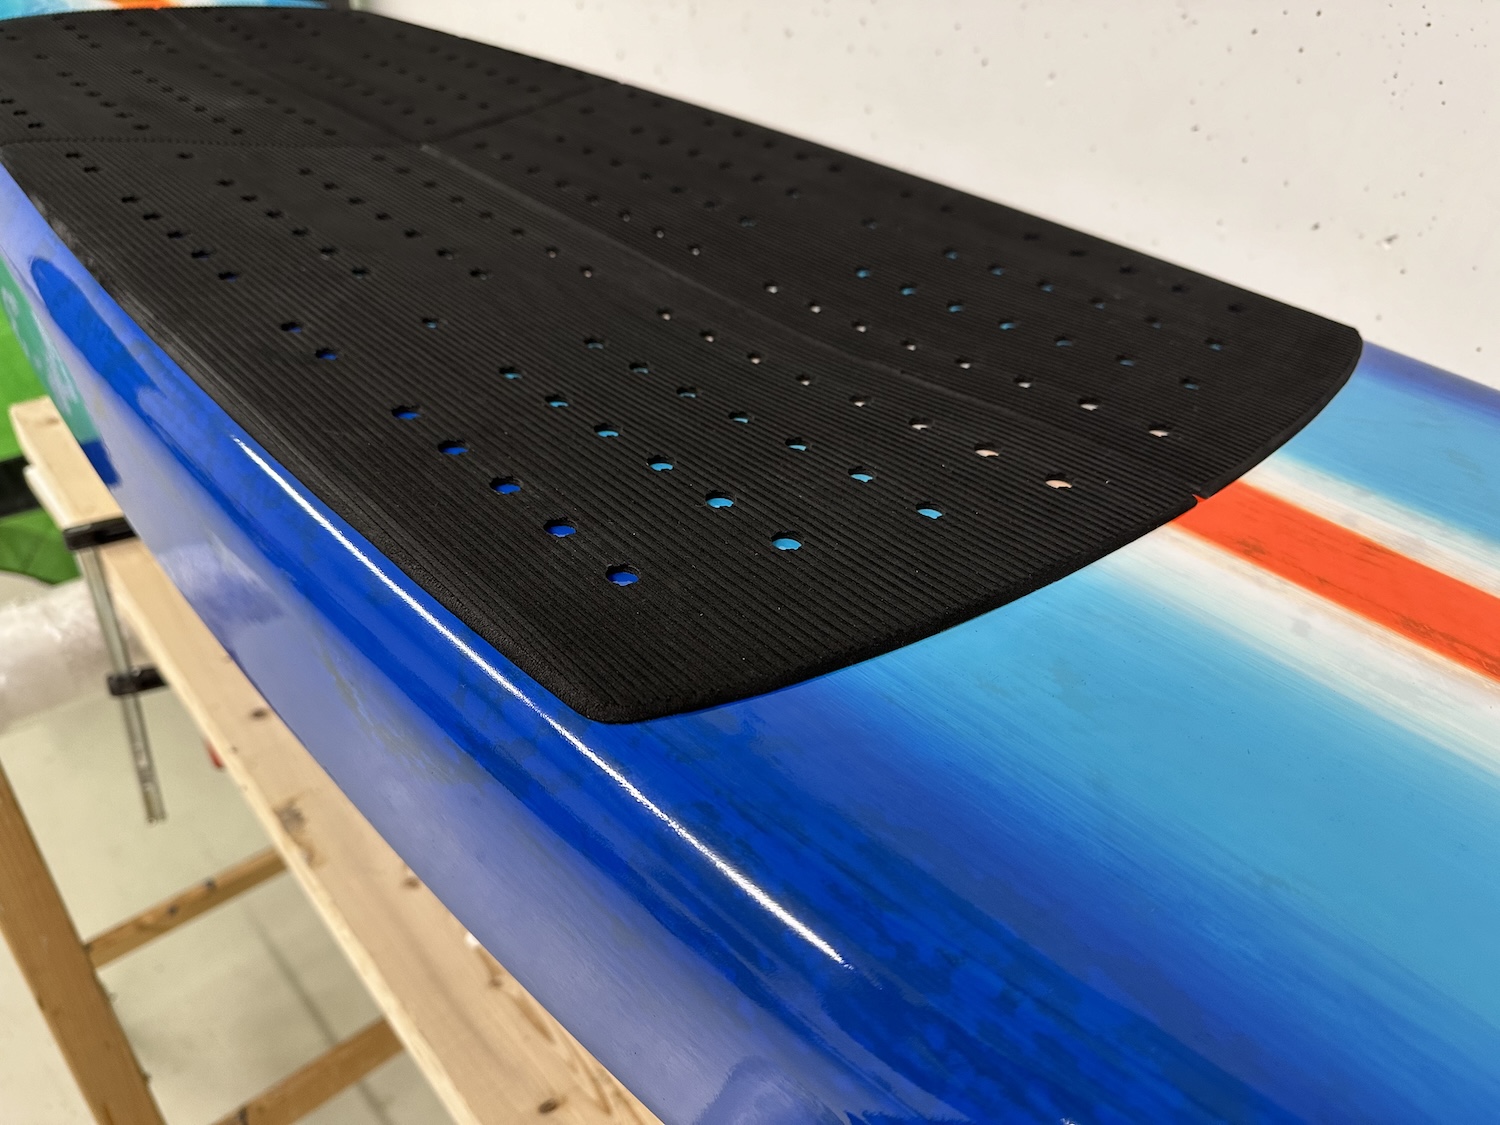
10. Pad:
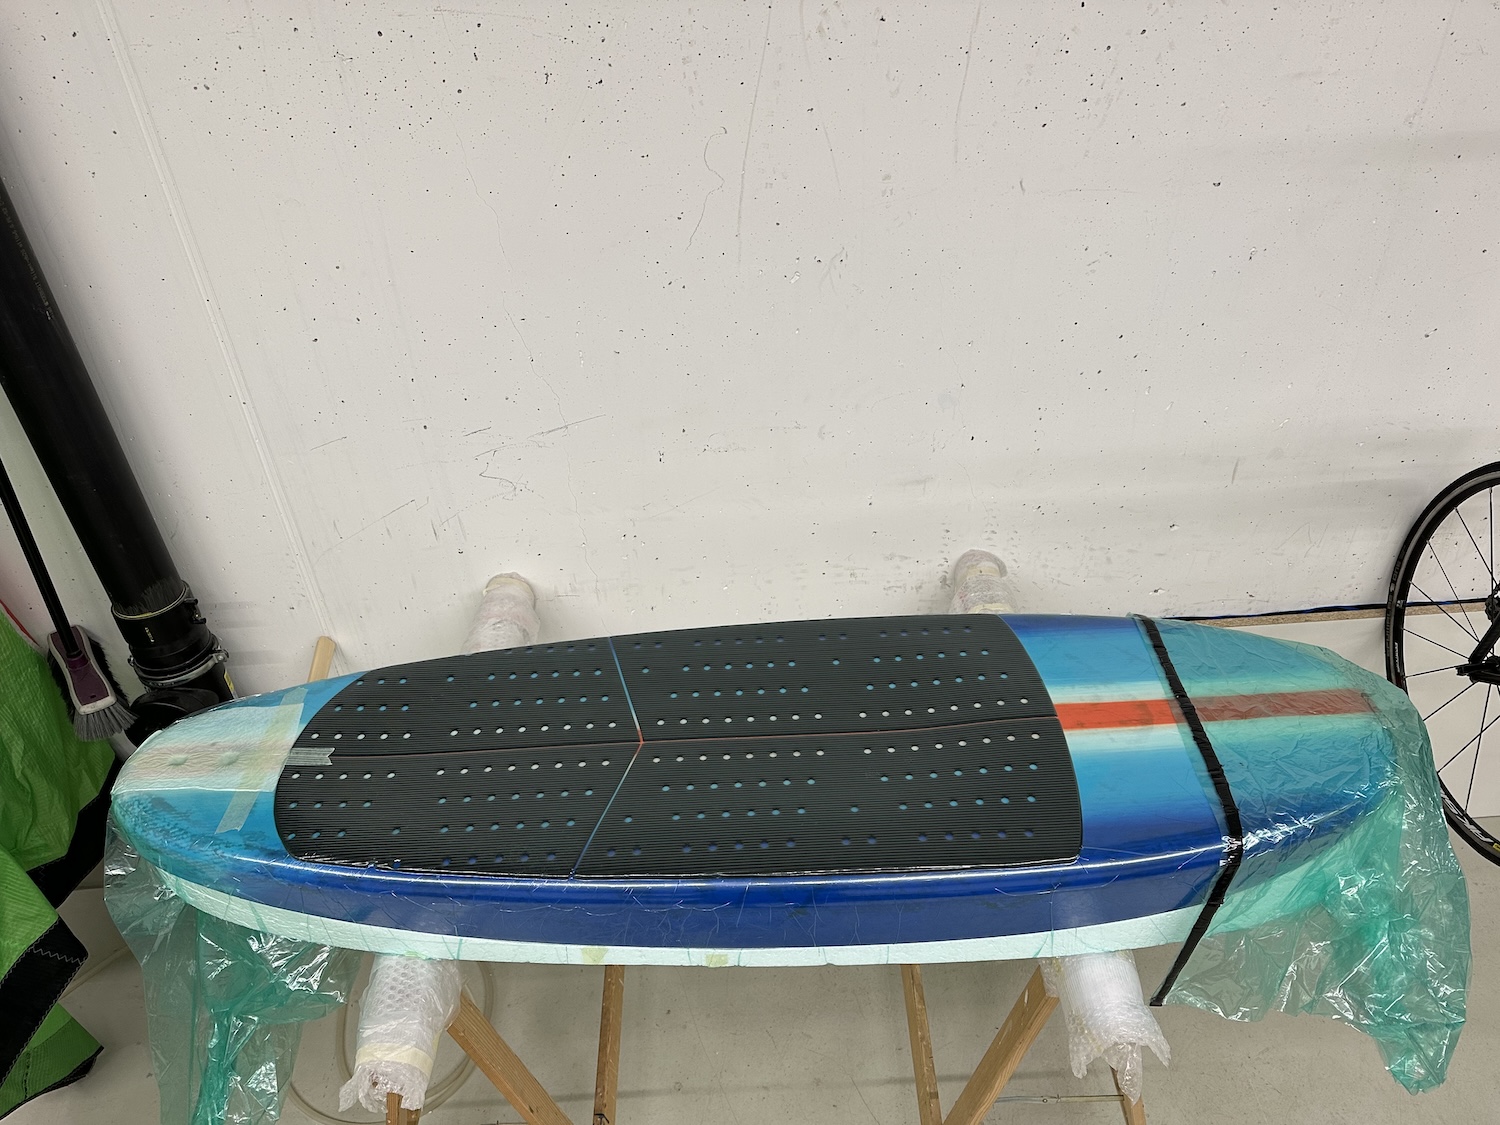
I thought about milling the pad to get the perfect shape, but in the end I just cut it with razor blades and sanded the edges to 45 degrees with 400 grit sandpaper. It was quick and easy and the result was very nice. With the concave deck I placed the pad, again using the laser, and put it in the vacuum bag. This was where I made my second biggest mistake in an otherwise flawless build and forgot to seal the vent plug before putting it in the bag. Fortunately nothing was damaged.
11. How does it ride:
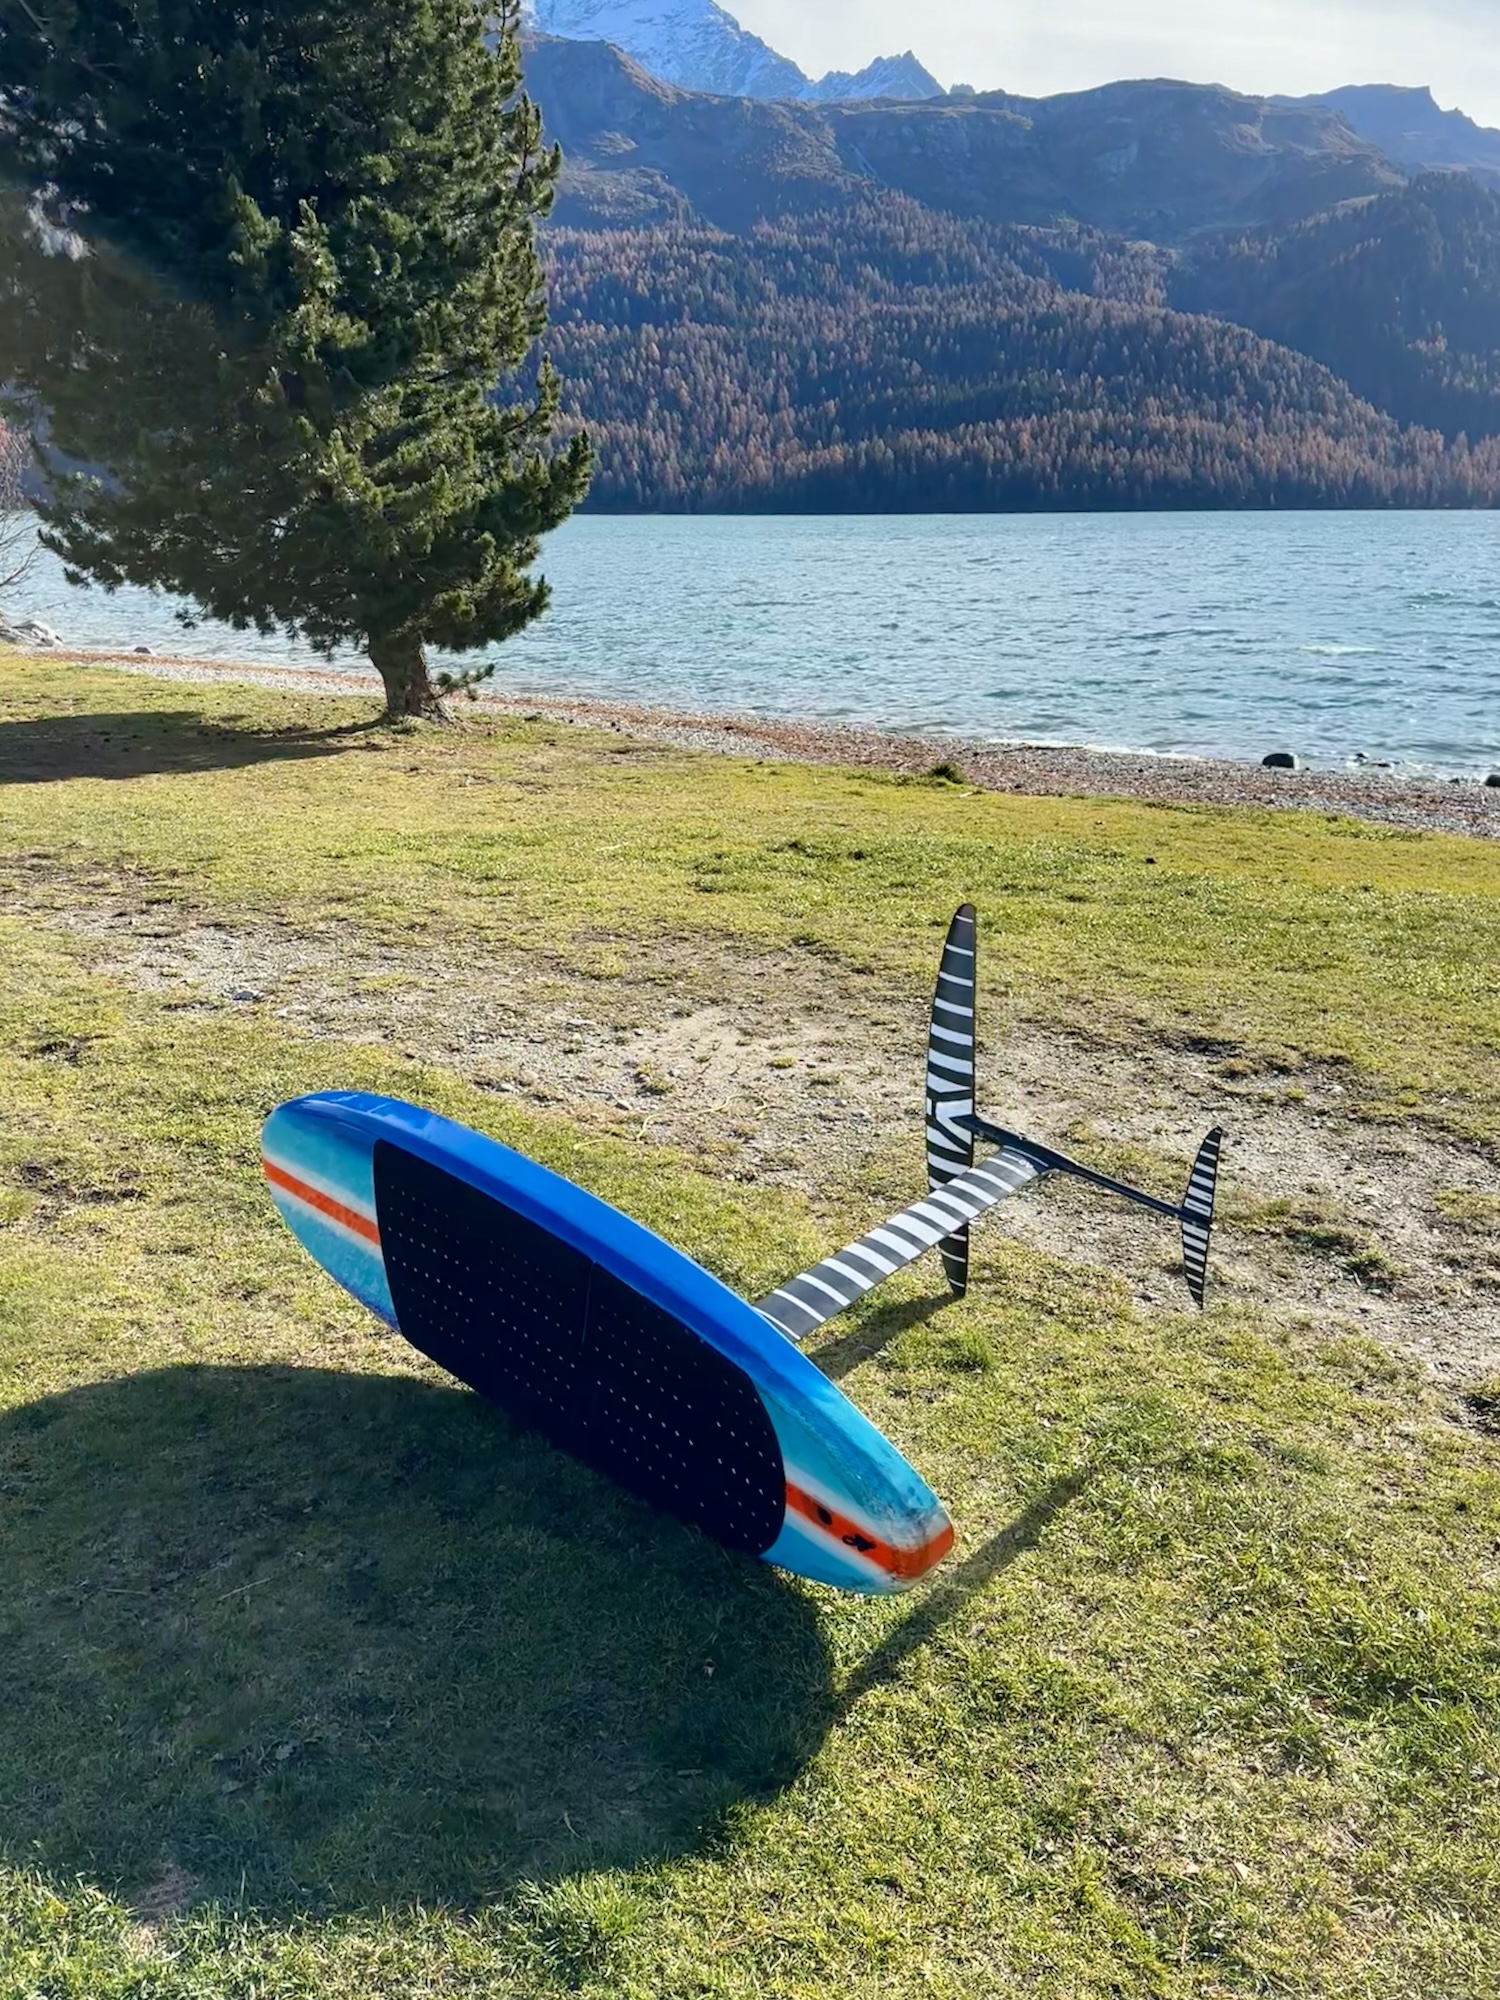
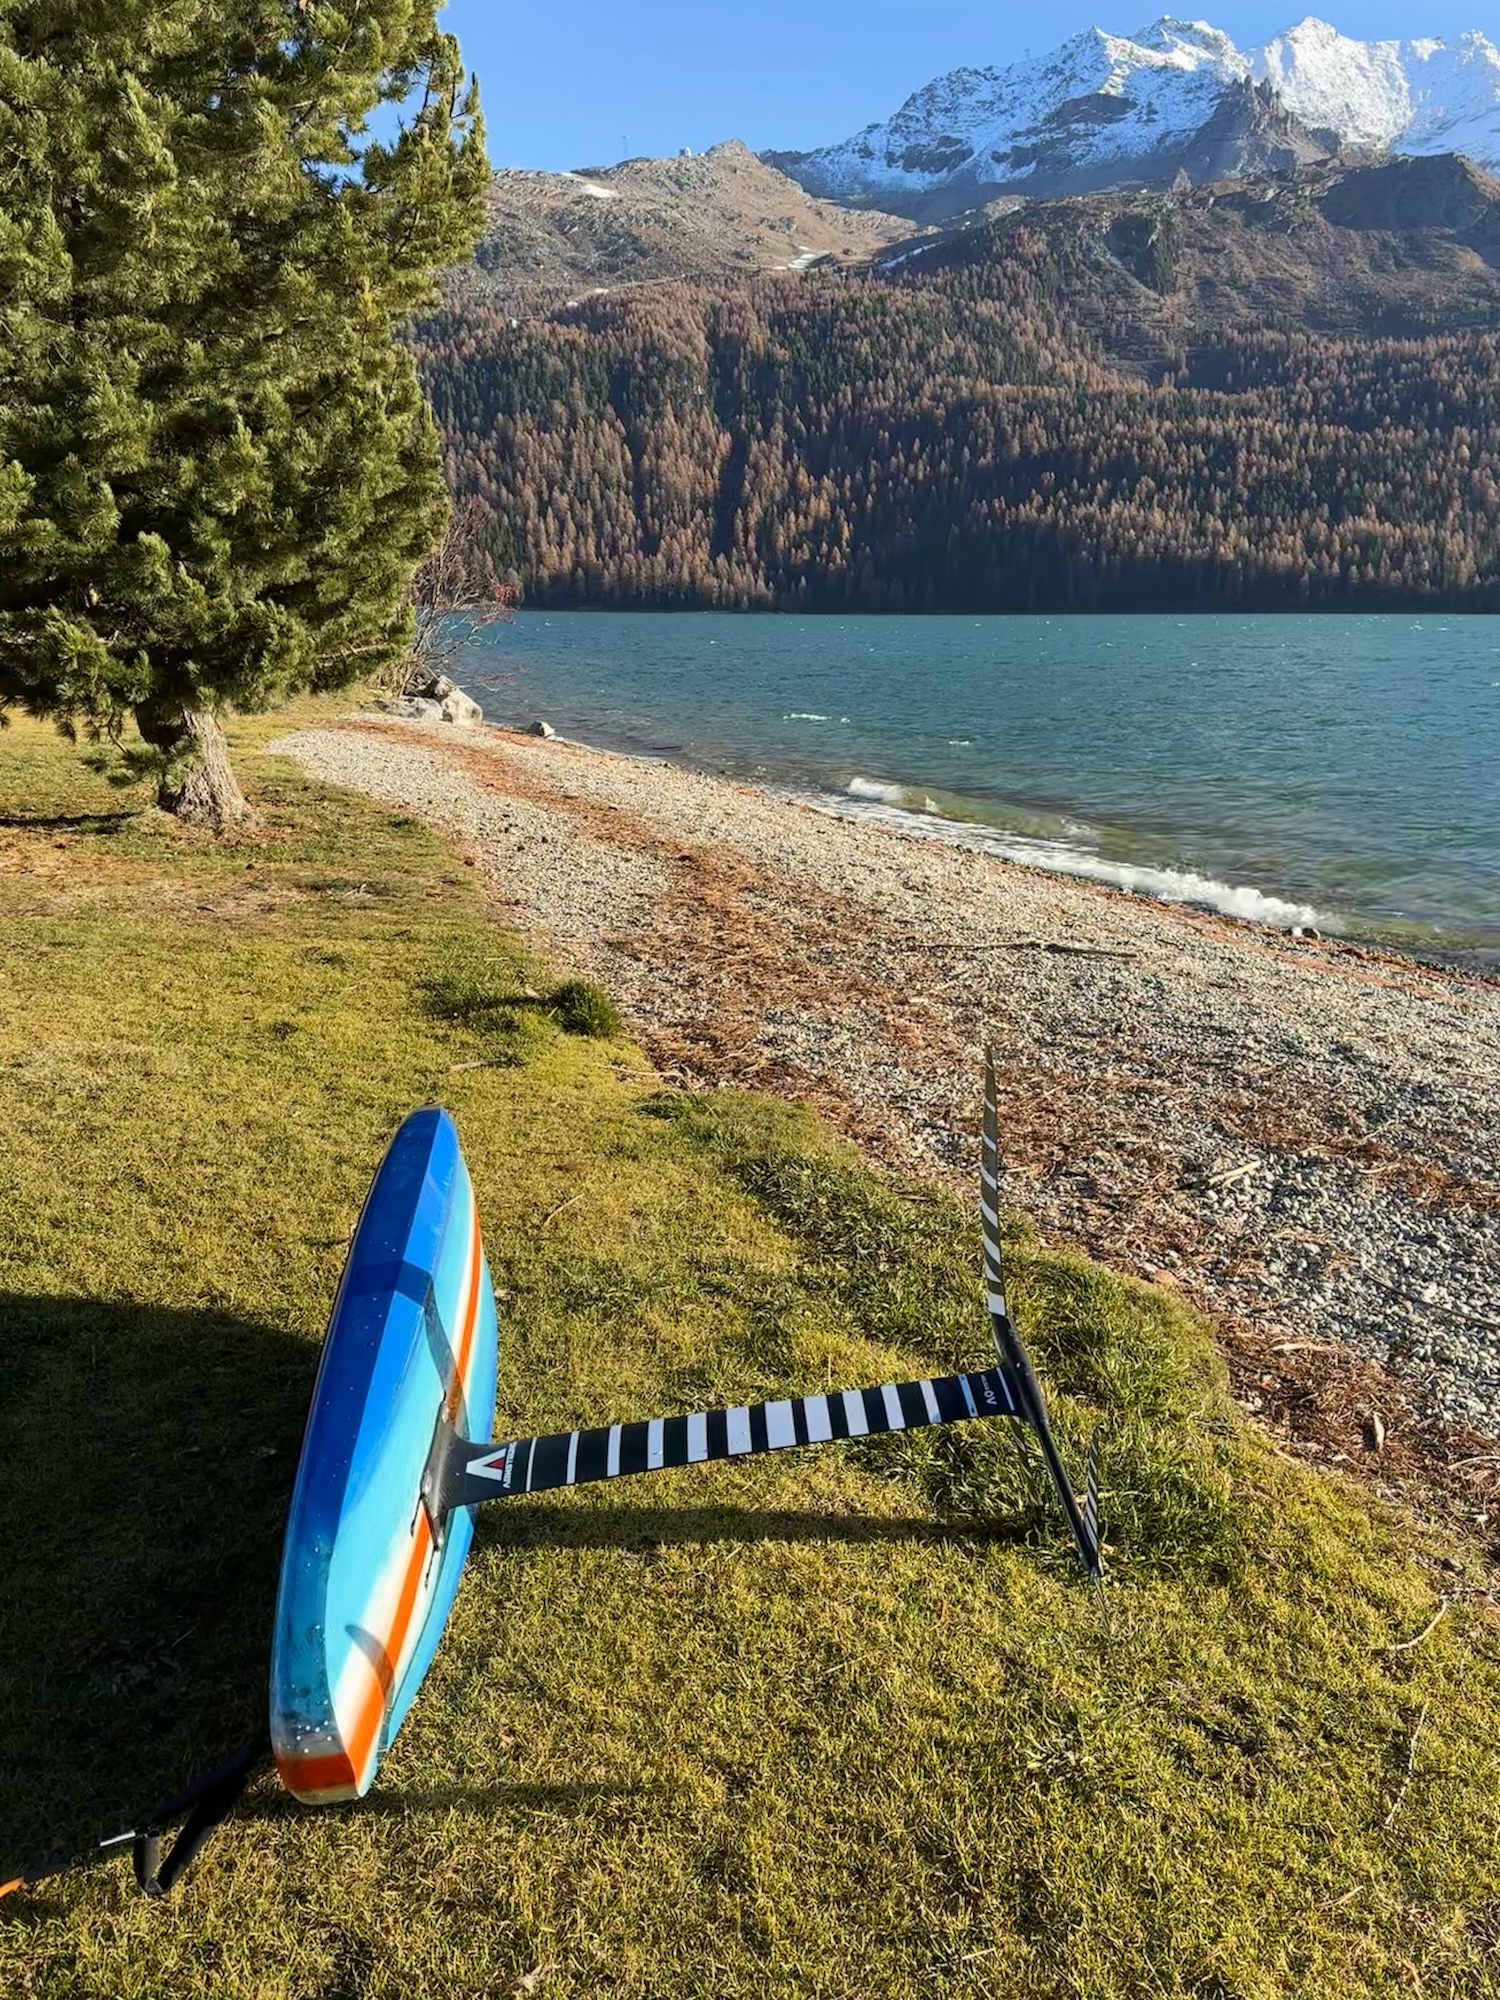
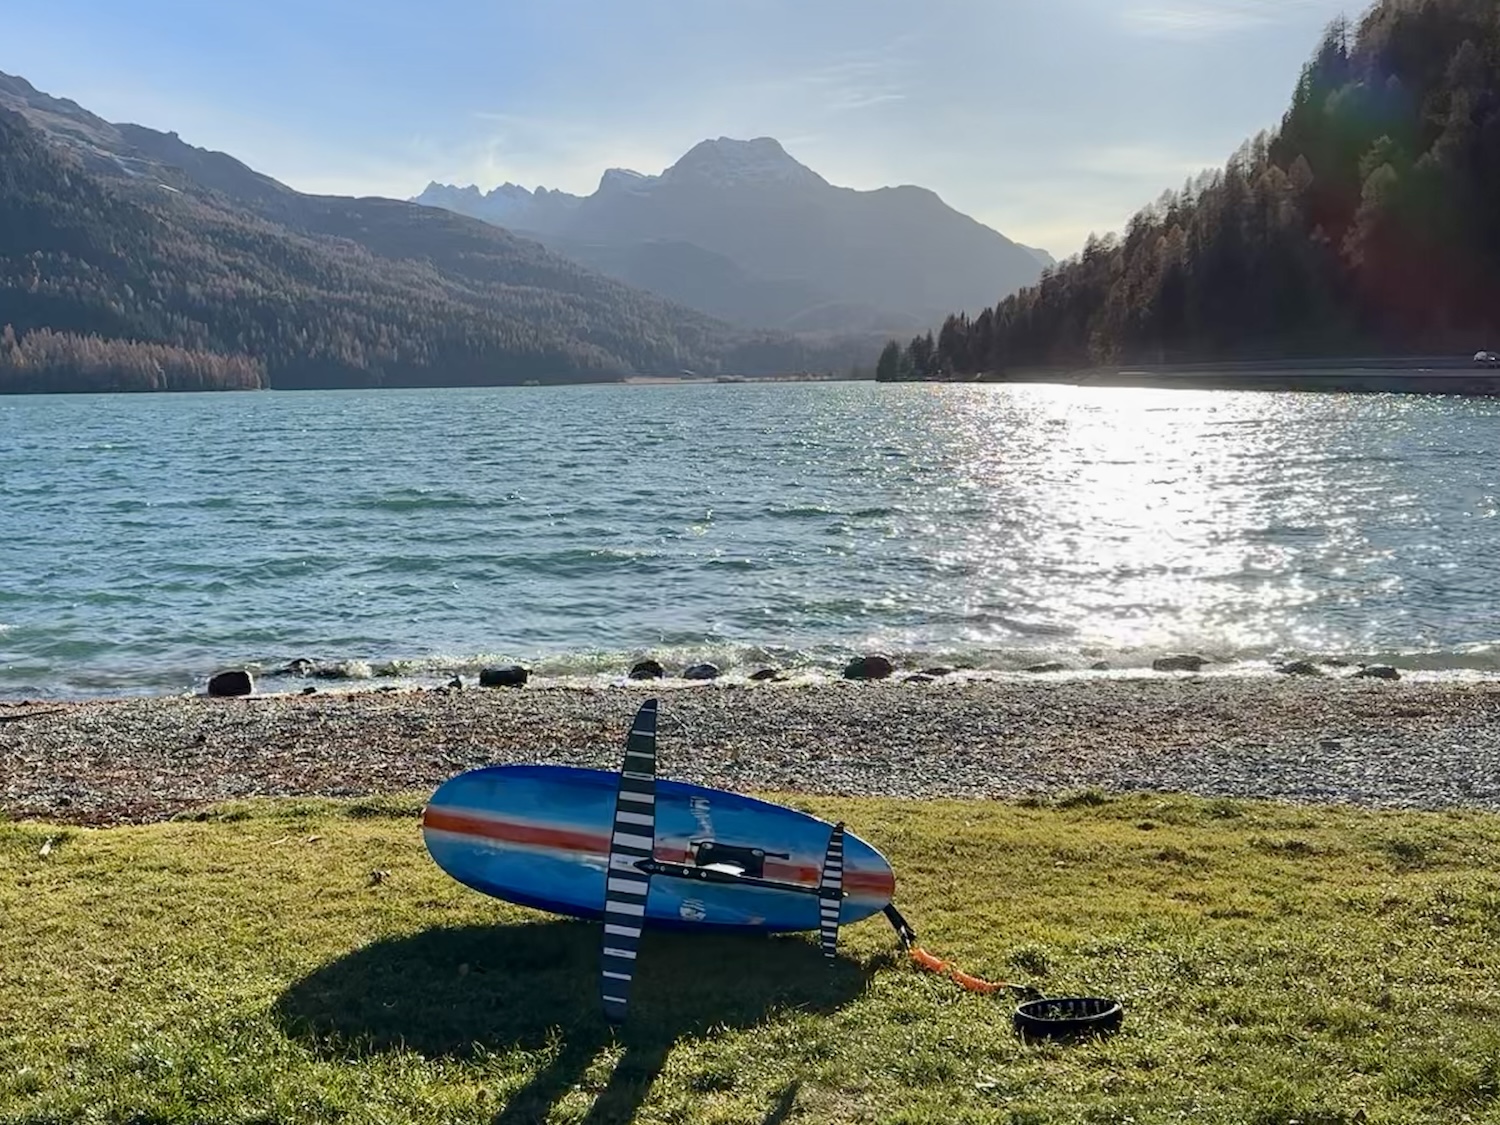
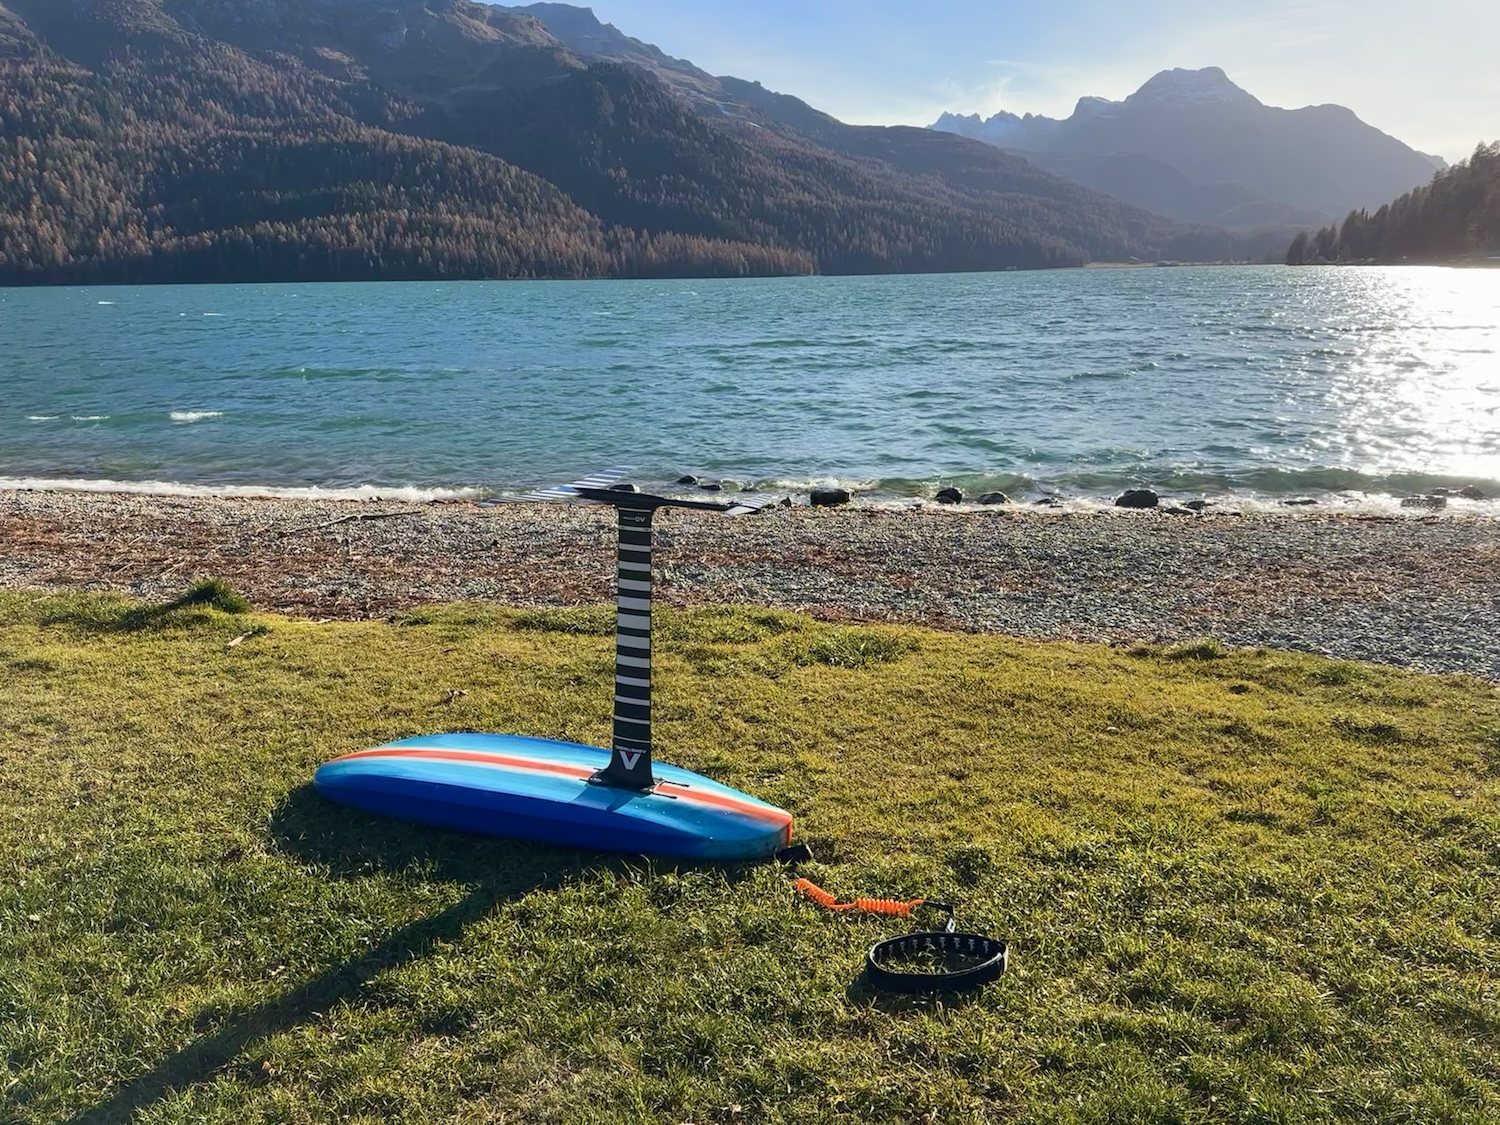
Phenomenal. It is harder to balance on the board without speed, but that was expected. Other than that, it has blown me away in every way. To pump the board on foil it swings so easily back and forth that it gets on foil very quickly and with almost no effort compared to other boards I have used. With my setup, the 2 degree rake angle, and the solid connection from the box to the deck, it feels like the foil and the board are out of one piece. The foot pressure is very well balanced with a slight emphasis on the front foot. Just the way I like it when pushing into turns in snowboarding. Also the deck concave gives a very nice locked-in feeling. I didn't want to use footstraps and it's so nice to be free in foot placement and really work with the weight of your body. I have heard a lot of people talk about a concave deck as a gimmick but I feel a big difference and will never go back to a flat deck. On foil the board can be leaned very aggressively into turns without touching the rail as it is quite narrow. Combined with tippbreaches without consequences it makes carving a lot more fun. On touchdowns it pops up super fast. Not as smooth as the DW board, but close. I think this is what a tuned in setup should feel like.
12. Mistakes during construction:
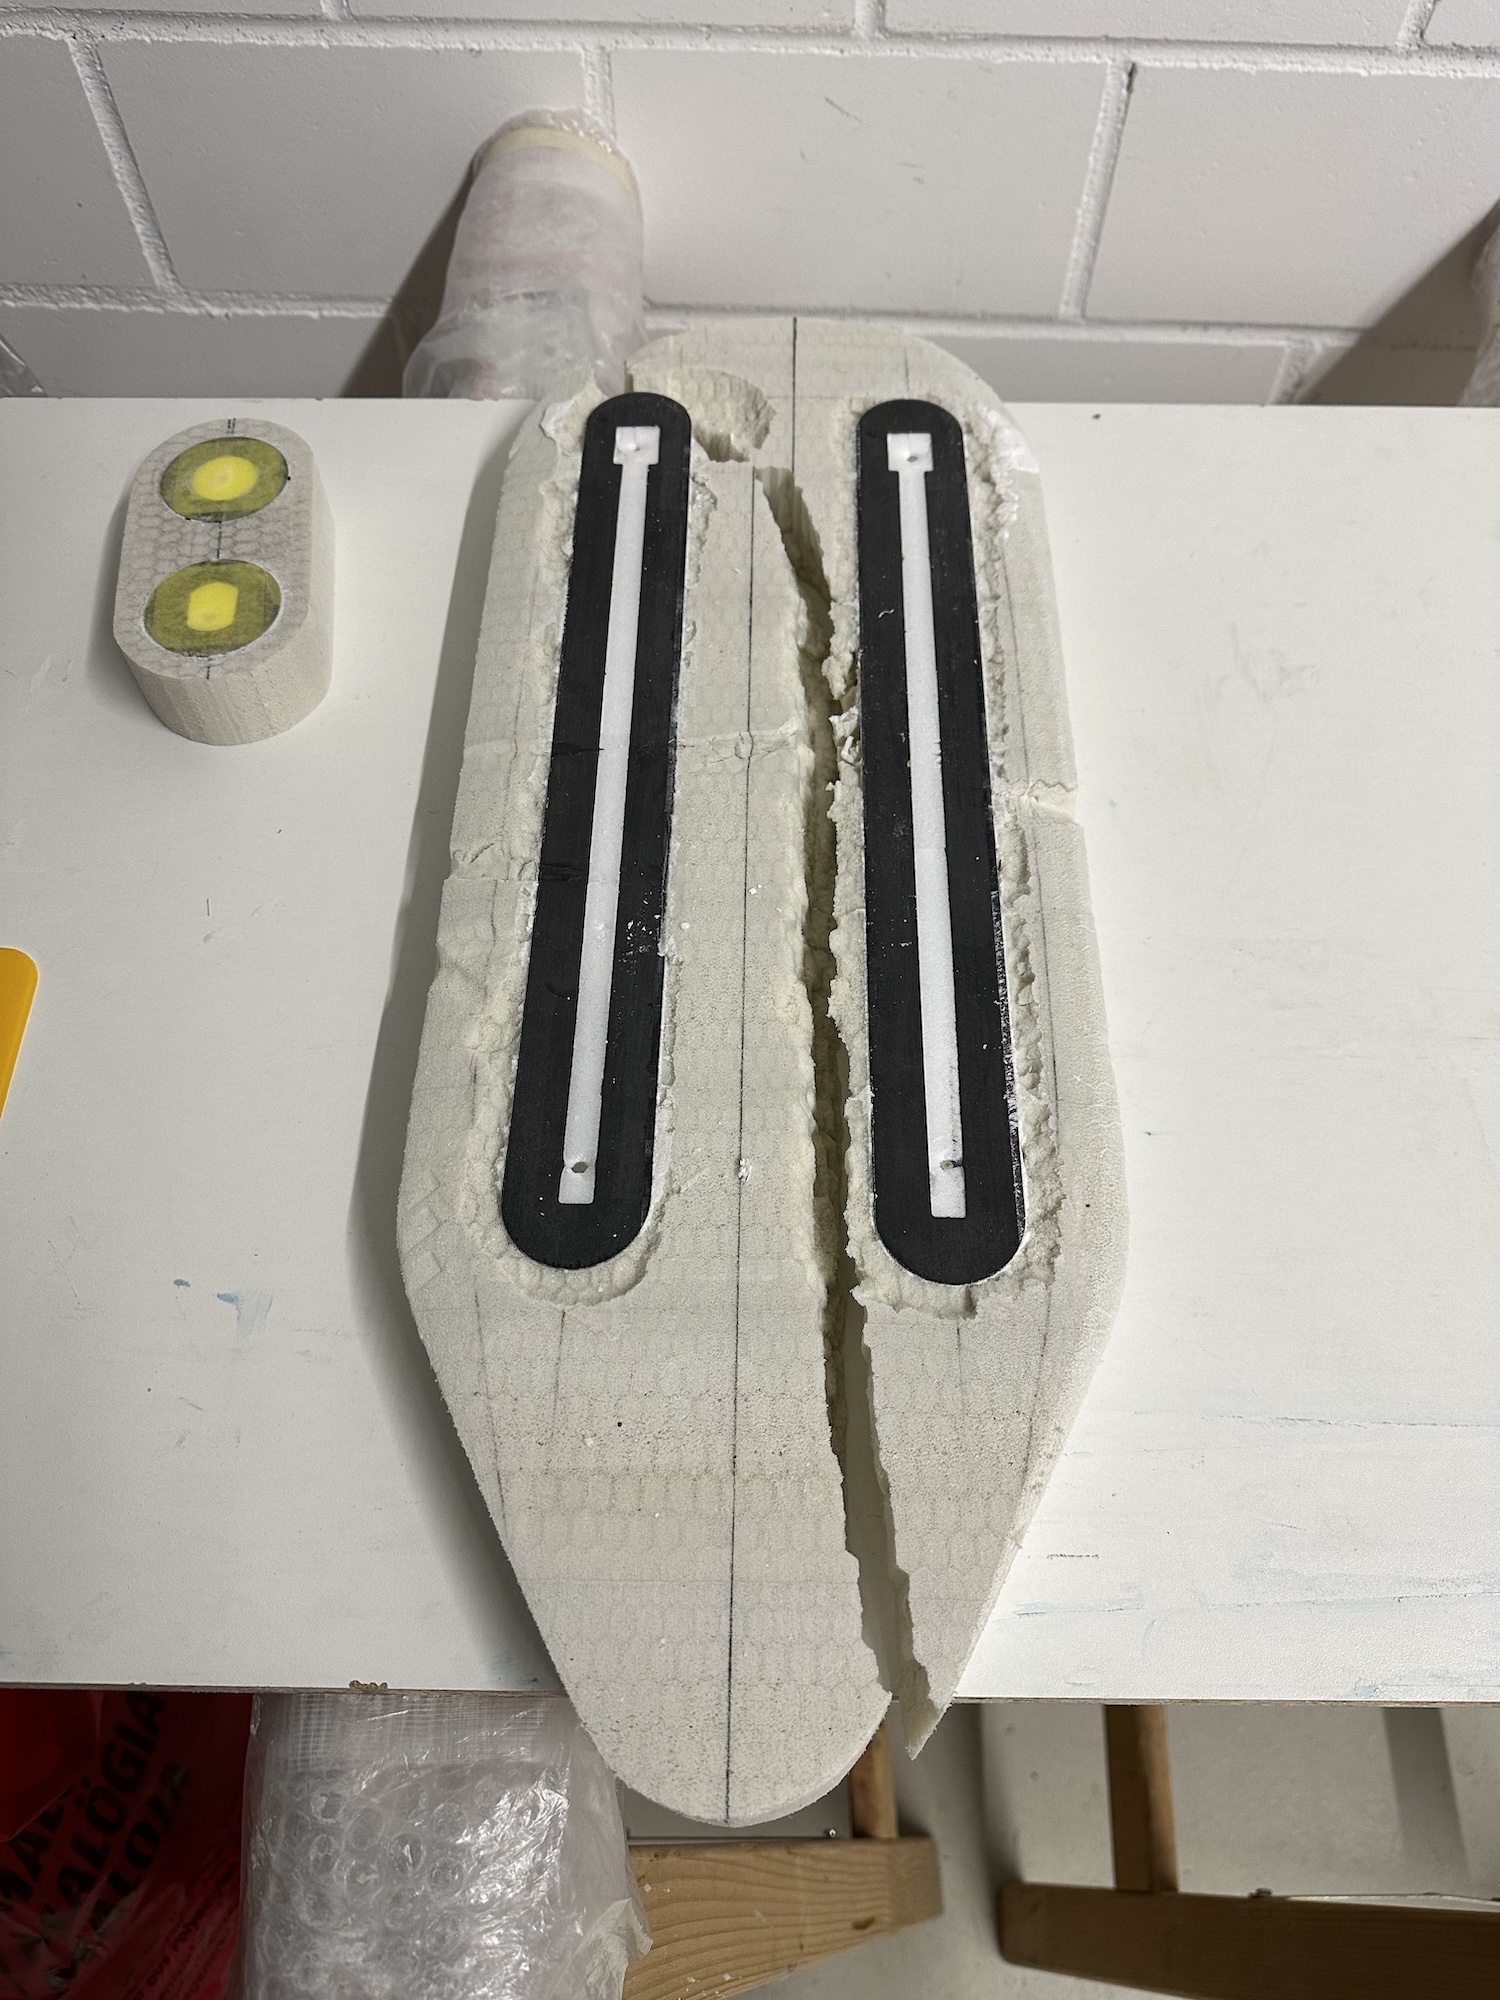
When gluing the tracks into the trackbox, I pressed them into the box with clamps, pressed a board onto them and put a tear-off cloth on top, but forgot to use the PE film I had already cut out. The resin soaked into the wood and when I tried to separate the wood and the cloth the box split in half. This was an expensive and completely unnecessary mistake. But the potentially biggest mistake happened when I applied the pad and vacuumed the board at 15 hg without sealing the gore plug. After 6 hours in the bag, I turned off the pump and could hear the air being sucked back into the plug. I checked the whole board for delaminations by tapping on it, but it seems as solid as before. I changed the plug in case the gore plug was damaged. Luckily I got away with it. Had I used a 15kg/m3 EPS it might have been different.
13. Outlook and possible improvements:
Apart from the mistake at the end with the vent plug, I could have easily used 15kg/m3 EPS as I did with the DW board. The shaping was not much different as I did very little sanding and most of it with the hot wire. I could have shaved almost 400g off the final weight, which would have brought the board down to almost 4kg without the pad, but for this build I wanted to have at least 32cm of track to have the luxury of changing foils more easily. In a next iteration I might track the position so far down that I can use the shortest tracks possible. I also used the Airex trackbox and stringers to the deck construction, which I have had good experience with. However I think with a carbon i-beam construction around the tracks all the way to the deck carbon I might have a stronger connection that is lighter as well. Will try to implement this on a new build after extensive testing of this board.