Using test foils from Armstrong we learned that a small back wing increases the 'pumpability' noticeably. To this point I always had the custom 365 cm2 back wing on my Fanatic Aero foil that in comparison to the Armstrong back wings we tested is quite large. Naturally I also wanted a smaller wing. The motivation for making my own small back wing instead of buying one was the price tag for the original 'Fanatic Aero Foil Back Wing 295' of about 220€. Given that the material to make it yourself only costs about 25€ and I had some free time I decided to make my own.
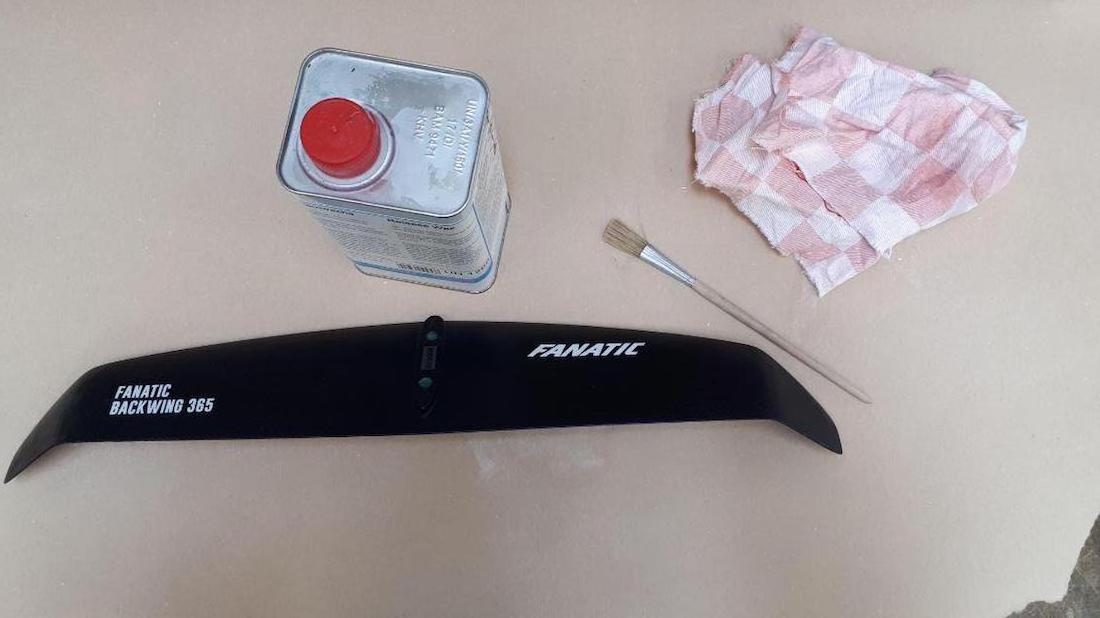
I started by covering the original Fanatic wing with one layer of permanent mold release and 3 layers of mold release wax. During that step I also closed the bolt holes with foam.
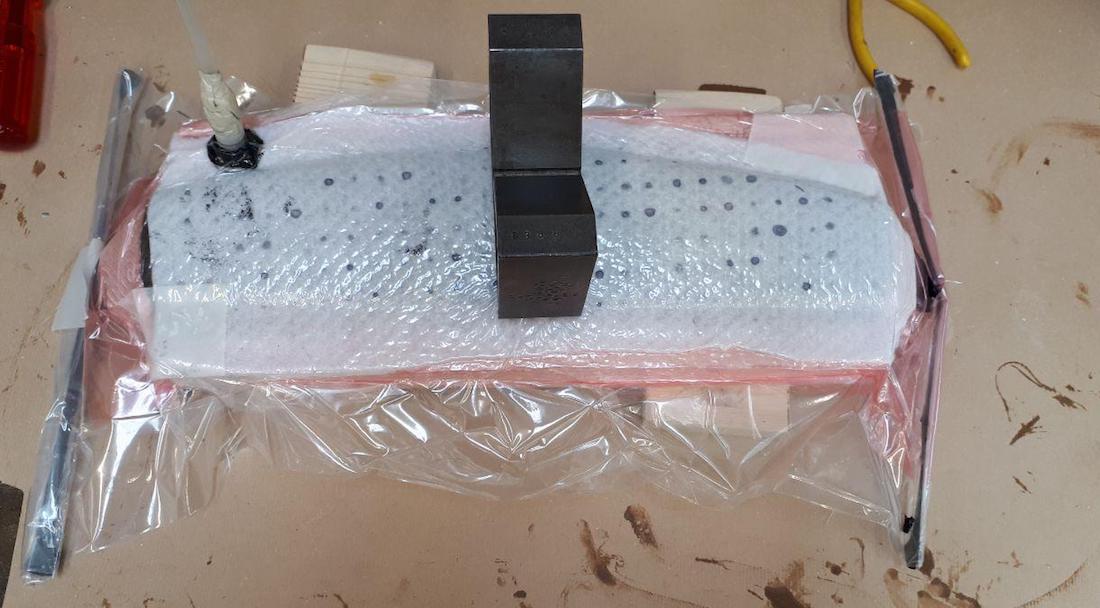
The next step was to make an amateurish one-sided impression of the original wing with epoxy and fiberglass (I didn't have proper impression materials at hand). I decided to only do it one sided because the upper side of the wing is made up of two almost flat surfaces that can easily be sanded by hand. The bottom side however has the mounting surface that controls the wing's angle with respect to the fuselage which is a key parameter that we don't want to change. I let it cure under vacuum and weighted by a piece of steel on the mounting surface.
After closing some cavities with polyester fine filler the result wasn't too bad.
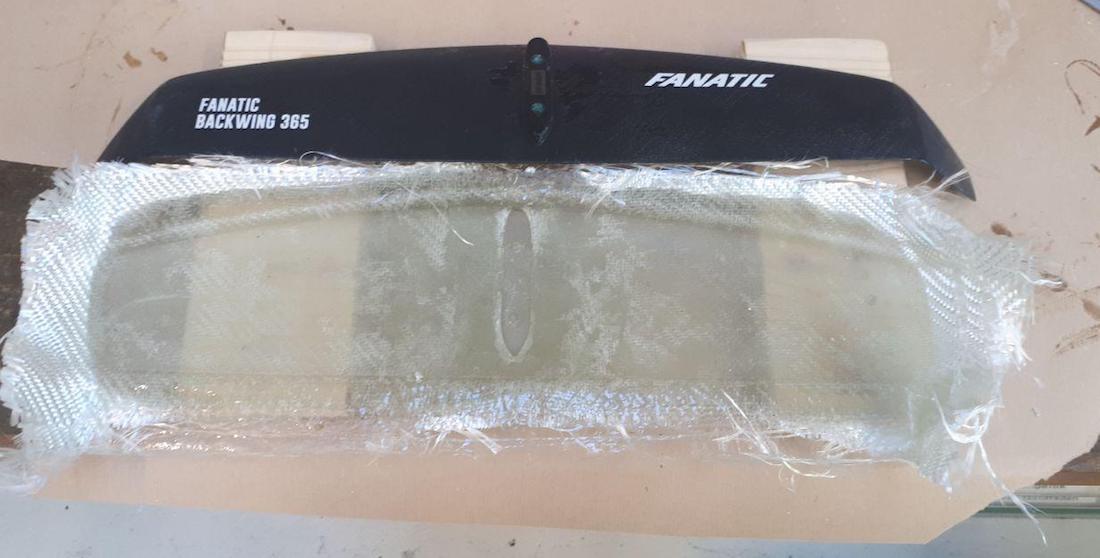
After doing the same exercise of applying mold release and mold release wax I added several layers of glass between two layers of carbon (for the looks). In between each fiberglass layer a mixture of epoxy and 6 mm carbon chips make up most of the wing's volume.
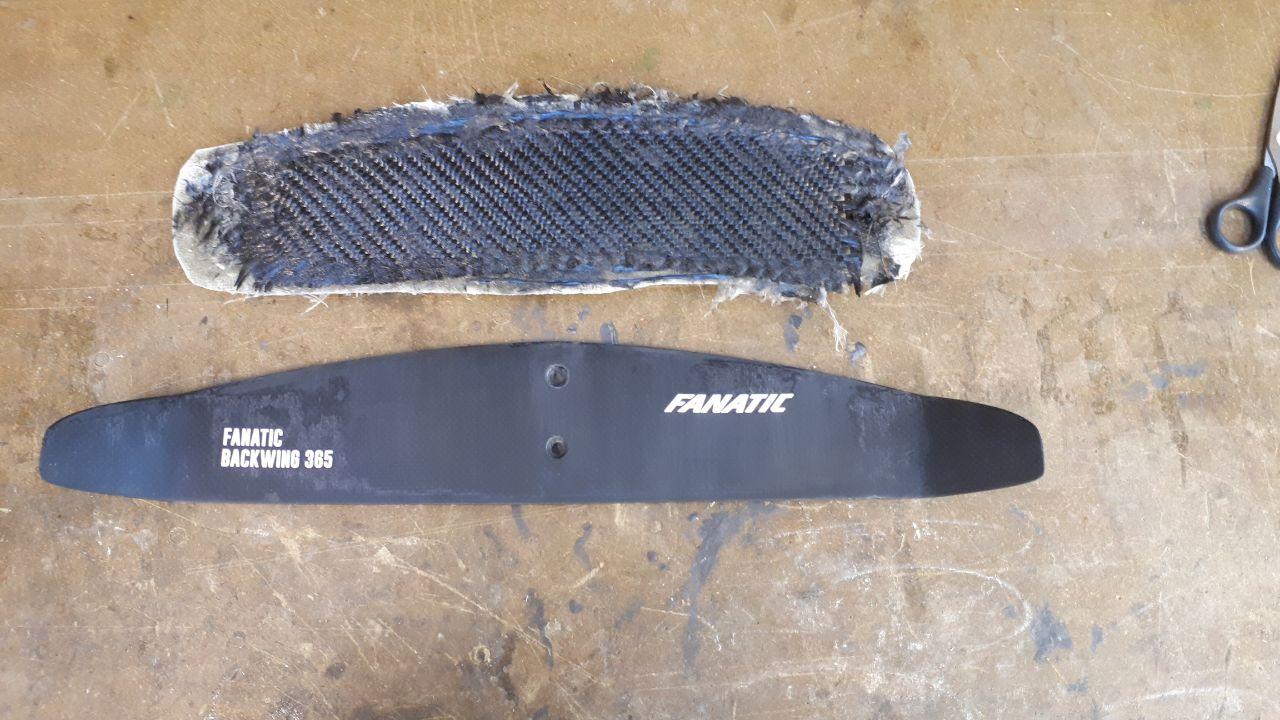
The surface finish after removing the wing from the impression was surprisingly good.
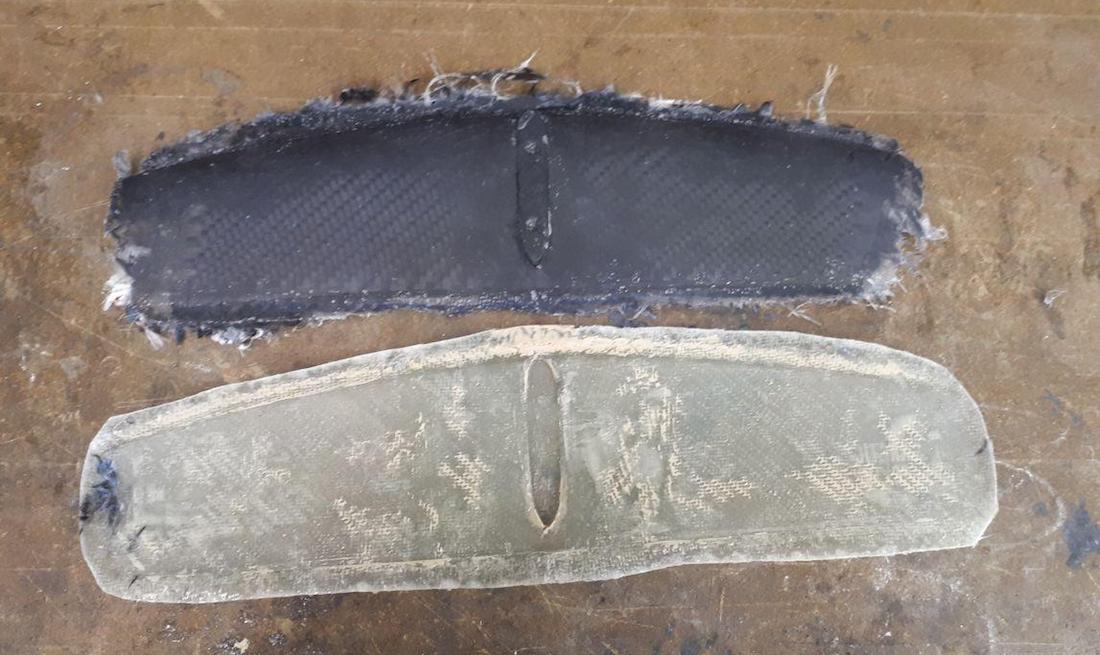
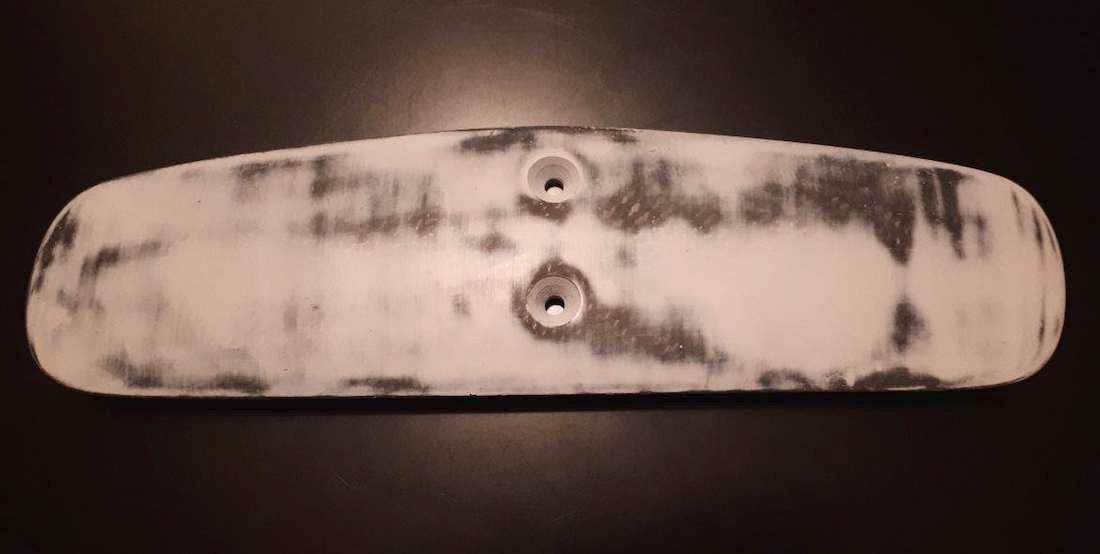
The remaining work can be summarized as drilling two holes followed by a lot of filling and sanding. Here are some impressions:
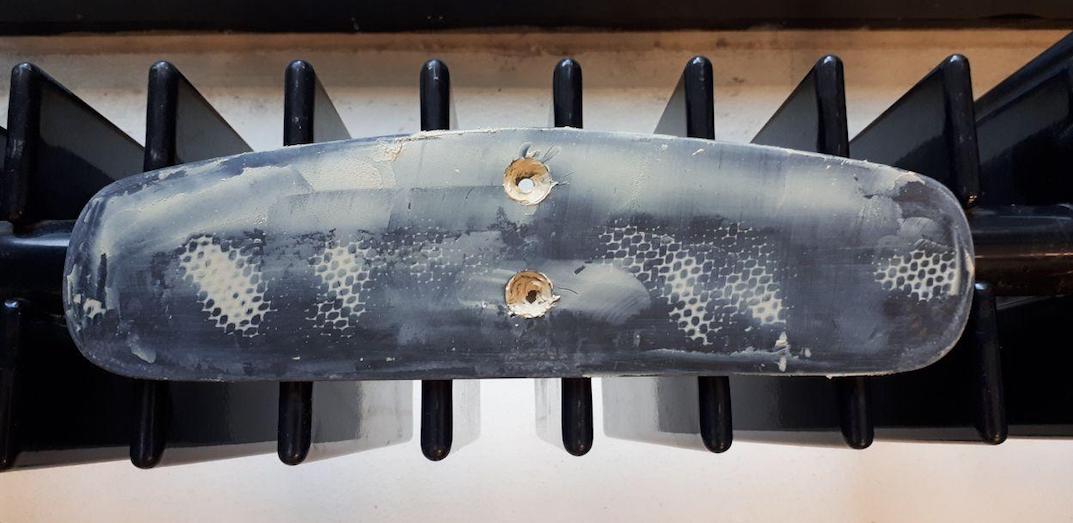
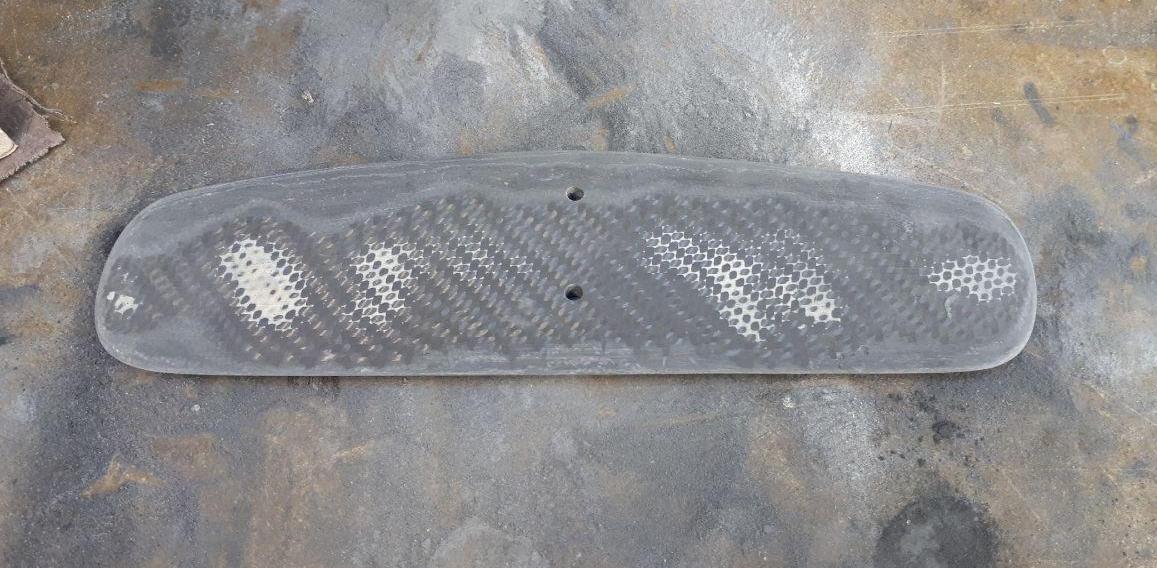
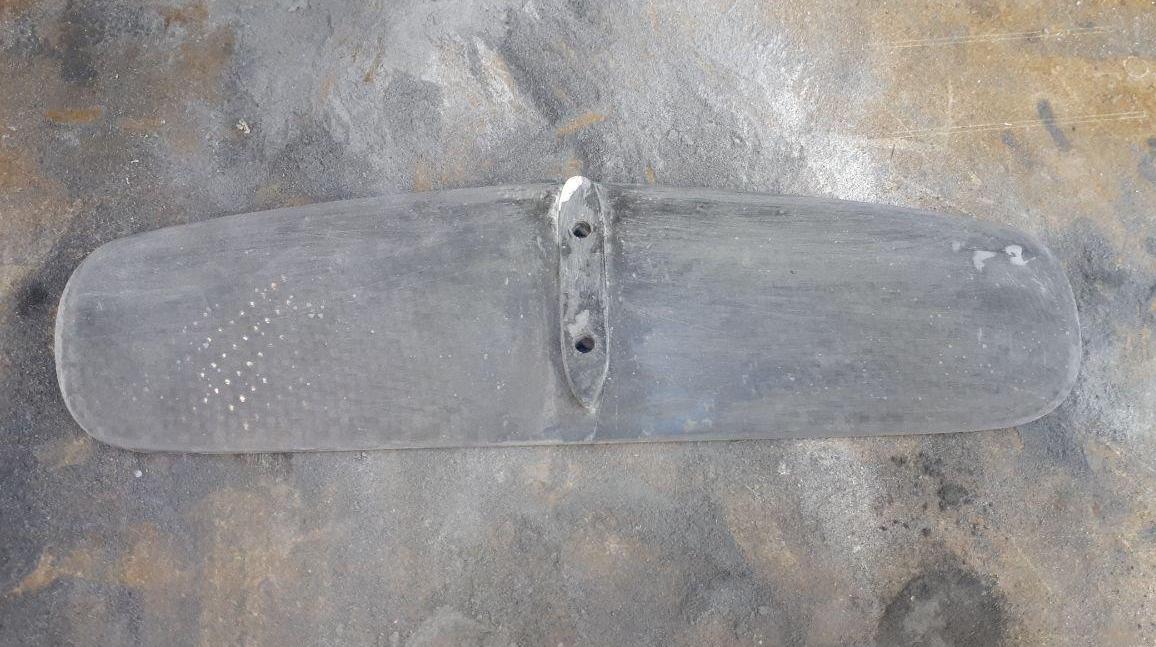
The surface finish after all the sanding was already pretty good. I added another layer of thin coat plaster and sanded it with 600-grit sanding paper and left it as such.
The finished wing looked like this:
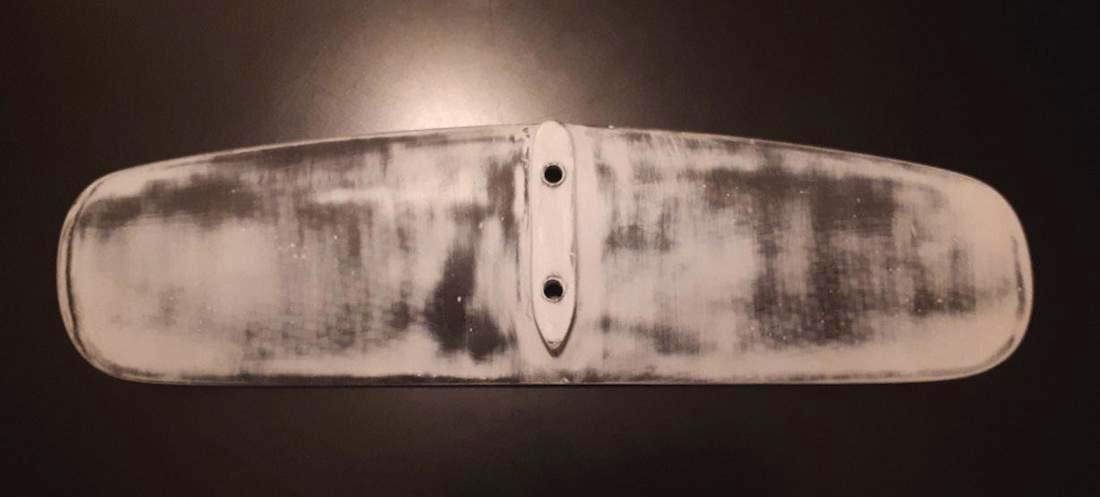
Here mounted on the foil (another layer of thin coat plaster was added after this session):
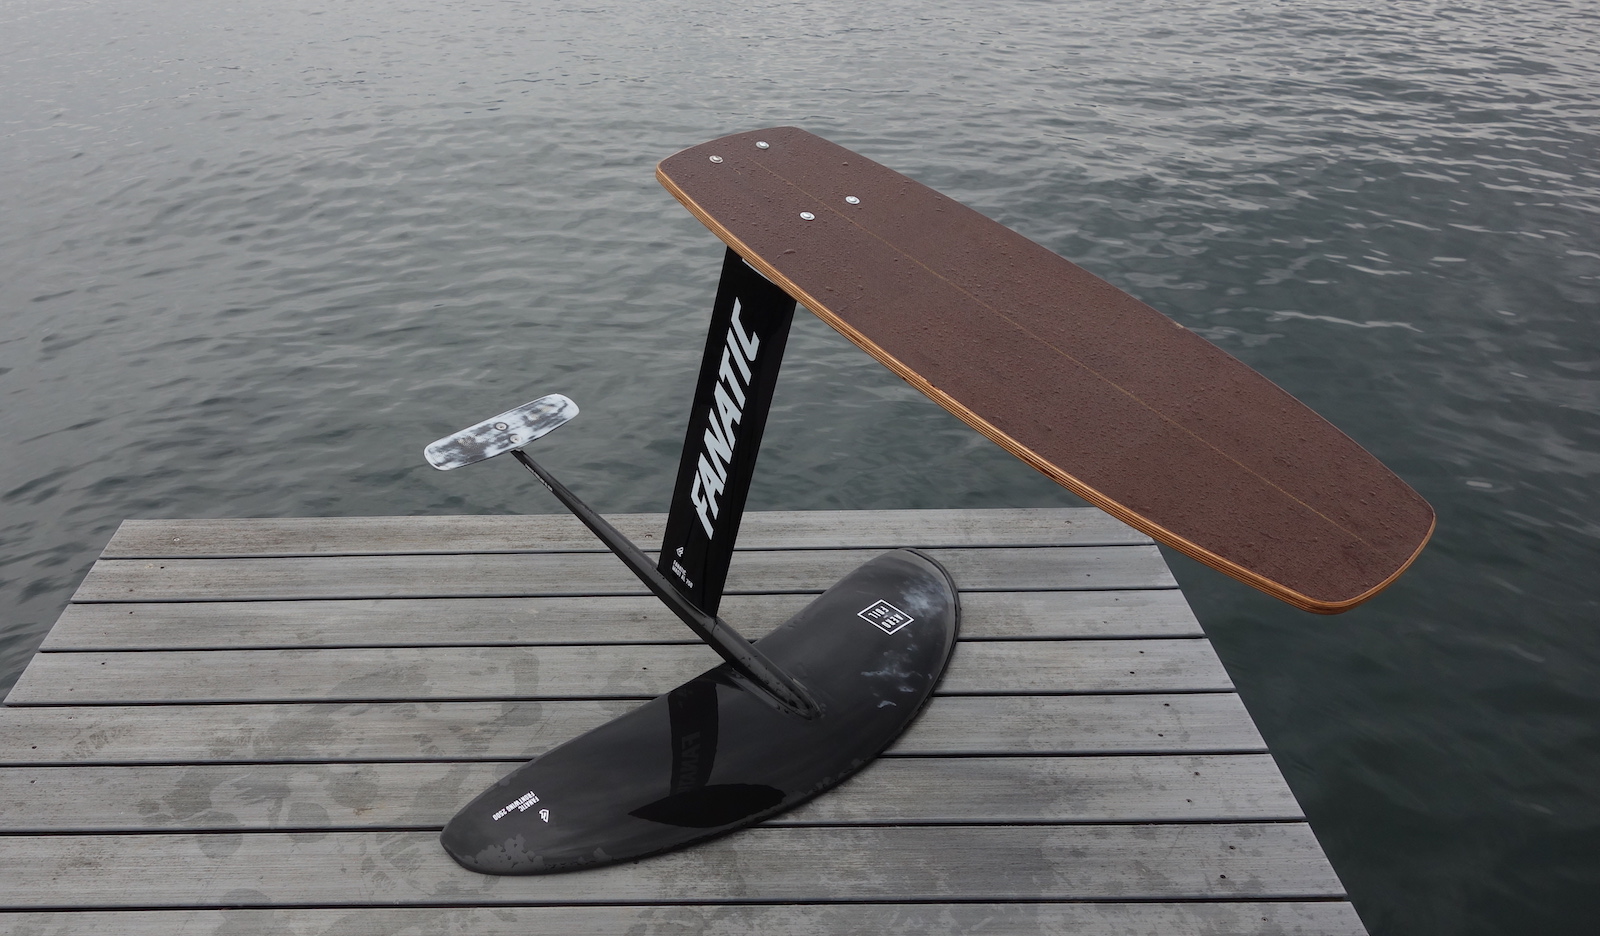
In the first video of Learning to Pump-Foil you can see the wing in action. The smaller back wing made the foil more 'pumpable'. However, I have the impression that the forward momentum for each pump is reduced i.e. you don't accelerate as fast as with the larger back wing.